PLAYER'S GUIDE
A retro wireframe arena shooter. Shapes rain in, demons rise, the floor fills with hazards -- and you've got a handful of bullets and a hop. This guide covers everything you need to survive.
1. Getting startedThe title screen, and the showcase
Start the game (the .exe, or Wireframe Warfare 9-28 .py with Python). You land on the title screen, with an empty arena gliding past behind it.
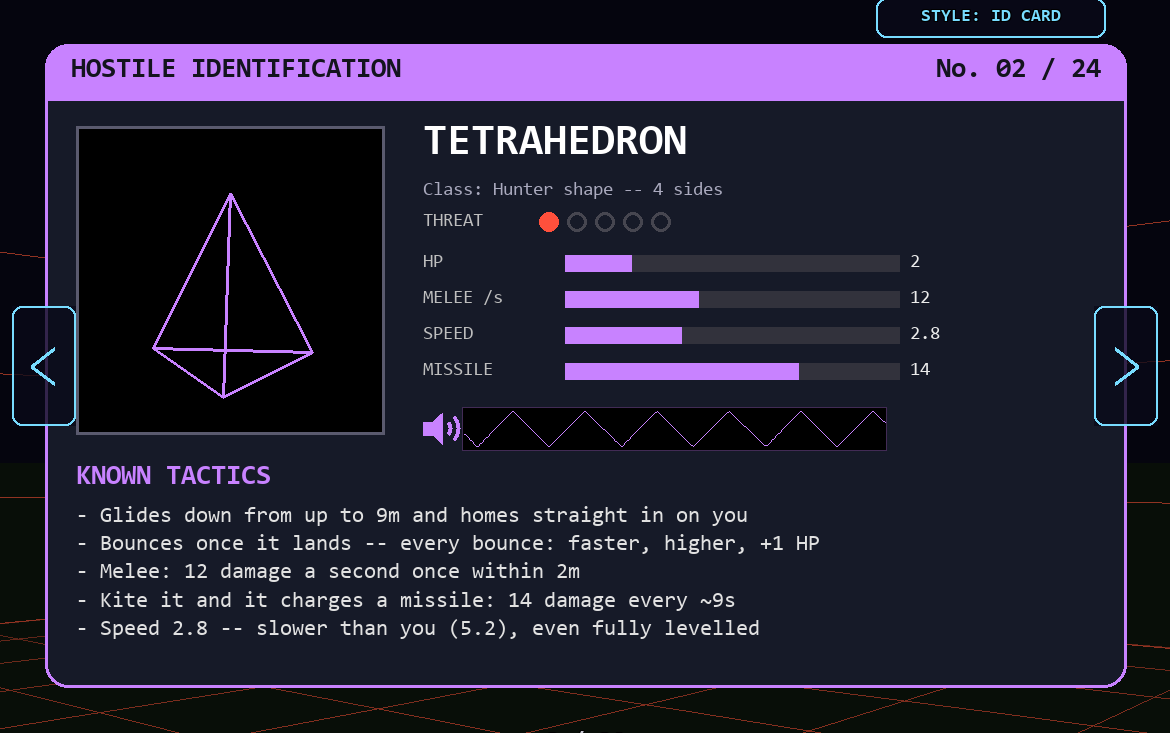
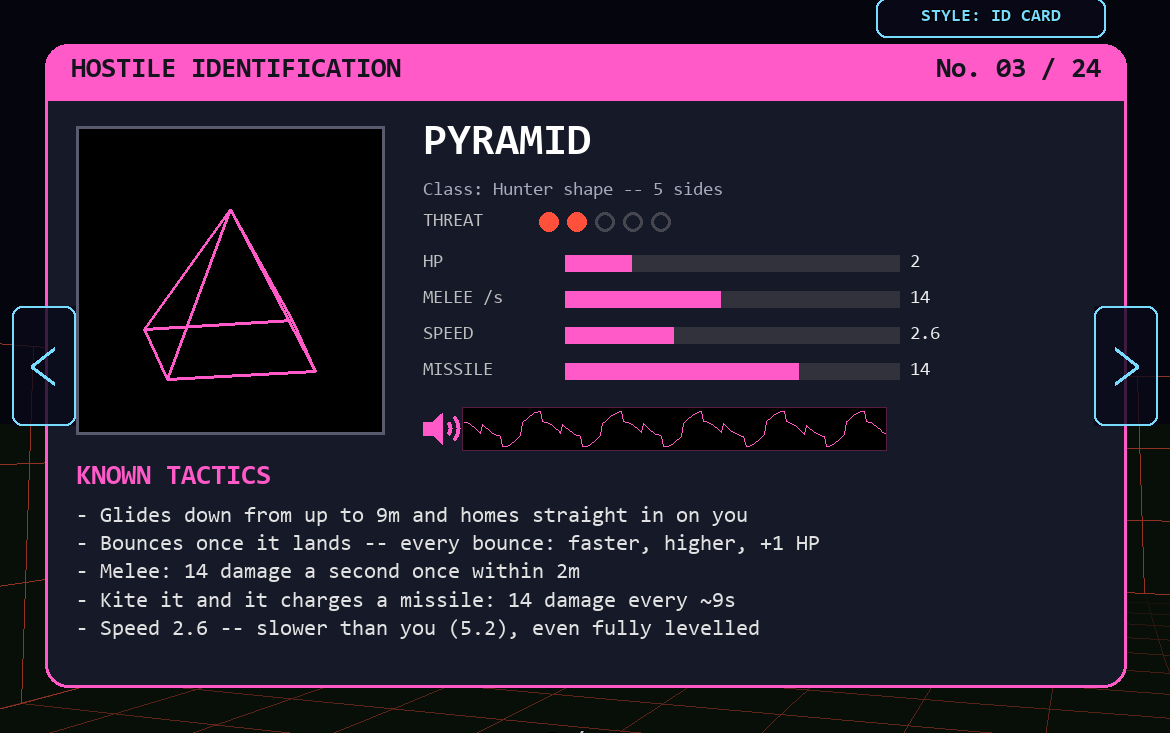
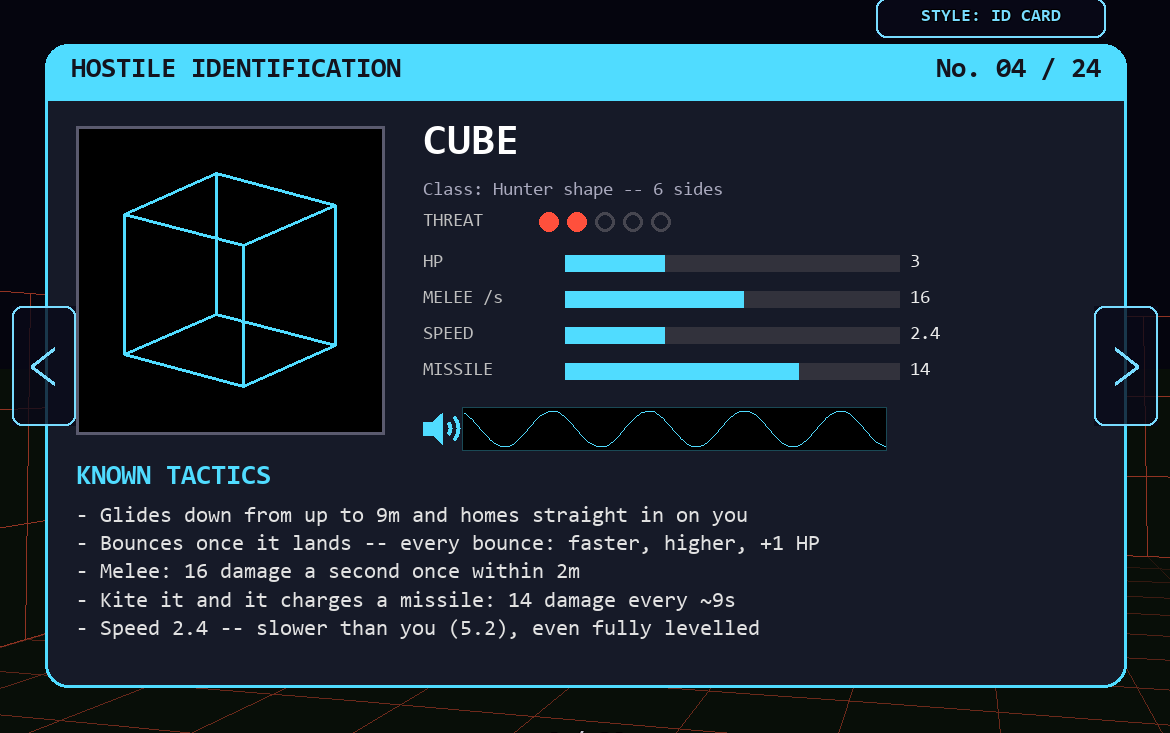
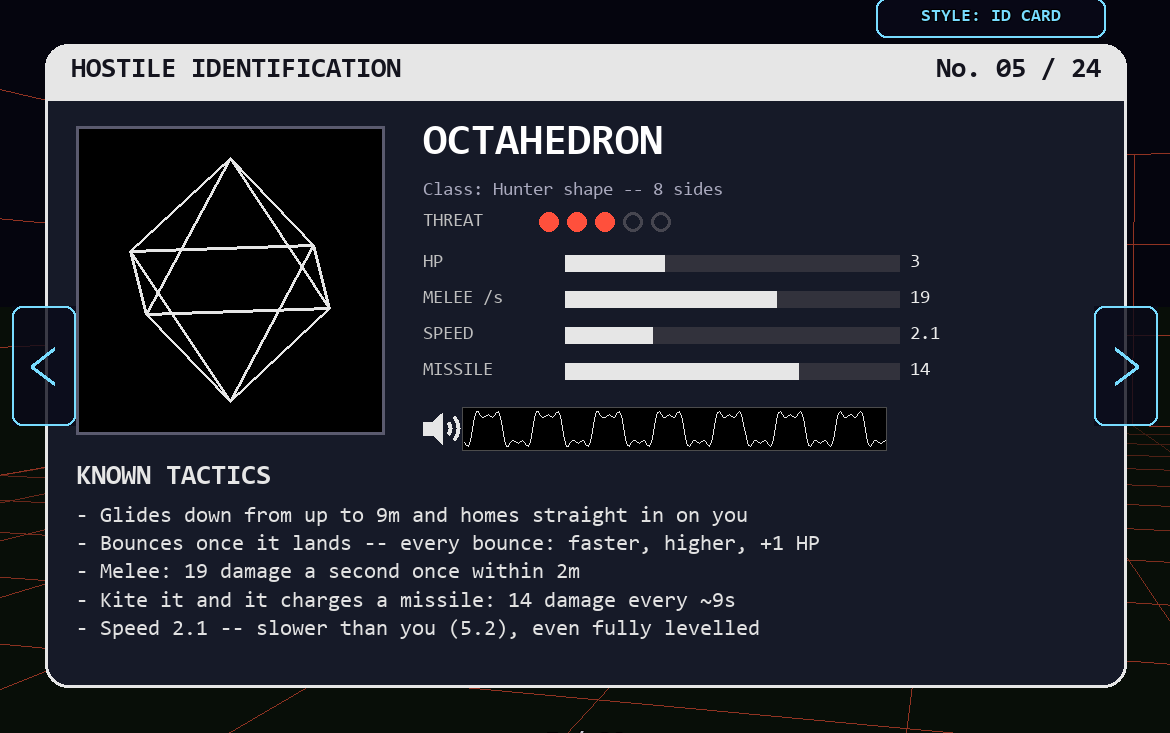
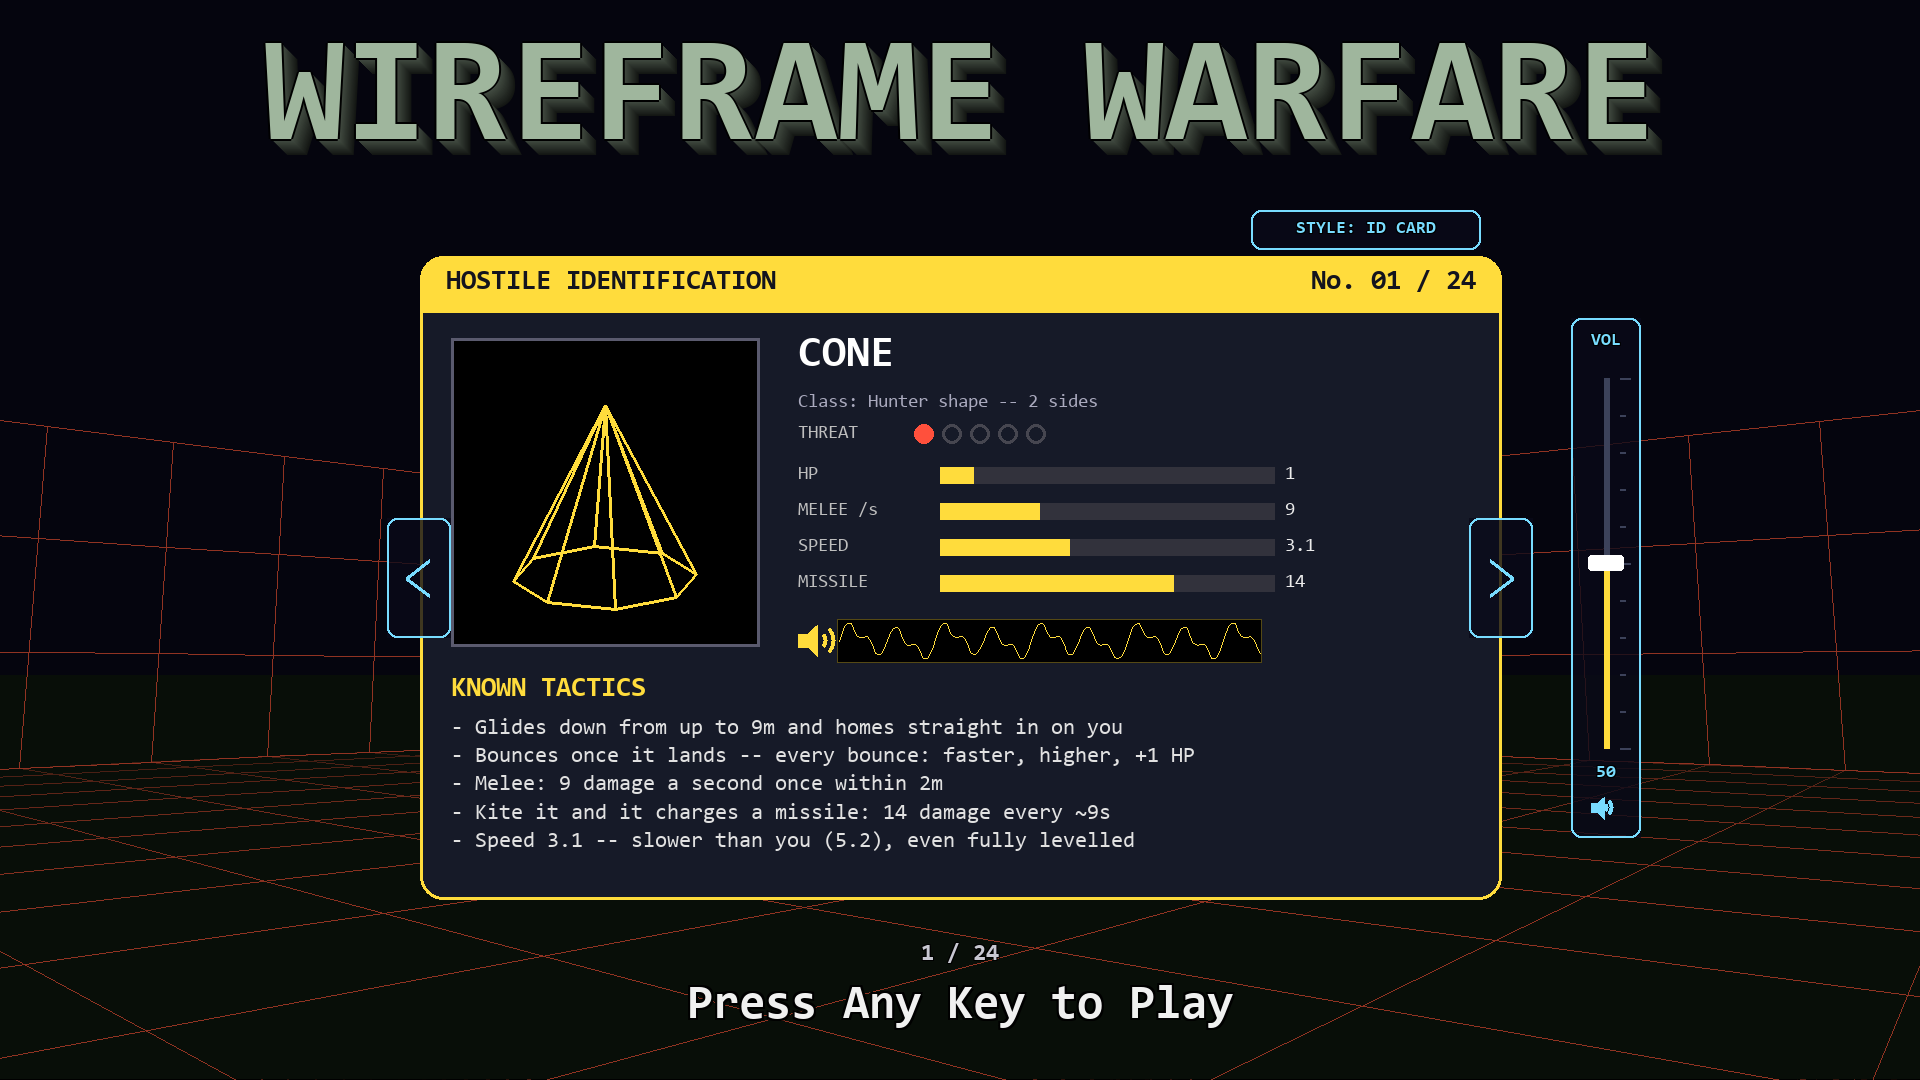
- The showcase card in the middle introduces every enemy, hazard, pickup and ally in turn -- with its stats and its own sound. Click the < > arrows on its sides to browse, and the STYLE tab above it to switch between the ID CARD and TERMINAL looks.
- The VOL fader on the right sets the game's volume -- drag it, roll the mouse wheel over it, or click the speaker to mute. It starts at 50% and is remembered.
- Press any key (or click anywhere else) to play.
wireframe_warfare_settings.json, next to the game. Copy the game somewhere new and it starts fresh.2. Controls
| Key | Does |
|---|---|
| W A S D | Move |
| Mouse | Look / aim |
| Hold Left click | Fire |
| Right click | Shield on / off (once you have shield seconds banked) |
| Space | Hop -- over hazards, over tanks, over a lunging zergling |
| Tab | Settings (pauses the game) |
| P | Pause / resume |
| Esc | Release / grab the mouse |
| R | Restart after game over |
| Q | Quit |
3. Reading the screenEverything on the HUD, numbered
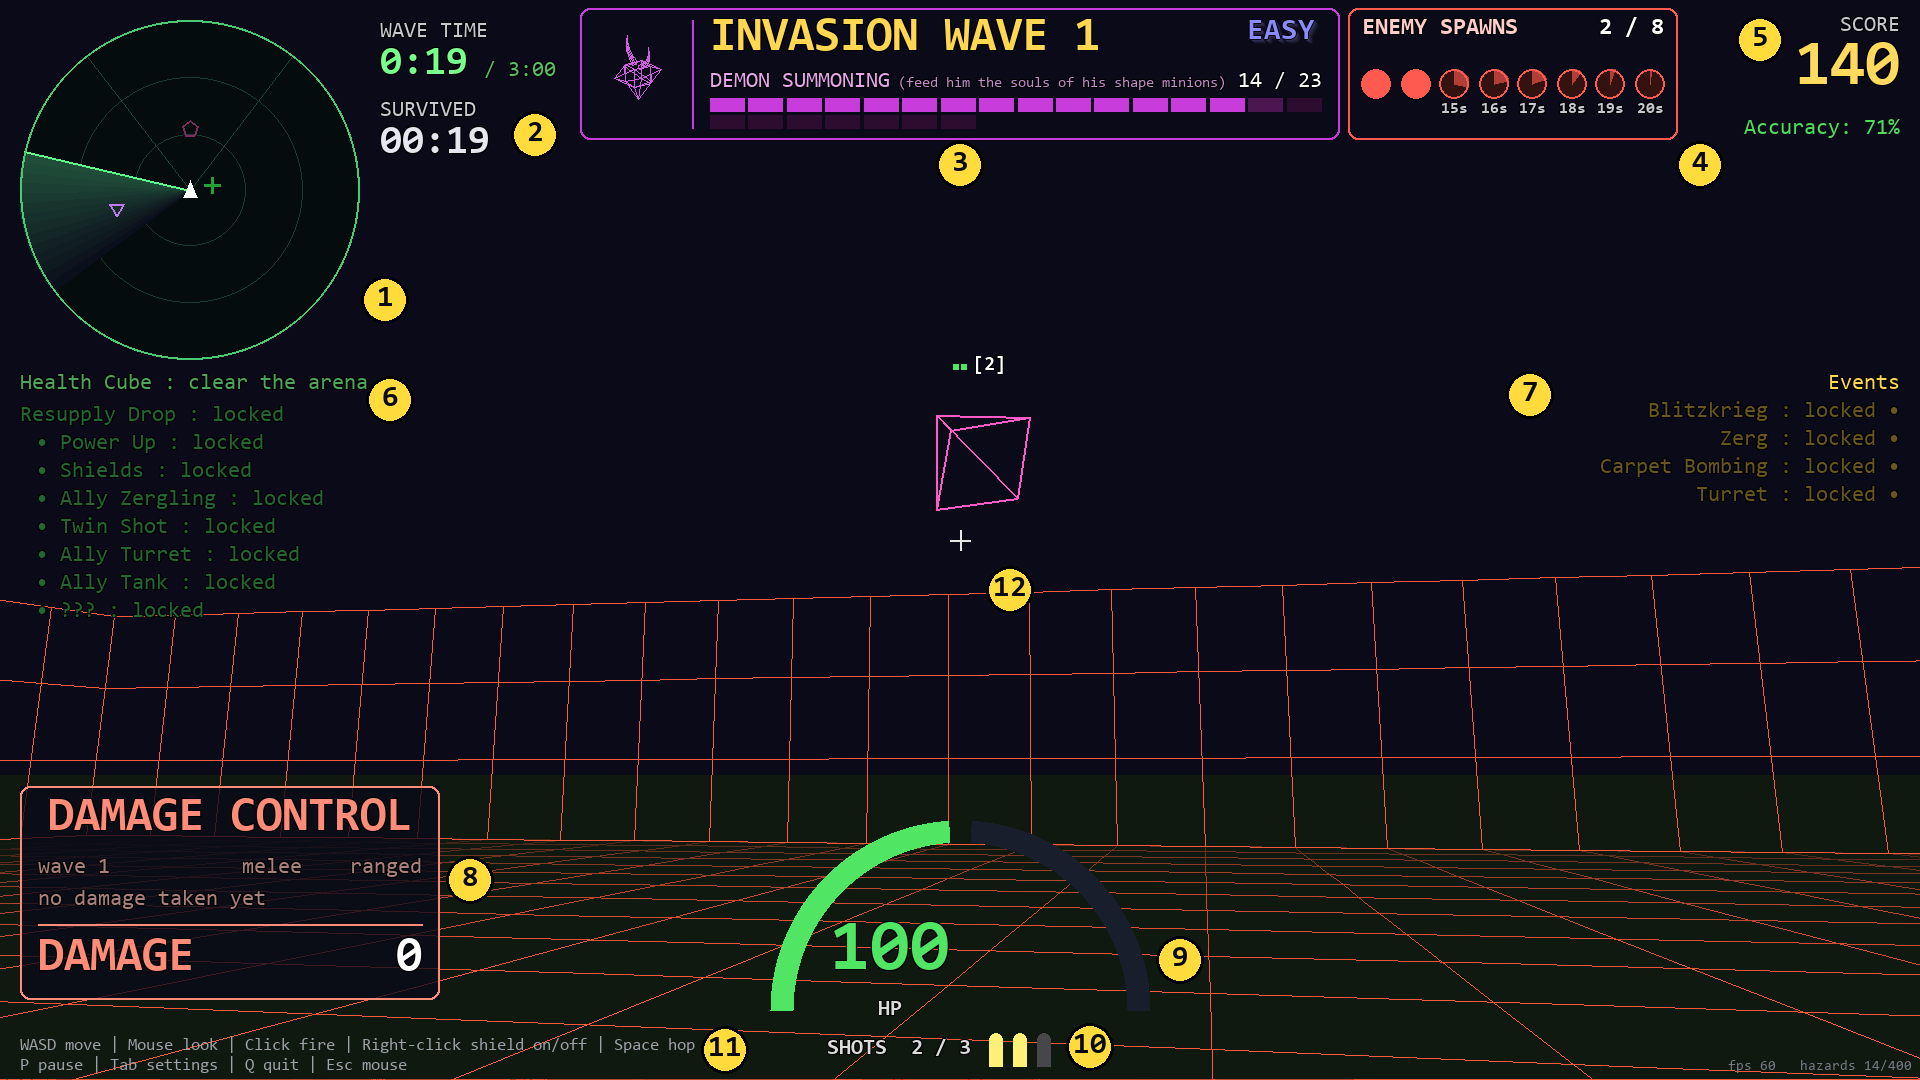
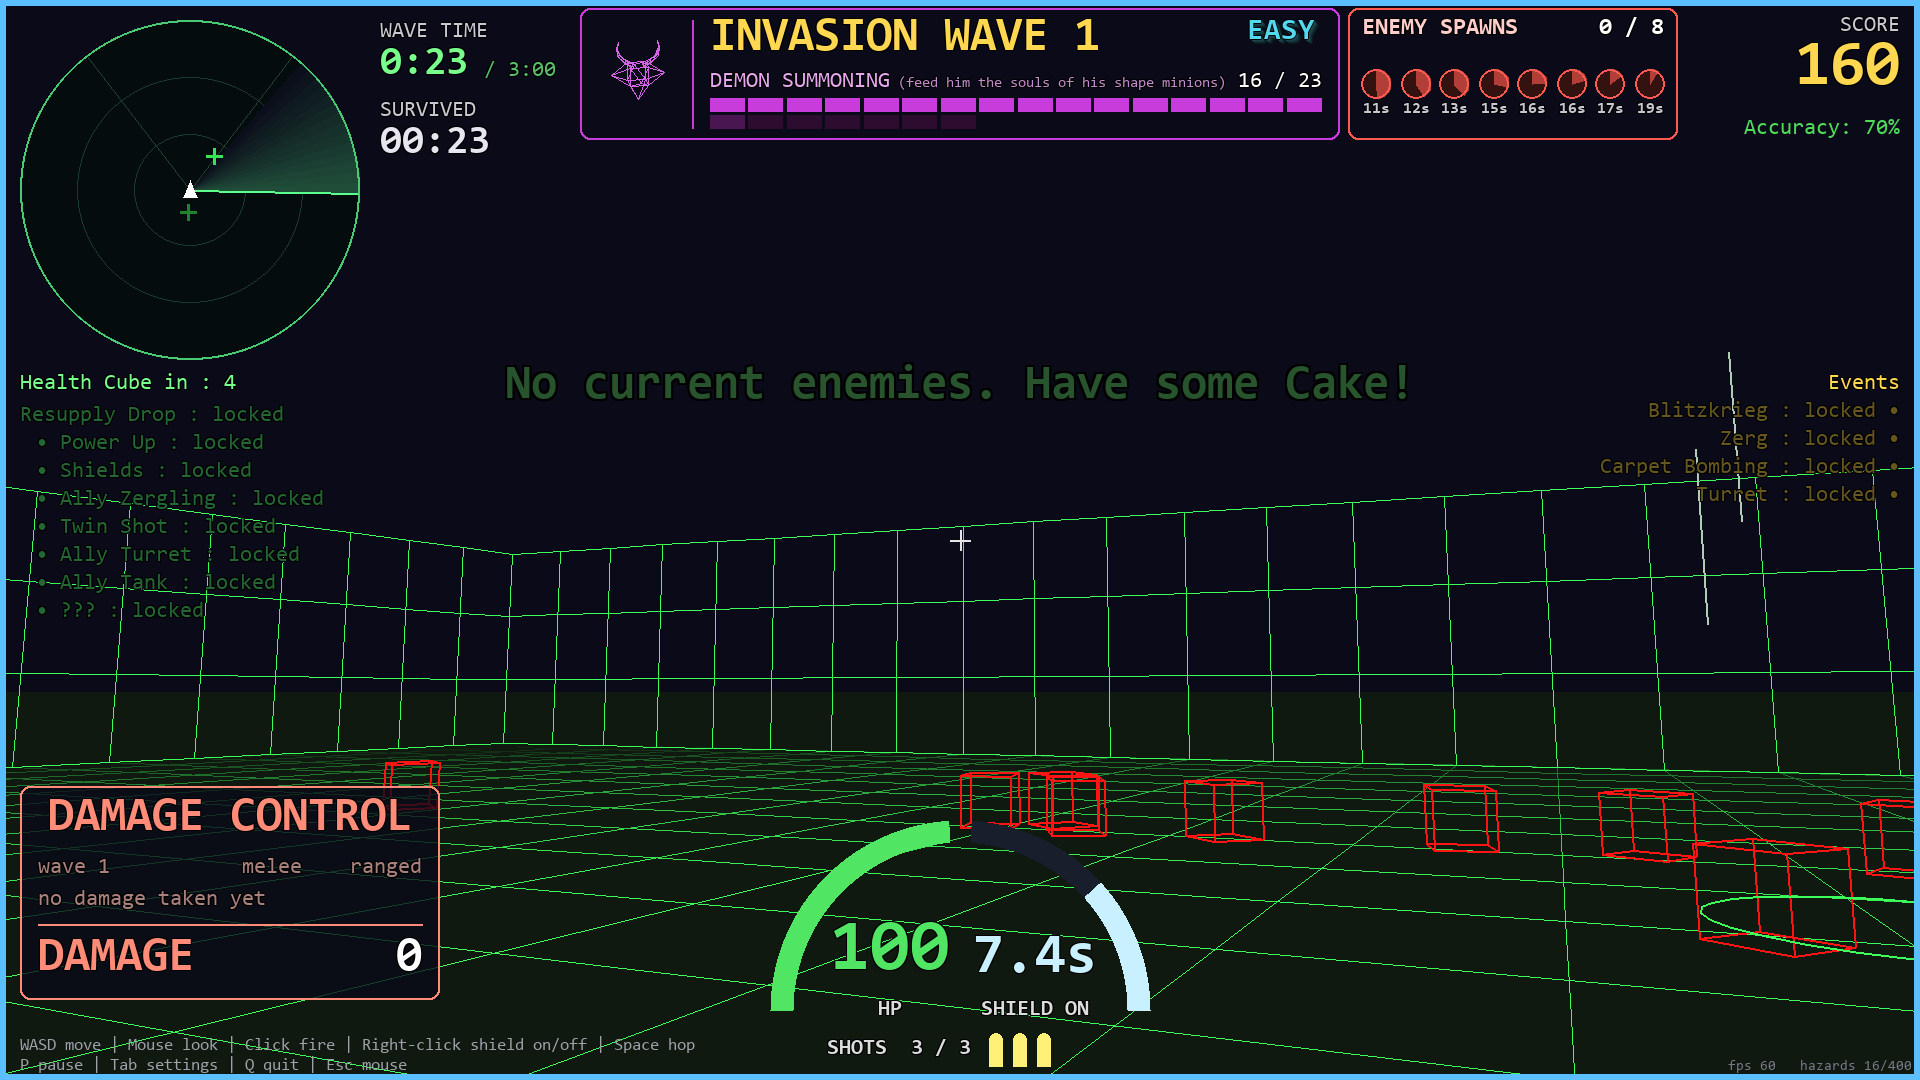
- Radar -- you're the triangle in the middle; each enemy shows as its own little symbol, pickups in green, missiles as dashes.
- Wave time (beat it under 3:00 for a speed bonus) and how long you've survived in all.
- Wave panel -- the invasion wave, and the DEMON SUMMONING bar filling with your kills. Top right: your difficulty, EASY or HARD.
- Enemy spawns -- one circle per enemy slot: solid while it's out there, refilling like a clock while it respawns.
- Score and this wave's accuracy.
- Supplies -- when the next health cube or care package drop is coming, and which care packages you've unlocked.
- Events -- which wave events you've met so far.
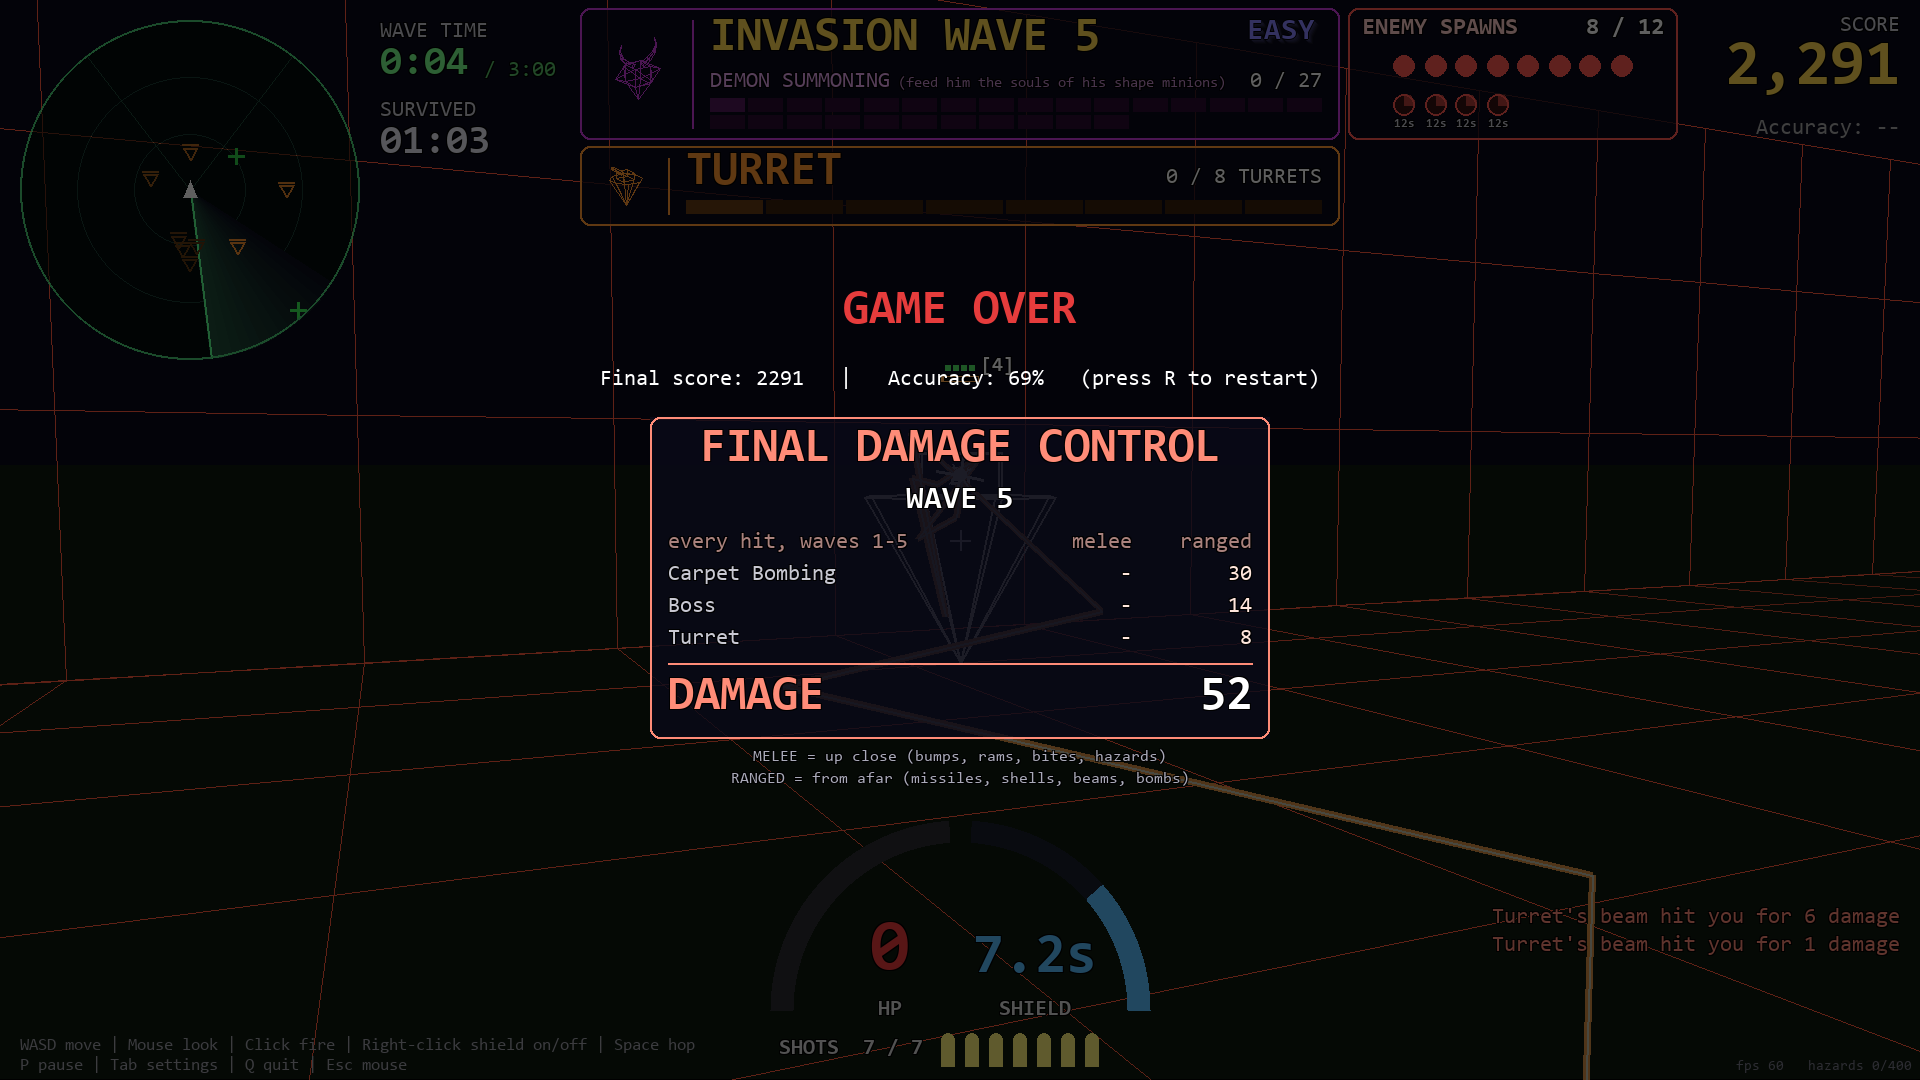
- Damage Control -- what's hurt you this wave, melee and ranged.
- Health (left arc) and shield seconds (right arc, when you have some).
- Shots -- how many bullets you can have in the air at once, and how many are ready.
- Controls reminder.
- Crosshair. Each enemy's health blocks float above it.
4. How a wave playsThe same rhythm every time
1 -- The briefing card
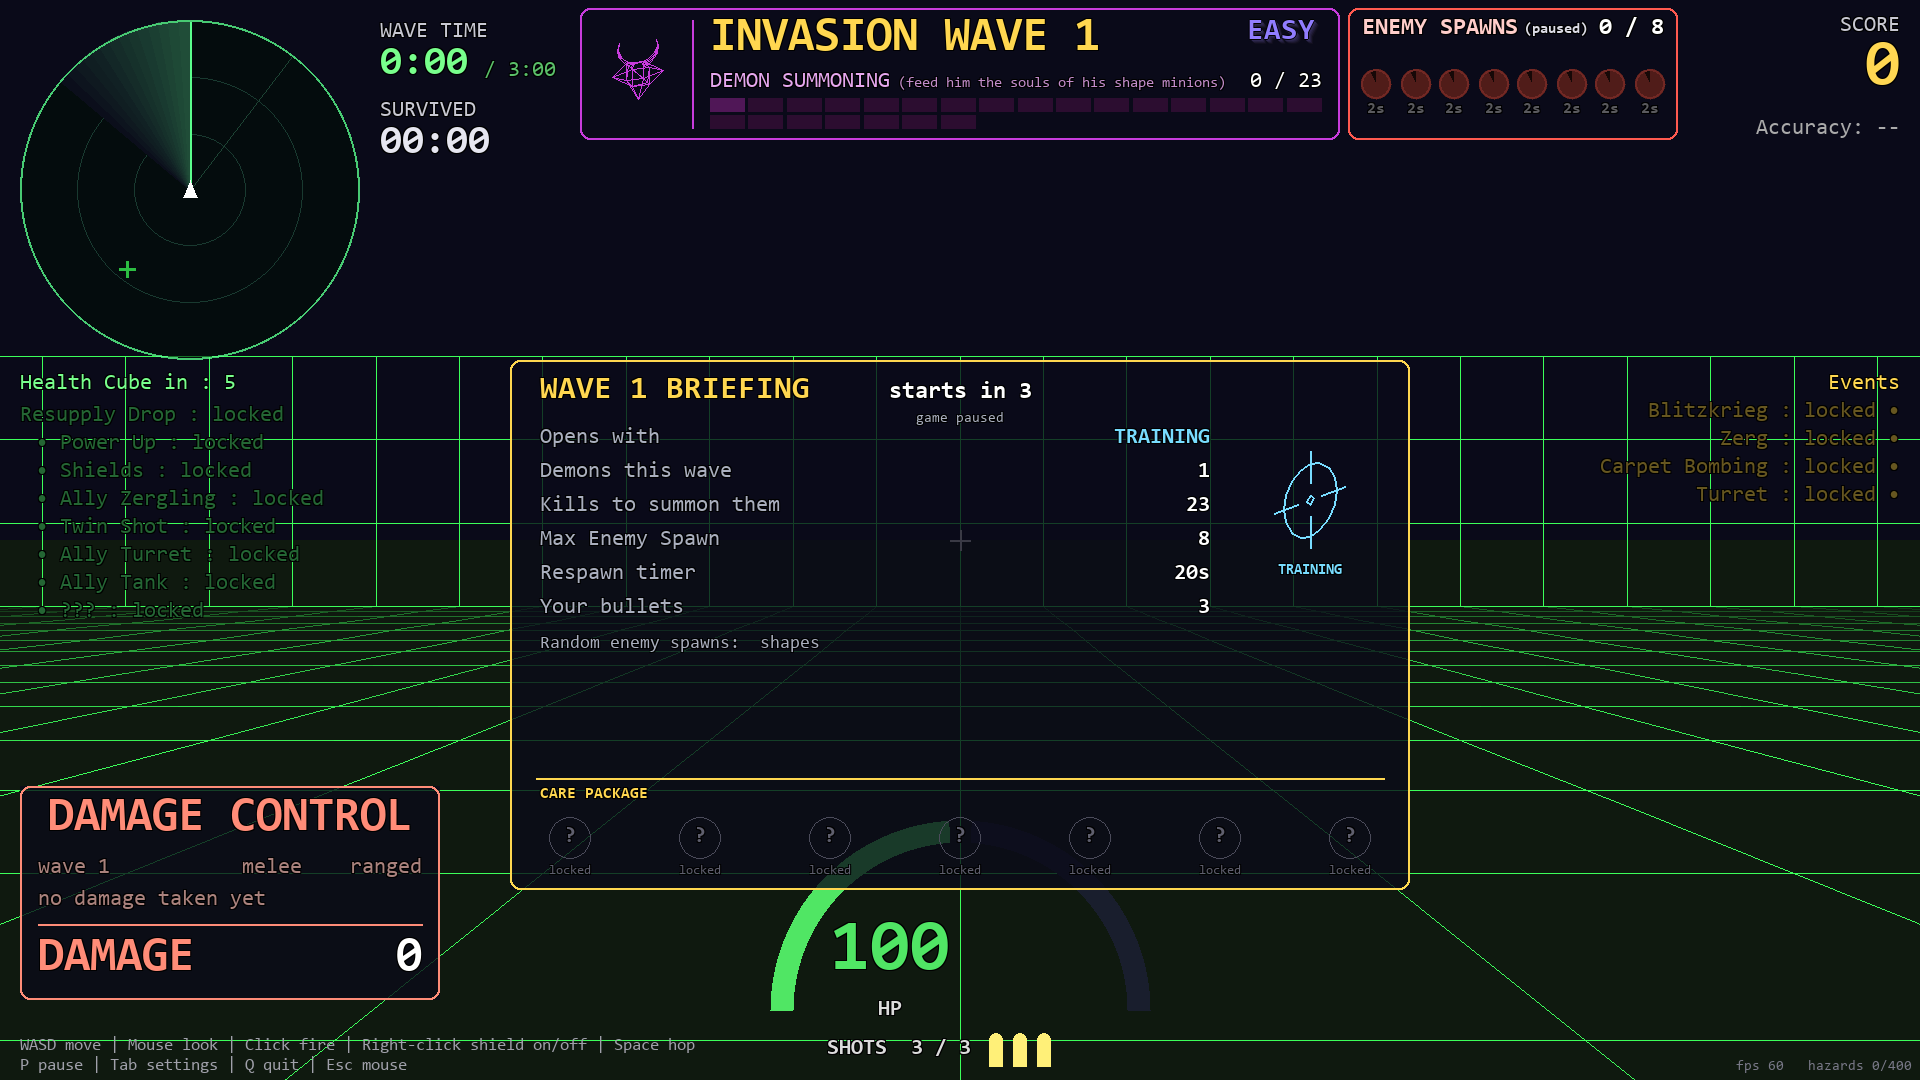
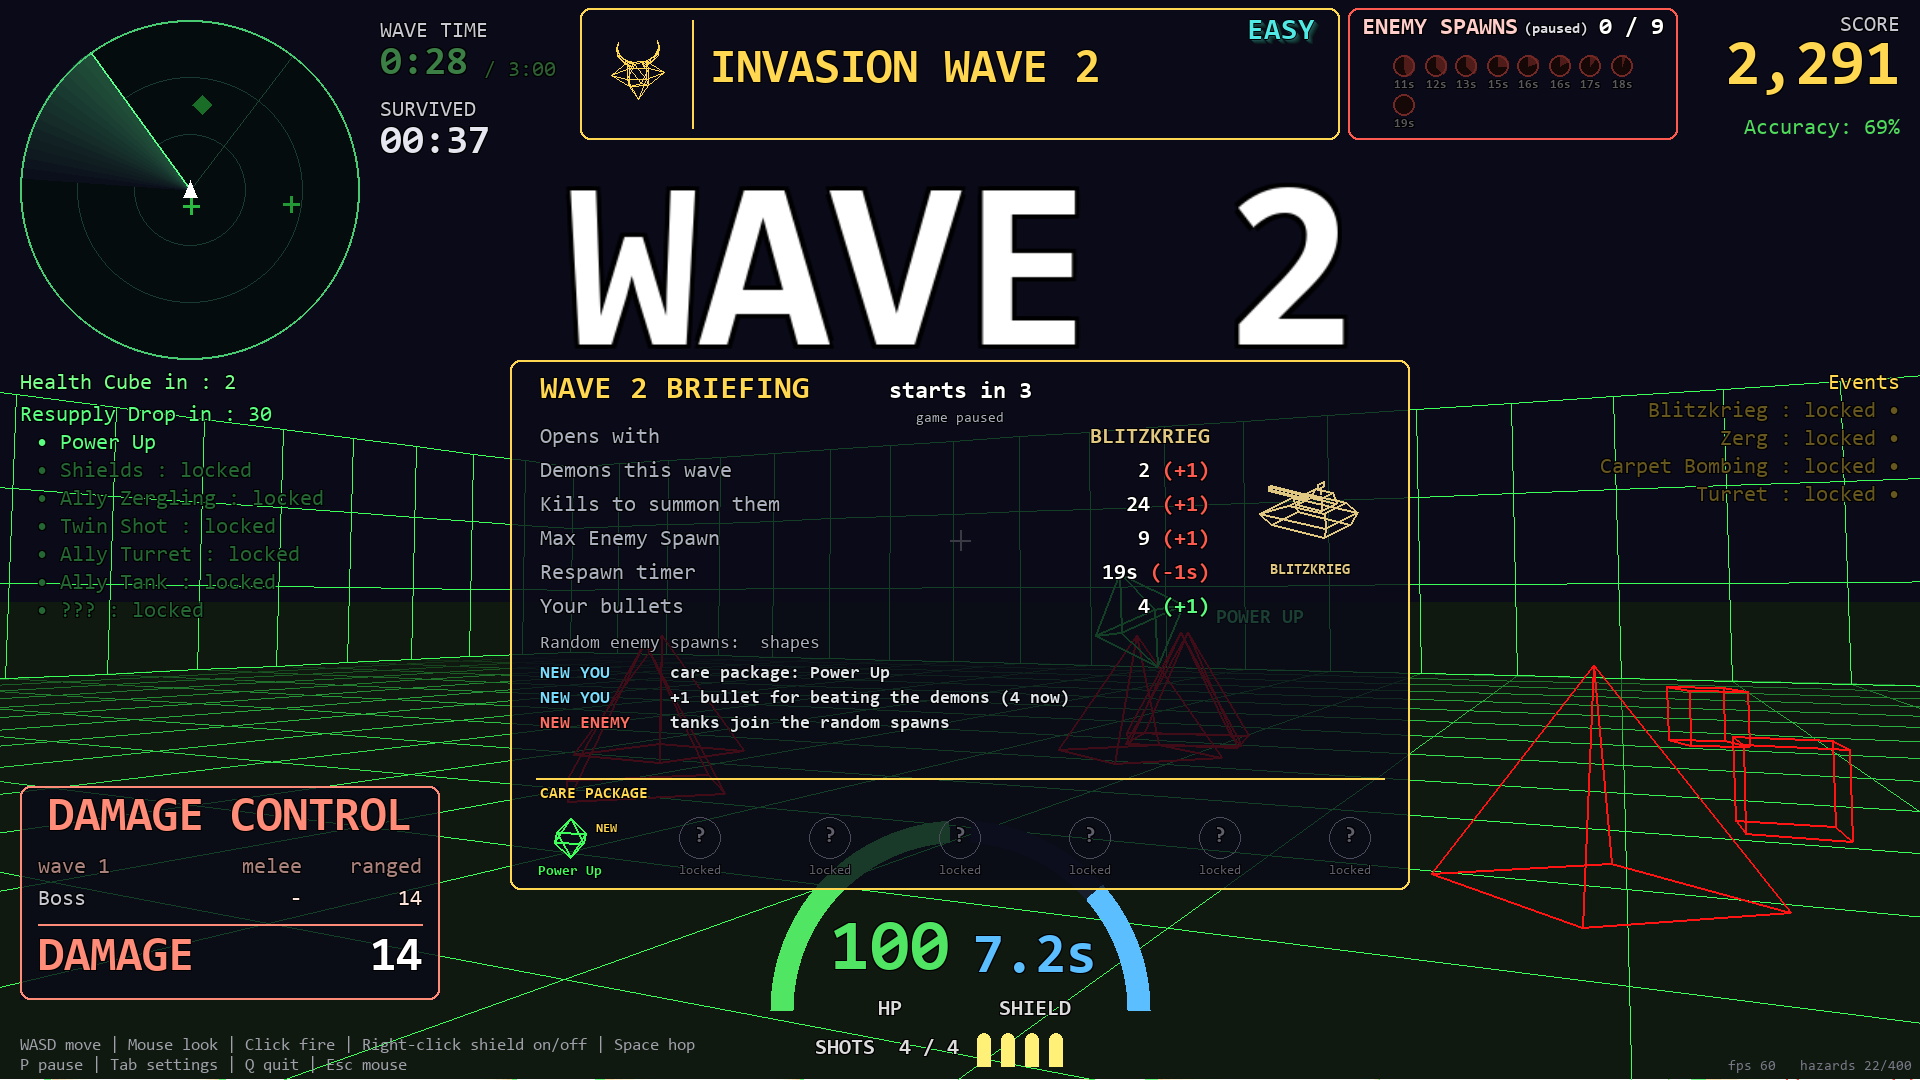
Every wave opens with its briefing card while the game holds still: the event it opens with, how many kills summon its demons, how many demons, the most enemies at once, the respawn timer, your bullets, and what's new. Green changes help you, red ones don't.
2 -- The event opens
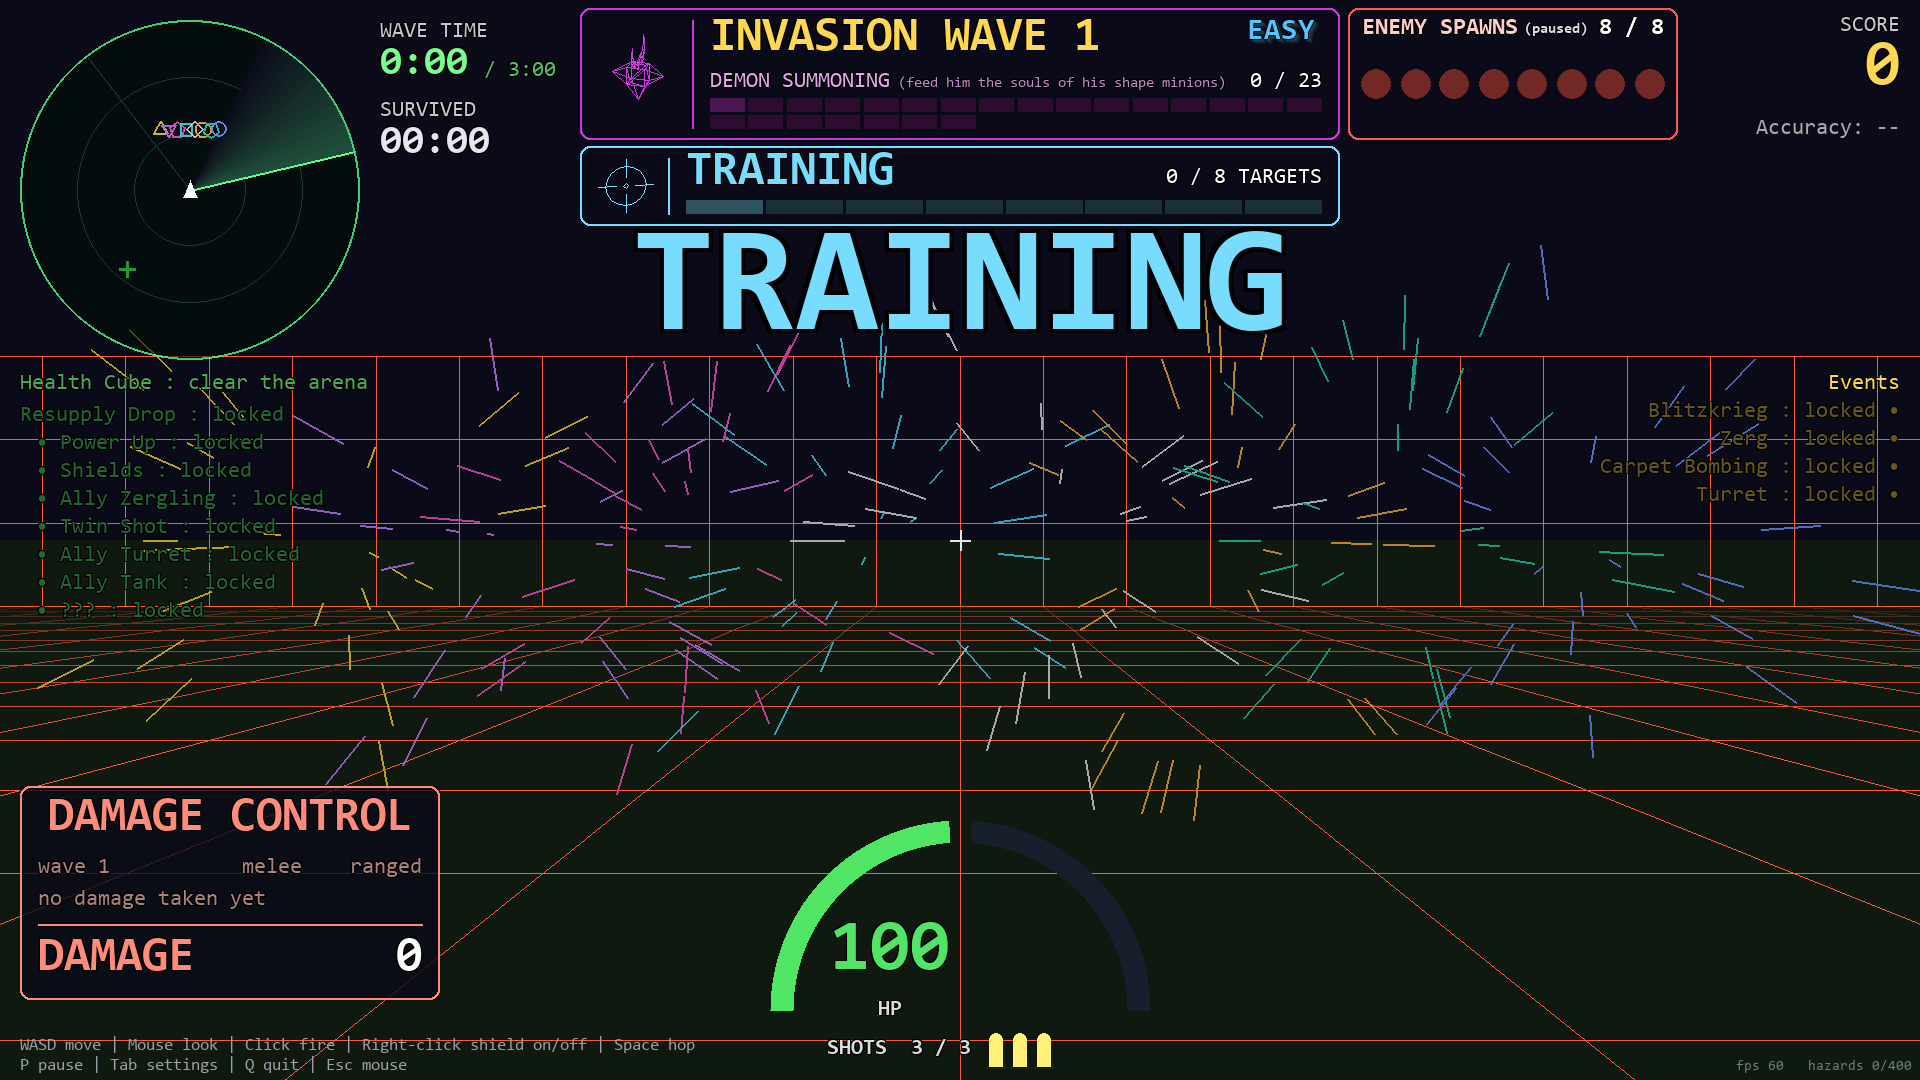
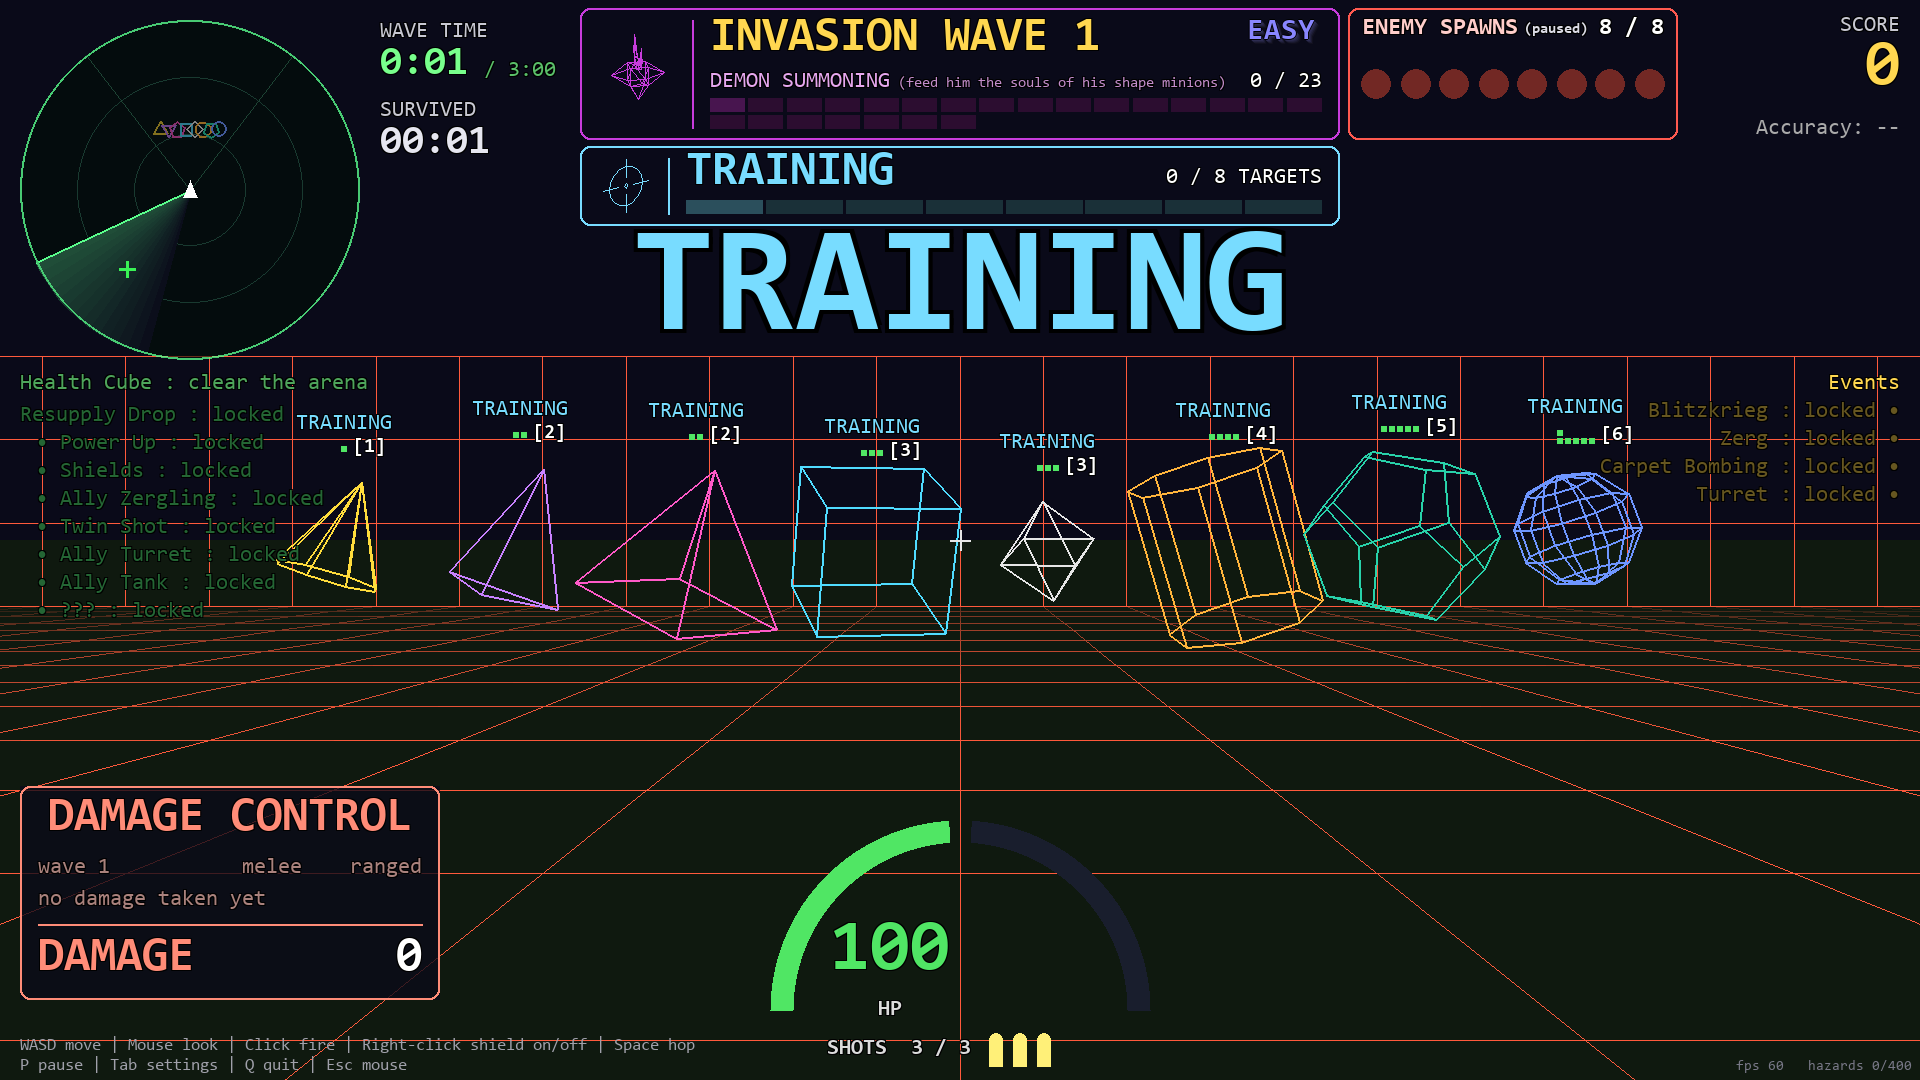
When the card closes, the wave's event starts (see Wave events). Wave 1 always opens with TRAINING: one of each basic shape zones in, lined up as still targets. Shoot them all.
3 -- The hunt
Then the normal fight: enemies spawn, zone in, and come for you. Every kill fills the DEMON SUMMONING bar (23 kills in wave 1, one more each wave, up to 32). Watch for the zone-in streaks -- they show you where the next enemy is about to appear. While an enemy is still zoning in it can't be hit.
4 -- Demons summoned, then the demon fight
When the bar fills, the demons are summoned. No more enemies spawn -- clear the arena and the demons arrive (see Demons).
5 -- The wave report and the breather
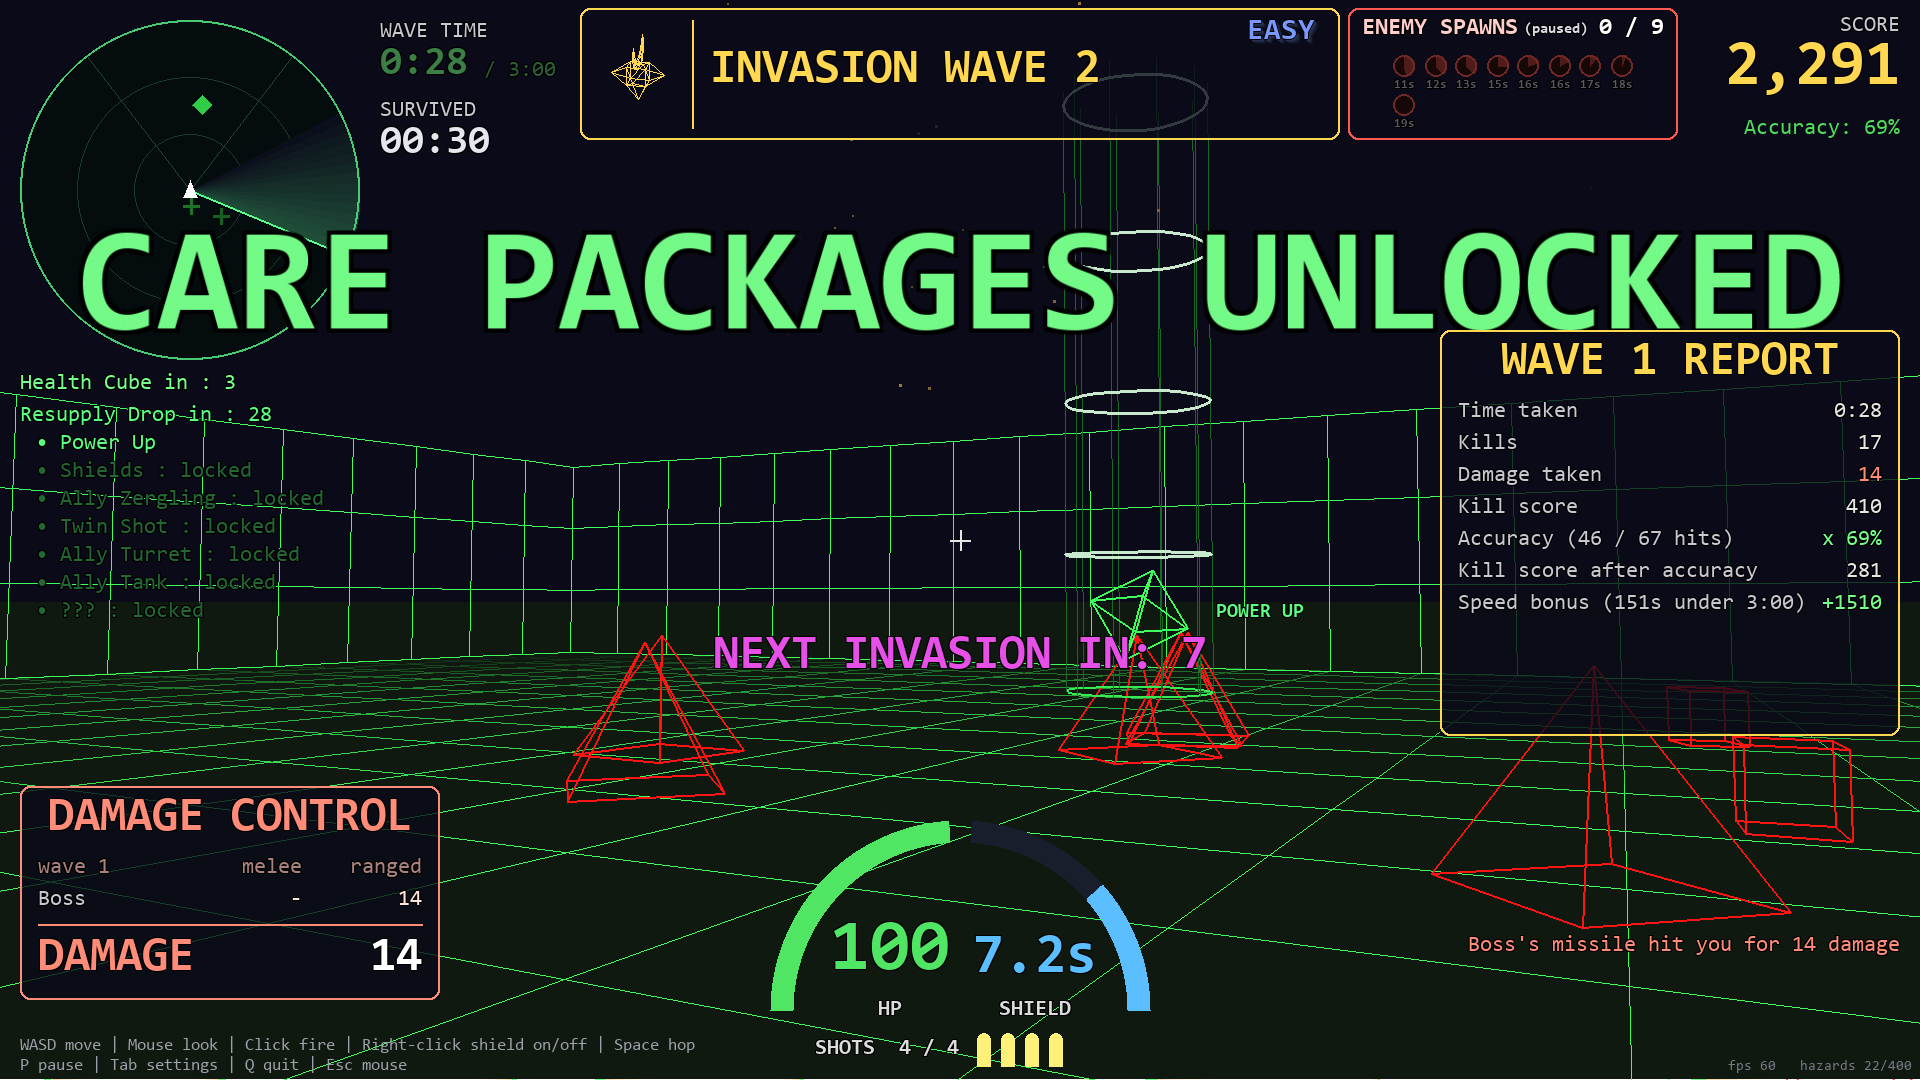
Beat the last demon and you get a breather: the WAVE REPORT scores the wave you just won, you earn +1 bullet for good, and sometimes a new care package unlocks. Then the next wave's briefing card, and round it goes.
The waves at a glance
| Wave | Opens with | Kills to summon | Demons | Max enemies | New this wave |
|---|---|---|---|---|---|
| 1 | TRAINING | 23 | 1 | 8 | the 8 basic shapes |
| 2 | BLITZKRIEG | 24 | 2 | 9 | tanks join the spawns; care package: Power Up |
| 3 | ZERG | 25 | 3 | 10 | mini zergs (once you beat it) |
| 4 | CARPET BOMBING | 26 | 4 | 11 | mini carpet bombings; care package: Shields |
| 5 | TURRET | 27 | 5 | 12 | turrets join the spawns; Ally Zergling |
| 6 | BLITZKRIEG | 28 | 6 | 13 | Twin Shot |
| 7 | ZERG | 29 | 6 | 14 | Ally Turret |
| 8 | CARPET BOMBING | 30 | 6 | 15 | Ally Tank |
| 9 | TURRET | 31 | 6 | 16 | |
| 10+ | round and round | 32 | 6 | 16 | the ??? care package... |
The respawn timer also drops a second each wave: 20 s in wave 1, down to 5 s.
5. EnemiesThe more sides, the slower, tougher and harder-hitting
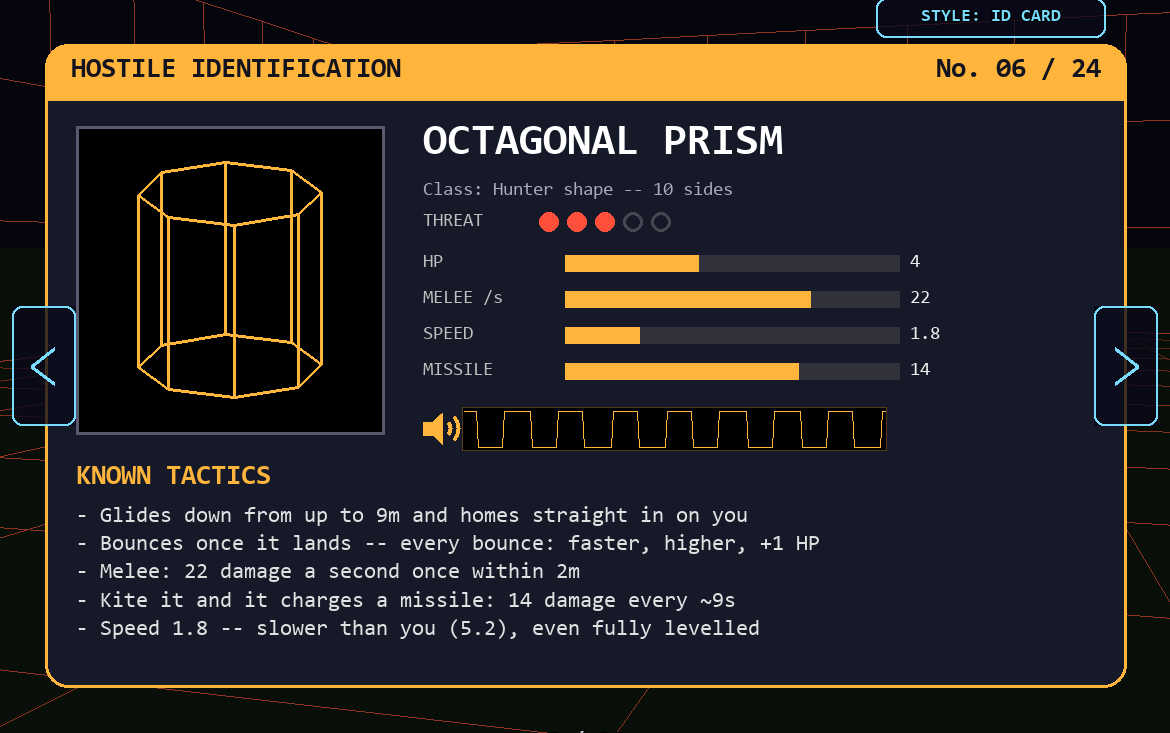
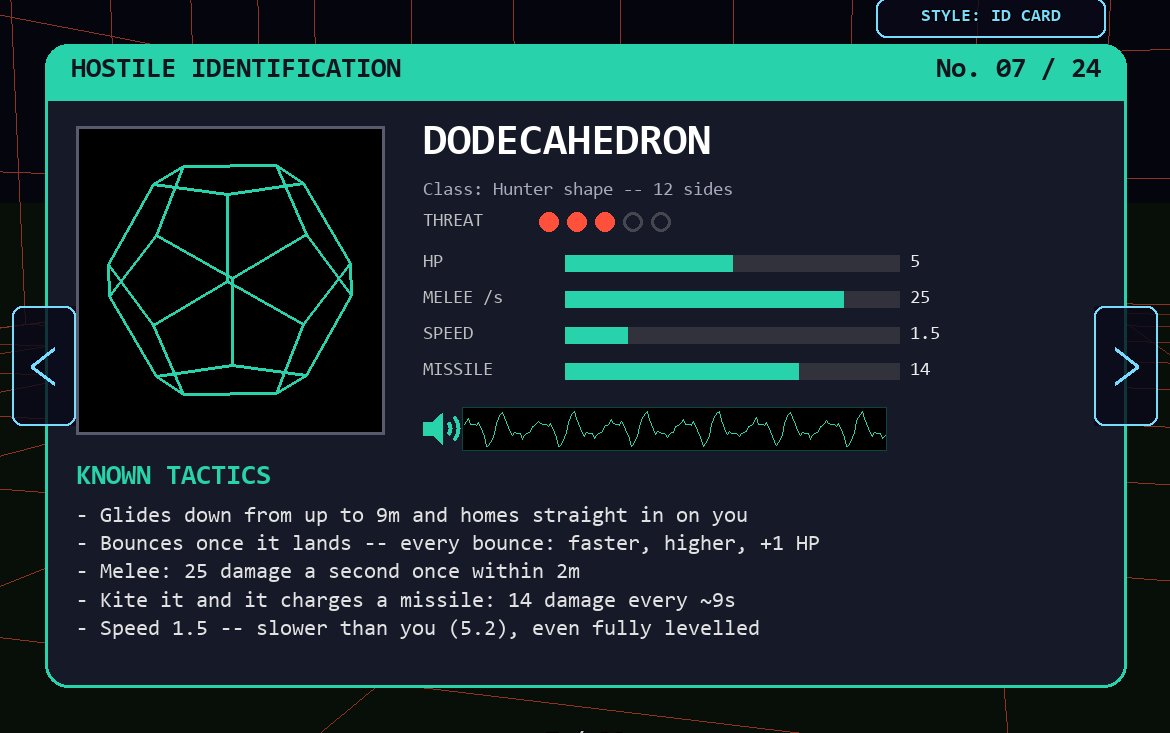
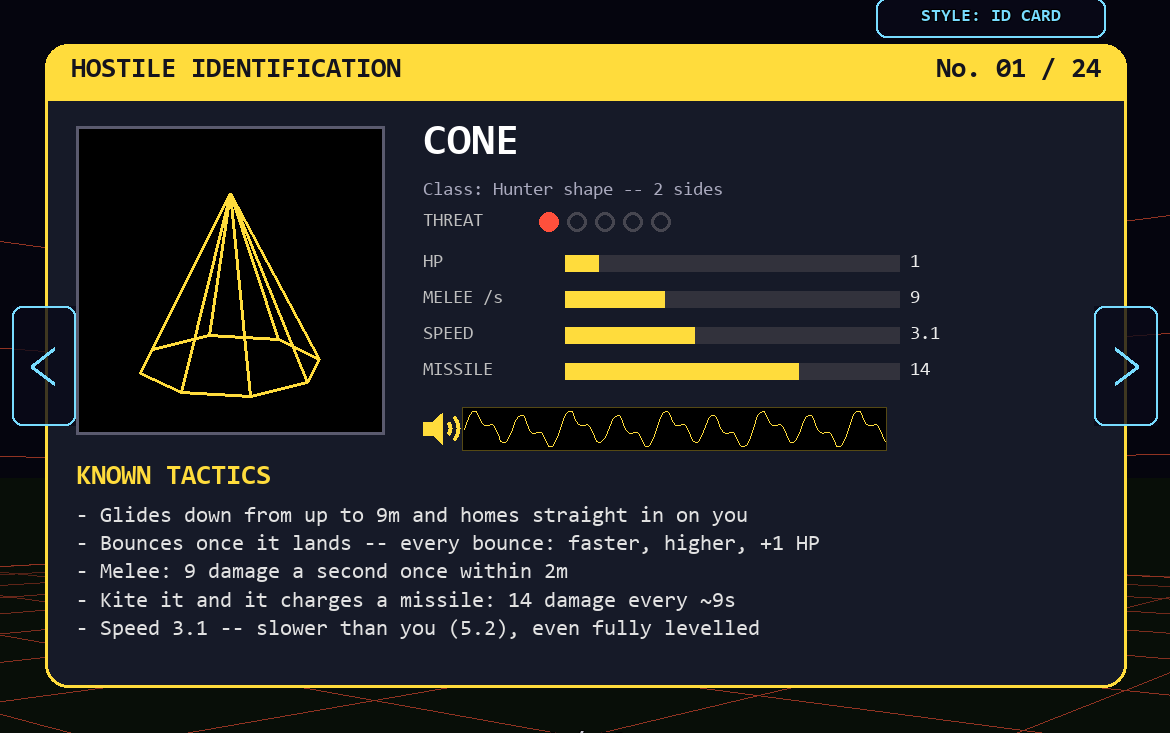
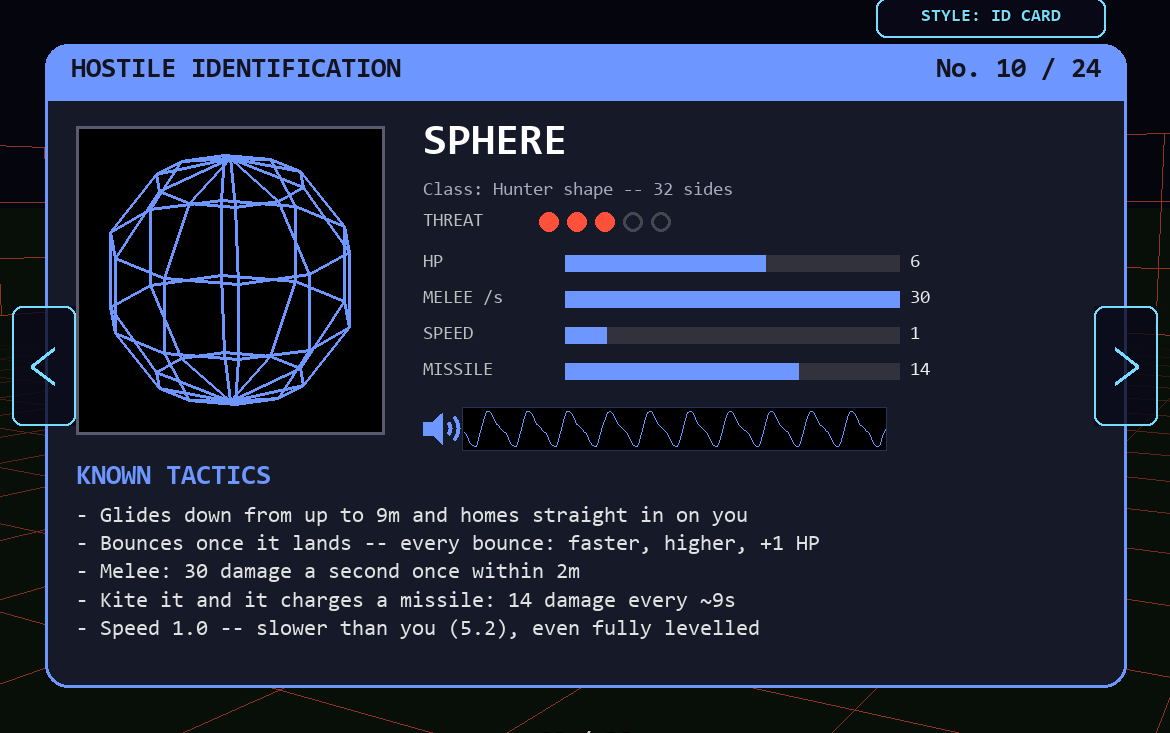
The basic shapes glide down from the sky and bounce toward you -- every bounce makes them a bit faster and gives them +1 HP, so kill them early. If you keep your distance they charge up and fire a missile at you instead.
| Shape | Sides | Character |
|---|---|---|
| Cone | 2 | Fastest thing in the arena, weak alone |
| Tetrahedron | 4 | Nimble, a bit more bite |
| Pyramid | 5 | Balanced |
| Cube | 6 | The all-rounder |
| Octahedron | 8 | Tougher, slower, hits back |
| Octagonal prism | 10 | Heavy hitter |
| Dodecahedron (the d12) | 12 | Slow and heavy |
| Sphere | 32 | The toughest, slowest, hardest-hitting shape |
Tanks
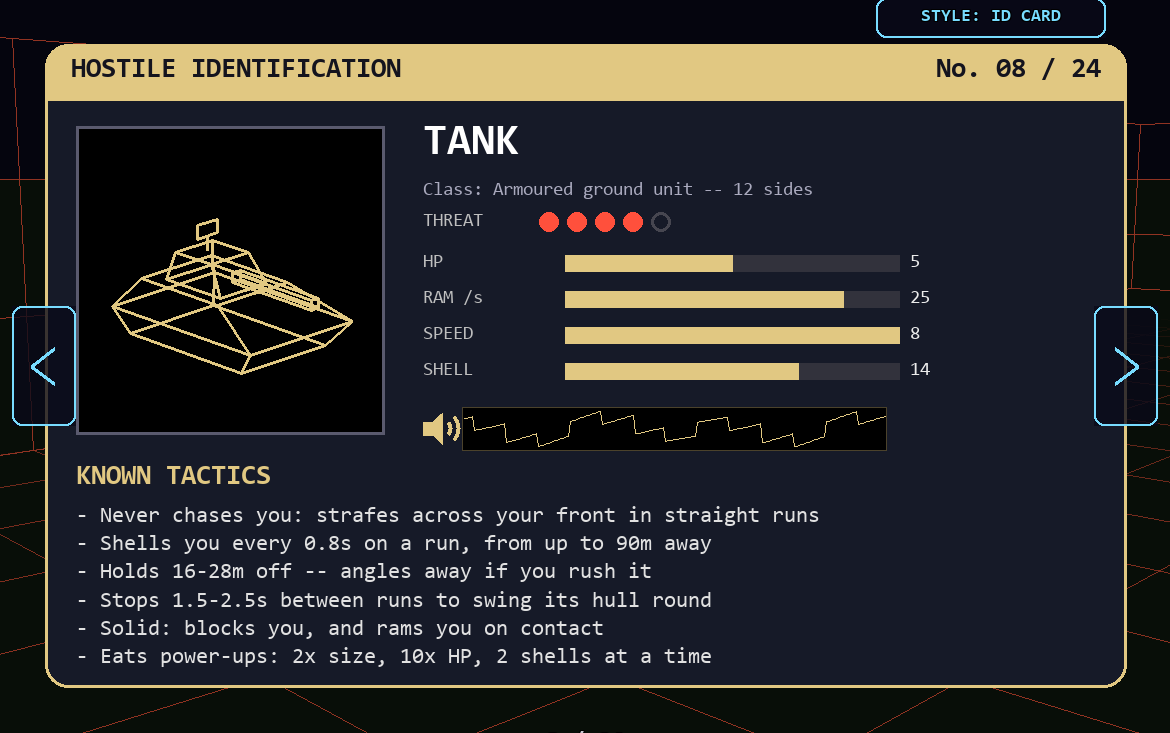
Arrive with the first BLITZKRIEG. They never chase you -- they tear across your front on fast strafing runs, shelling you, and they're solid: they block you and ram you. Hop over them. A tank that drives over a hazard either crushes it or kicks it (it flies off glowing orange and lands somewhere else).
Turrets
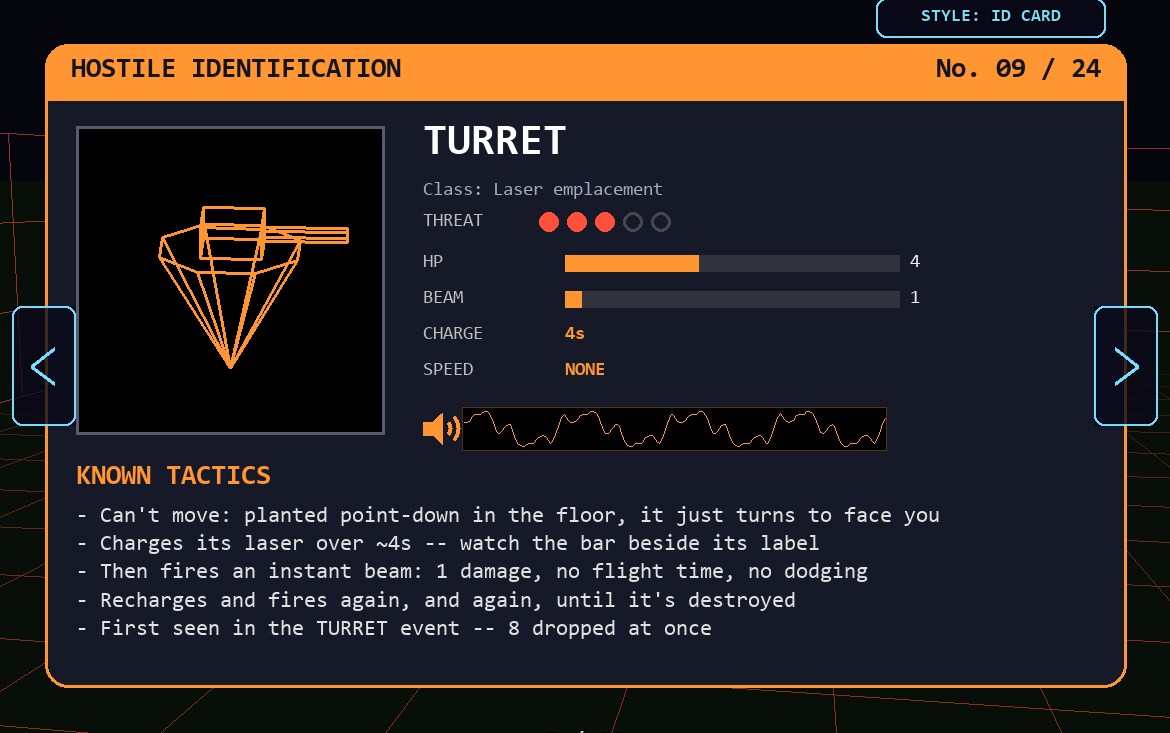
Arrive with the first TURRET event. Planted in the floor; each charges its laser (watch the meter under its health -- it flashes white just before it fires) and fires a beam that never misses. Only 1 damage, but take them out fast.
Mega enemies
A tank or zergling that eats a Power Up or Twin Shot becomes a mega: twice the size, 10x the HP, faster, hitting harder -- drawn in heavy double "tube" lines so you can spot it. Don't leave care packages lying about for them.
6. DemonsThe end of every wave
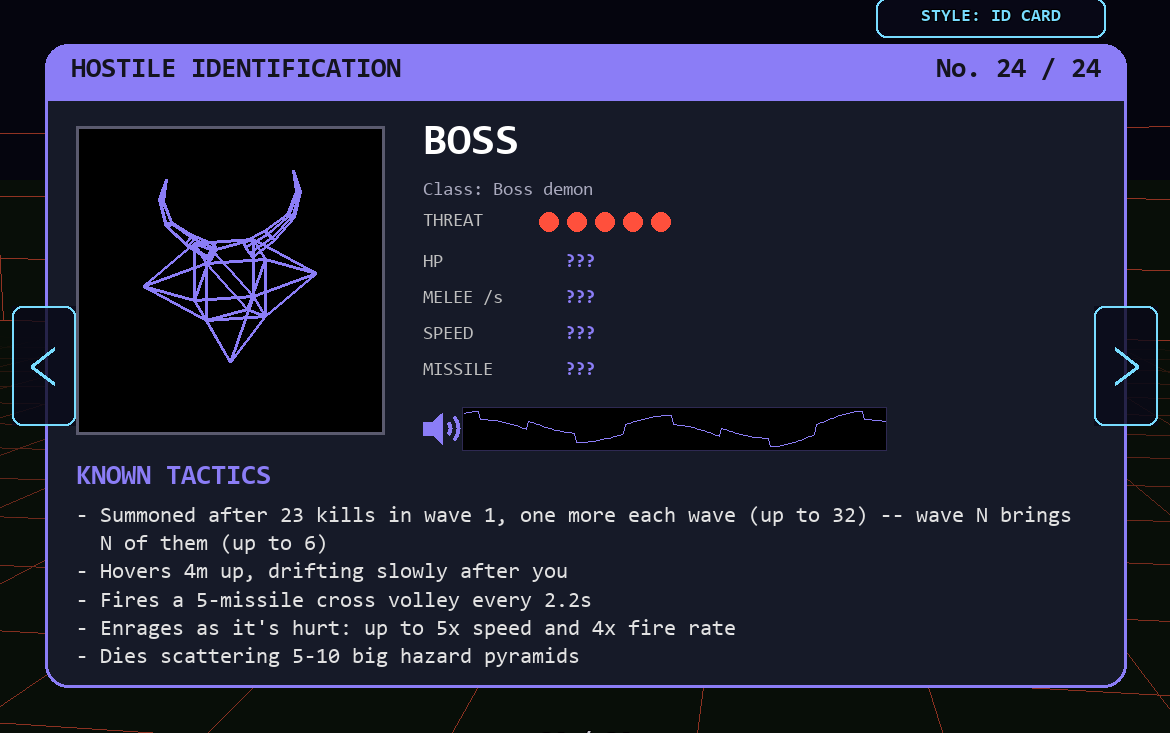
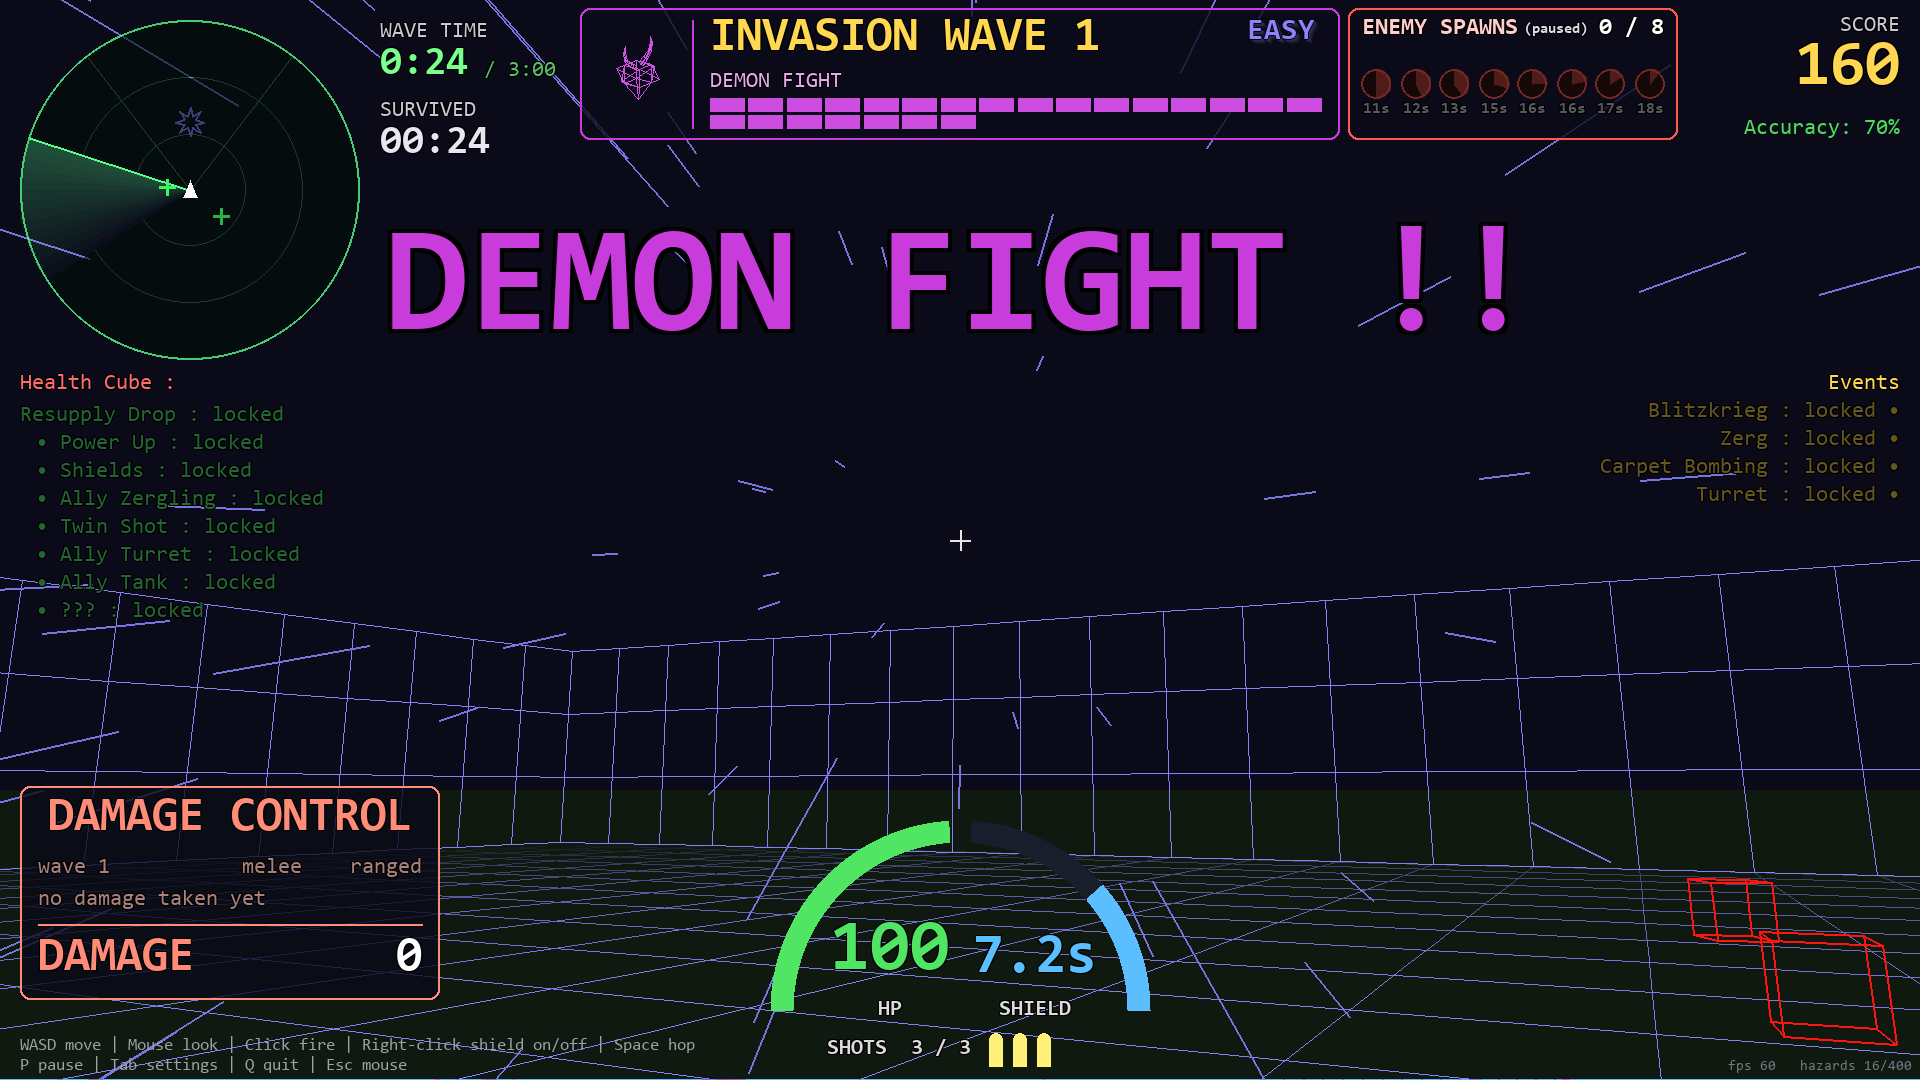
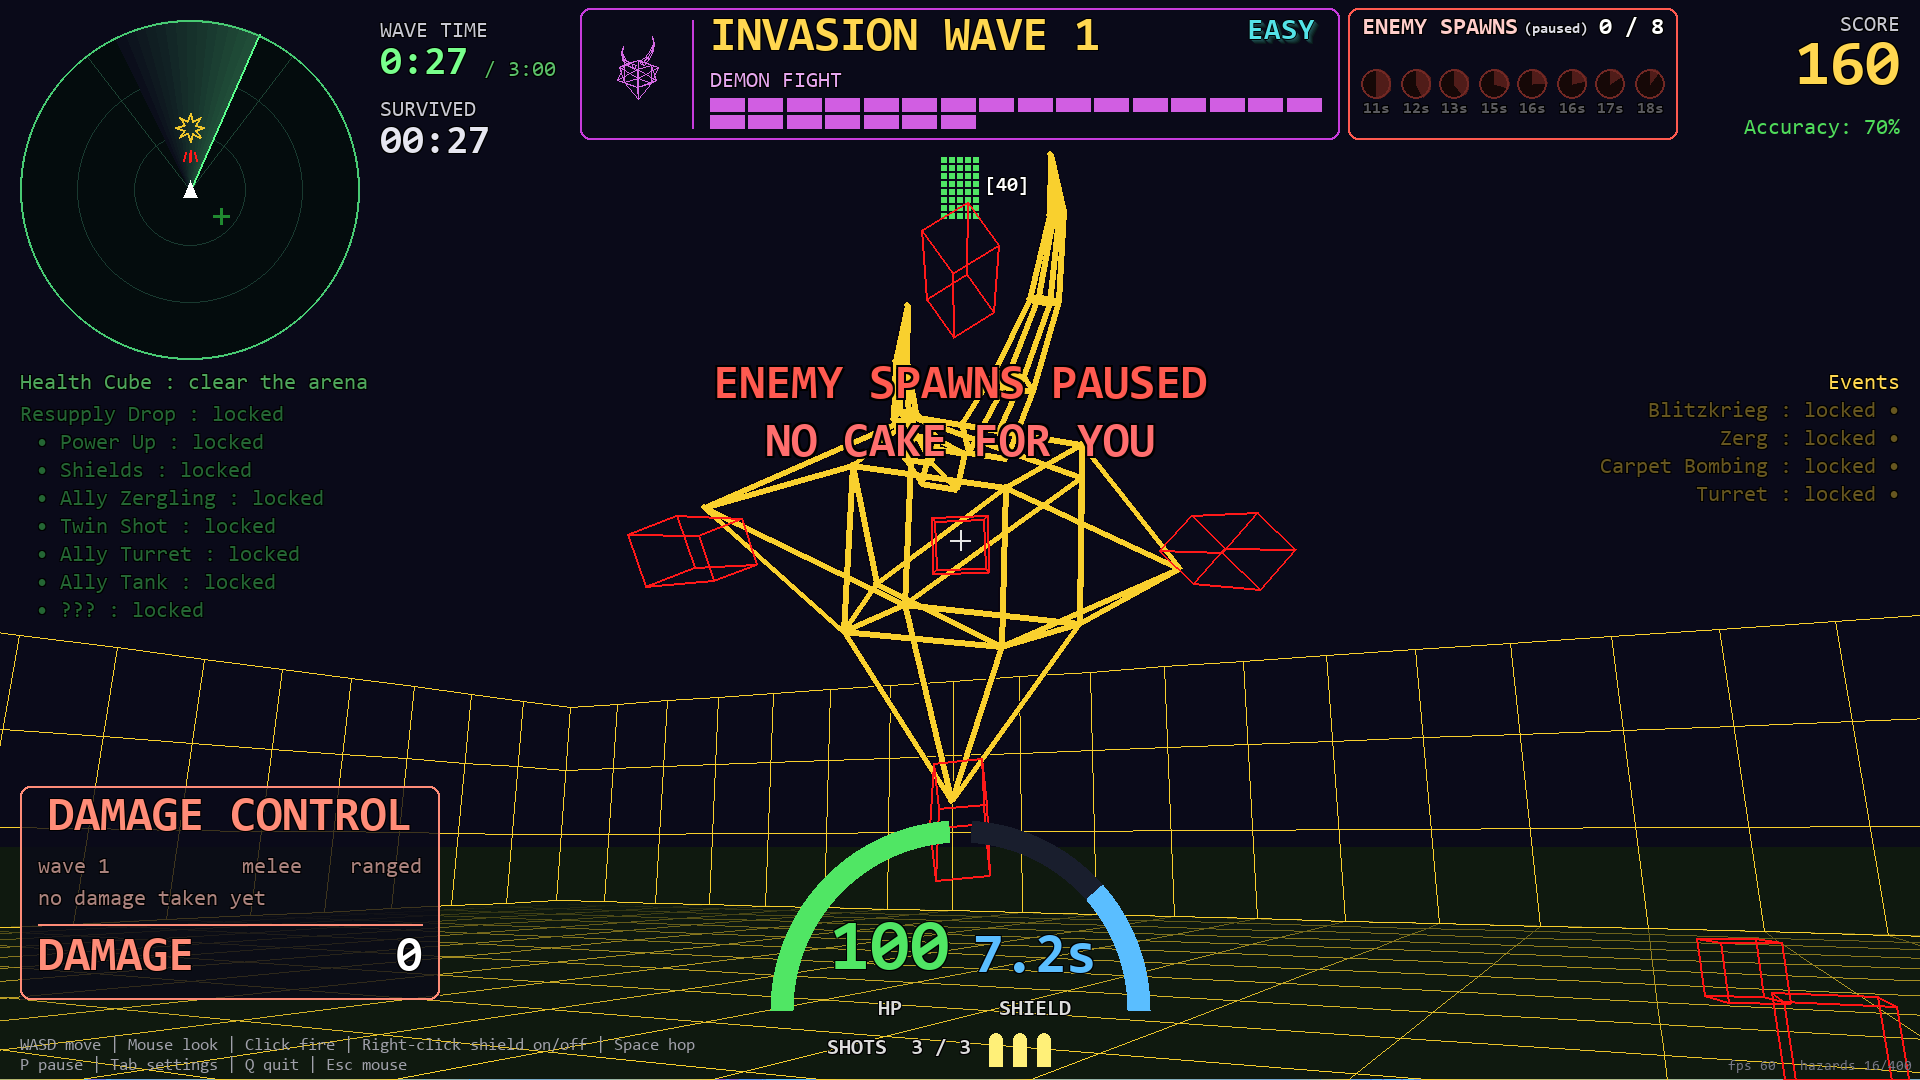
Once the summoning bar is full and the arena is clear, the demons zone in -- a huge burst of streaks over two seconds shows exactly where each one will be. Then they hover, drift after you, and fire cross-shaped missile volleys. The more you hurt one, the angrier it gets: faster and firing more often. Wave N brings N demons (up to 6). When one dies it scatters big boss hazard pyramids.
7. Wave eventsEach wave opens with one, in turn
An event banner under the wave panel counts each event down.
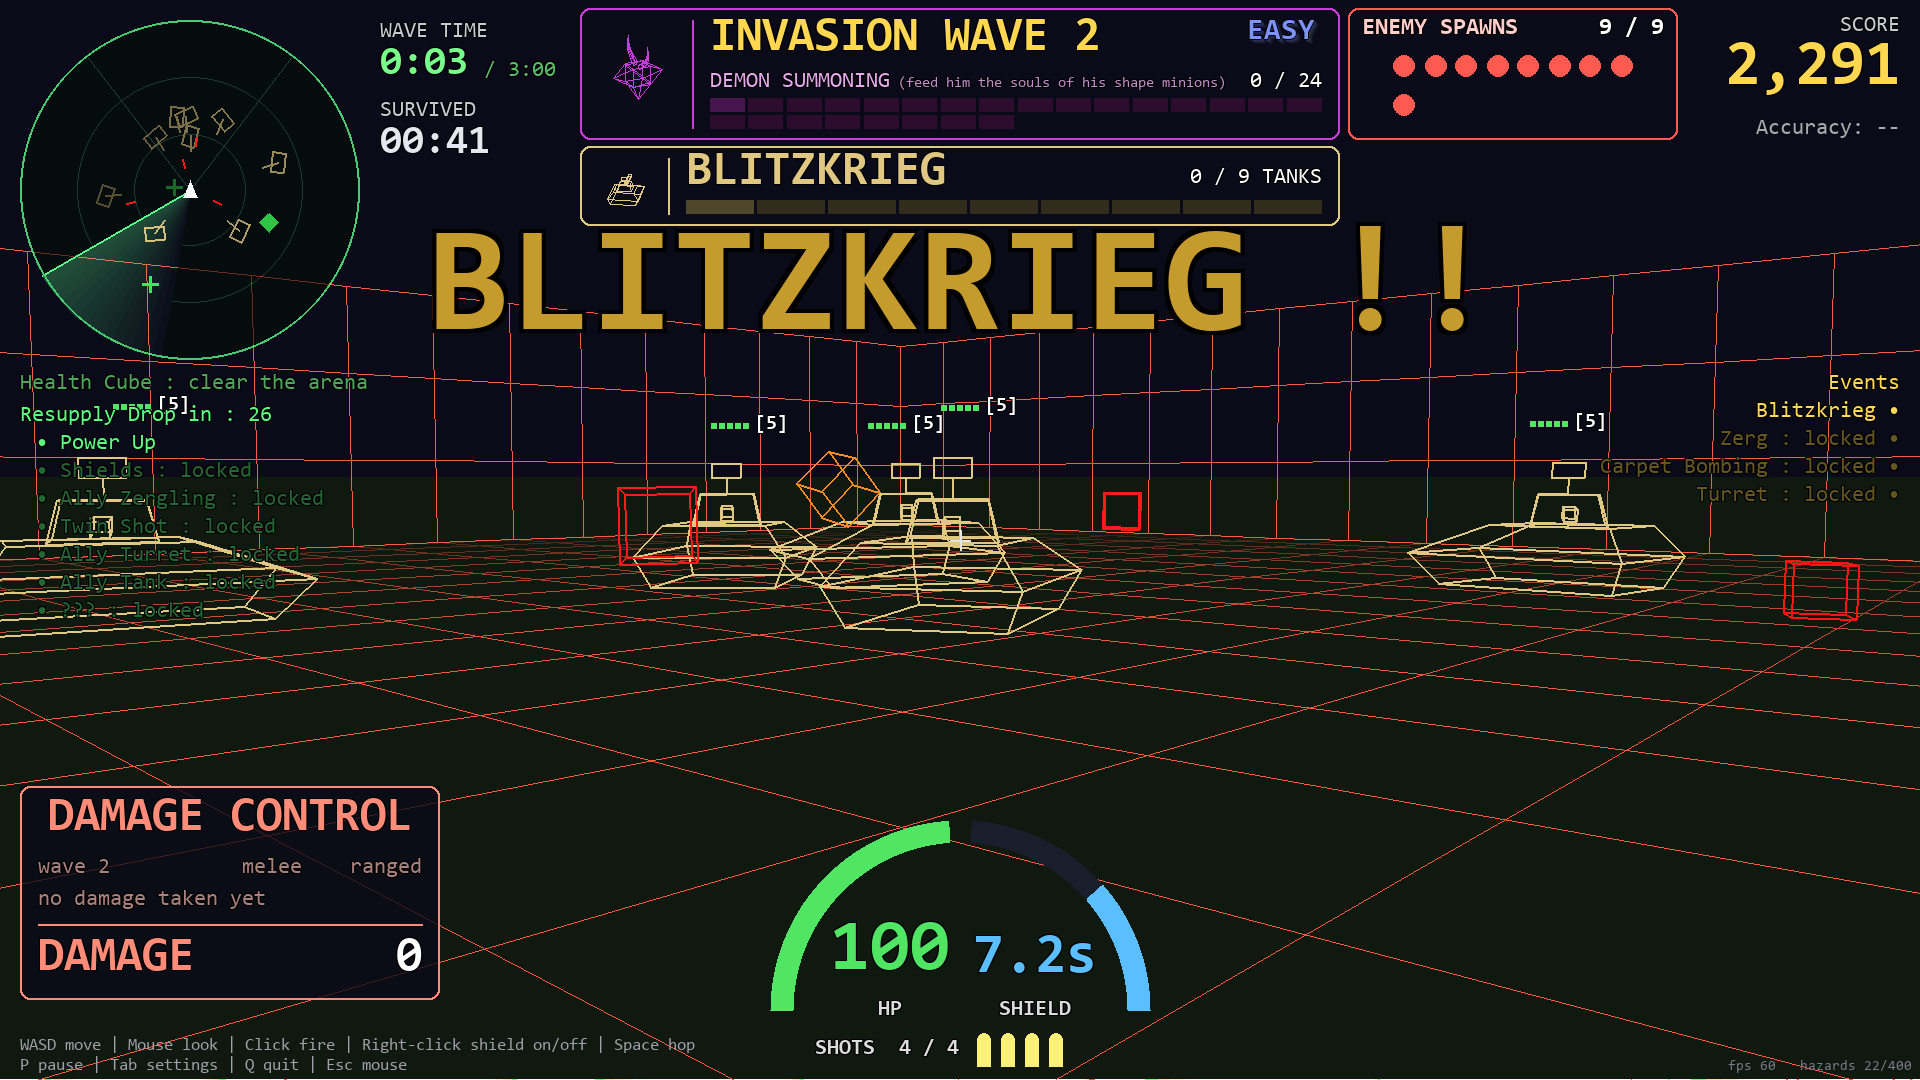
BLITZKRIEG
Every enemy slot rolls in as a tank at once. From then on tanks join the random spawns.
ZERG
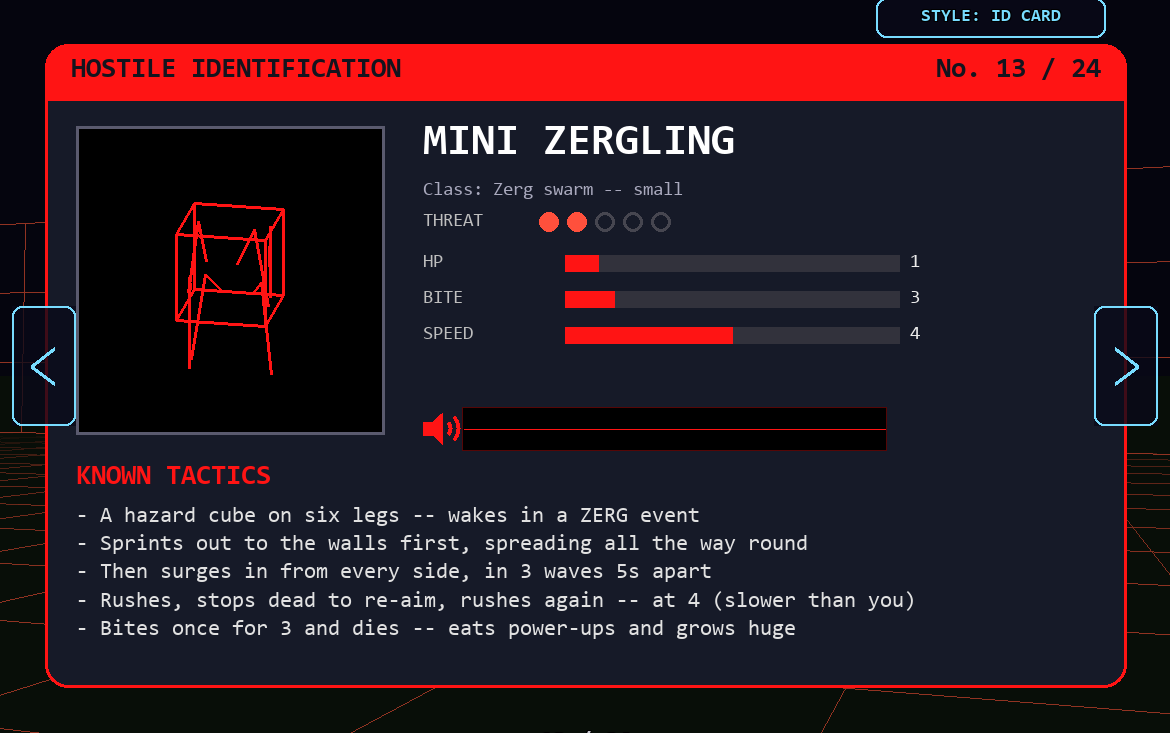
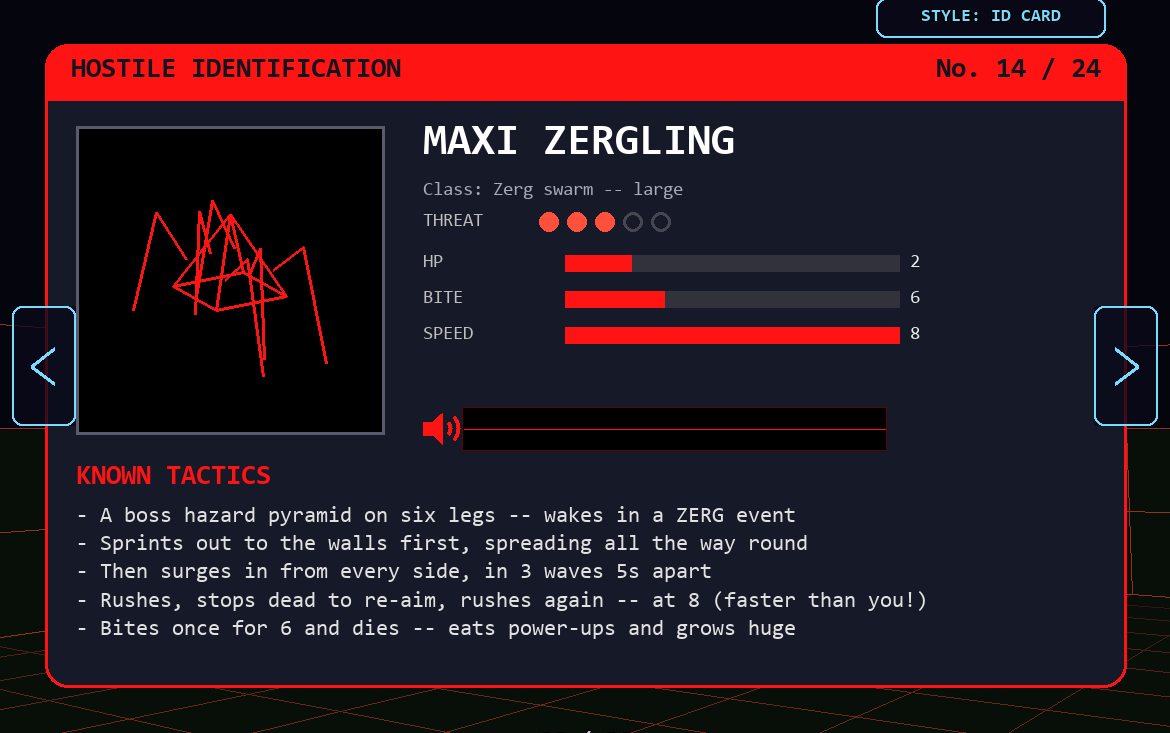
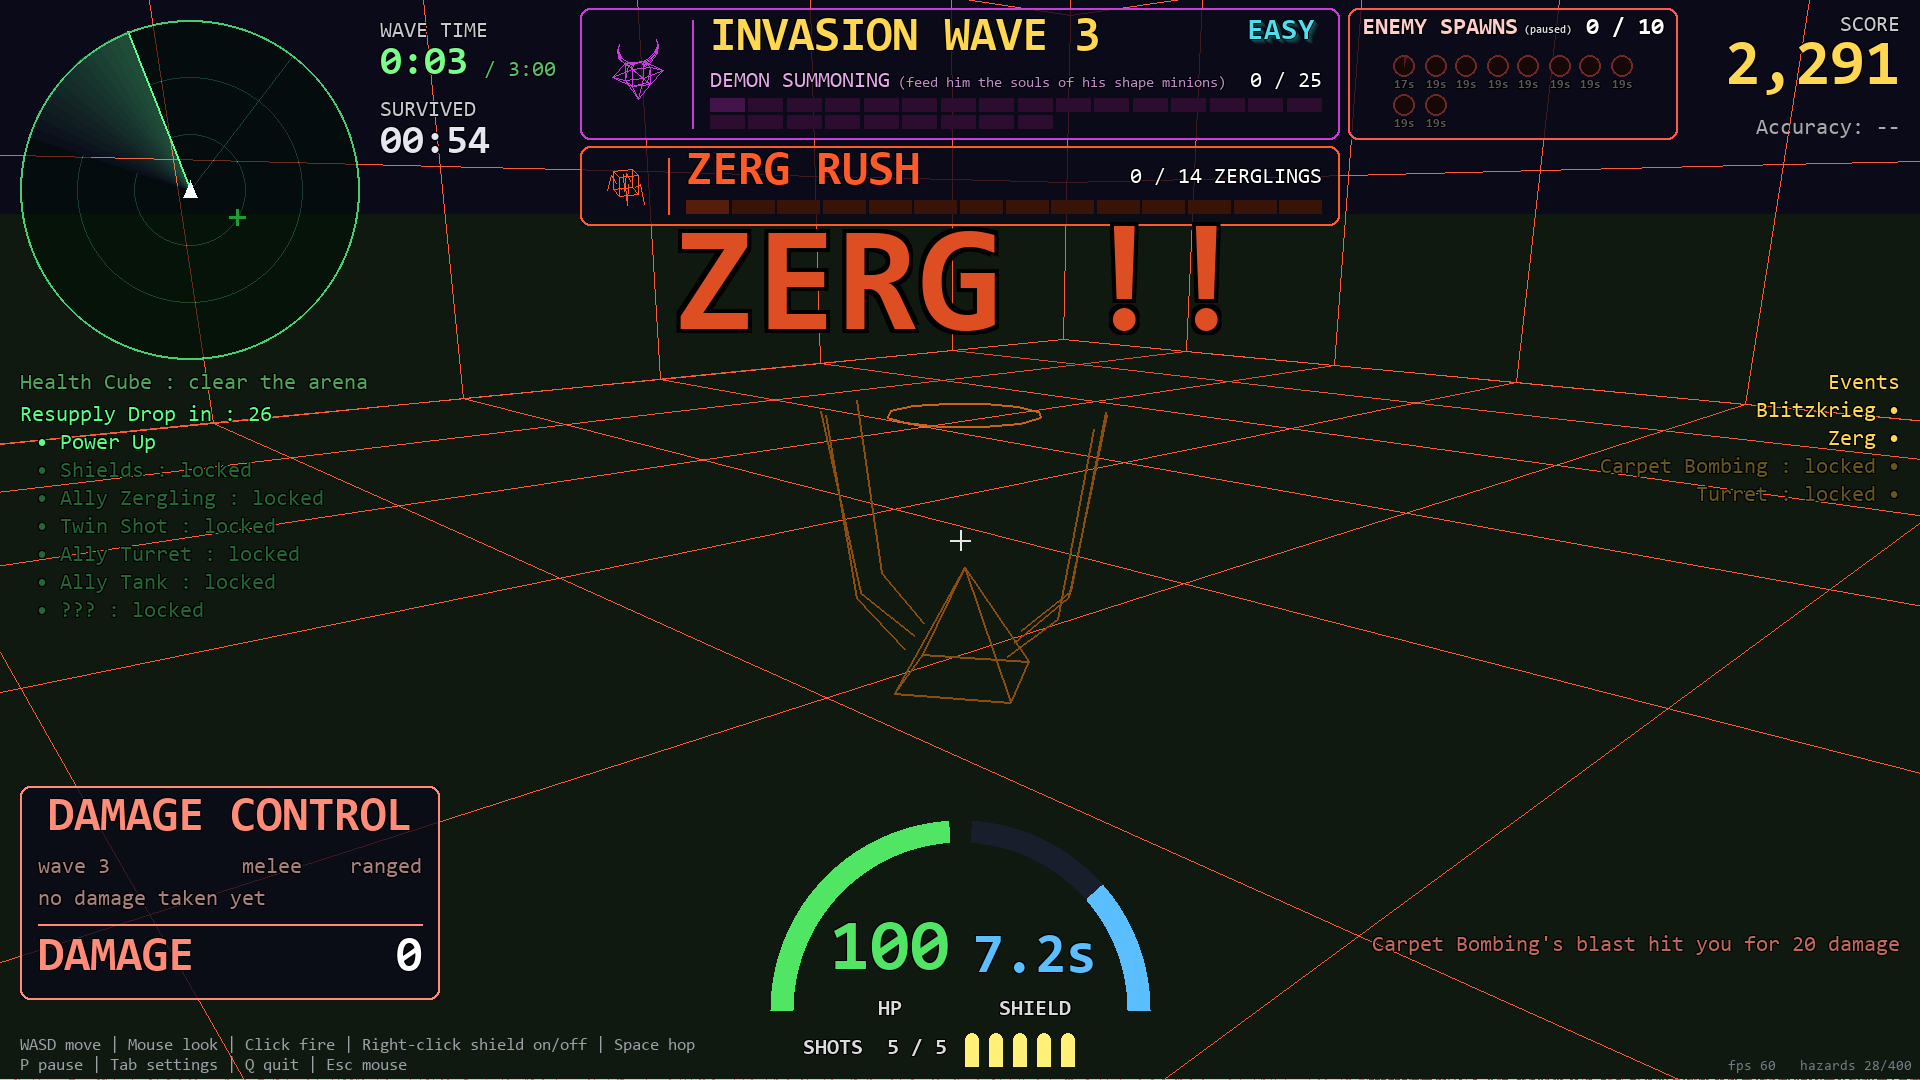
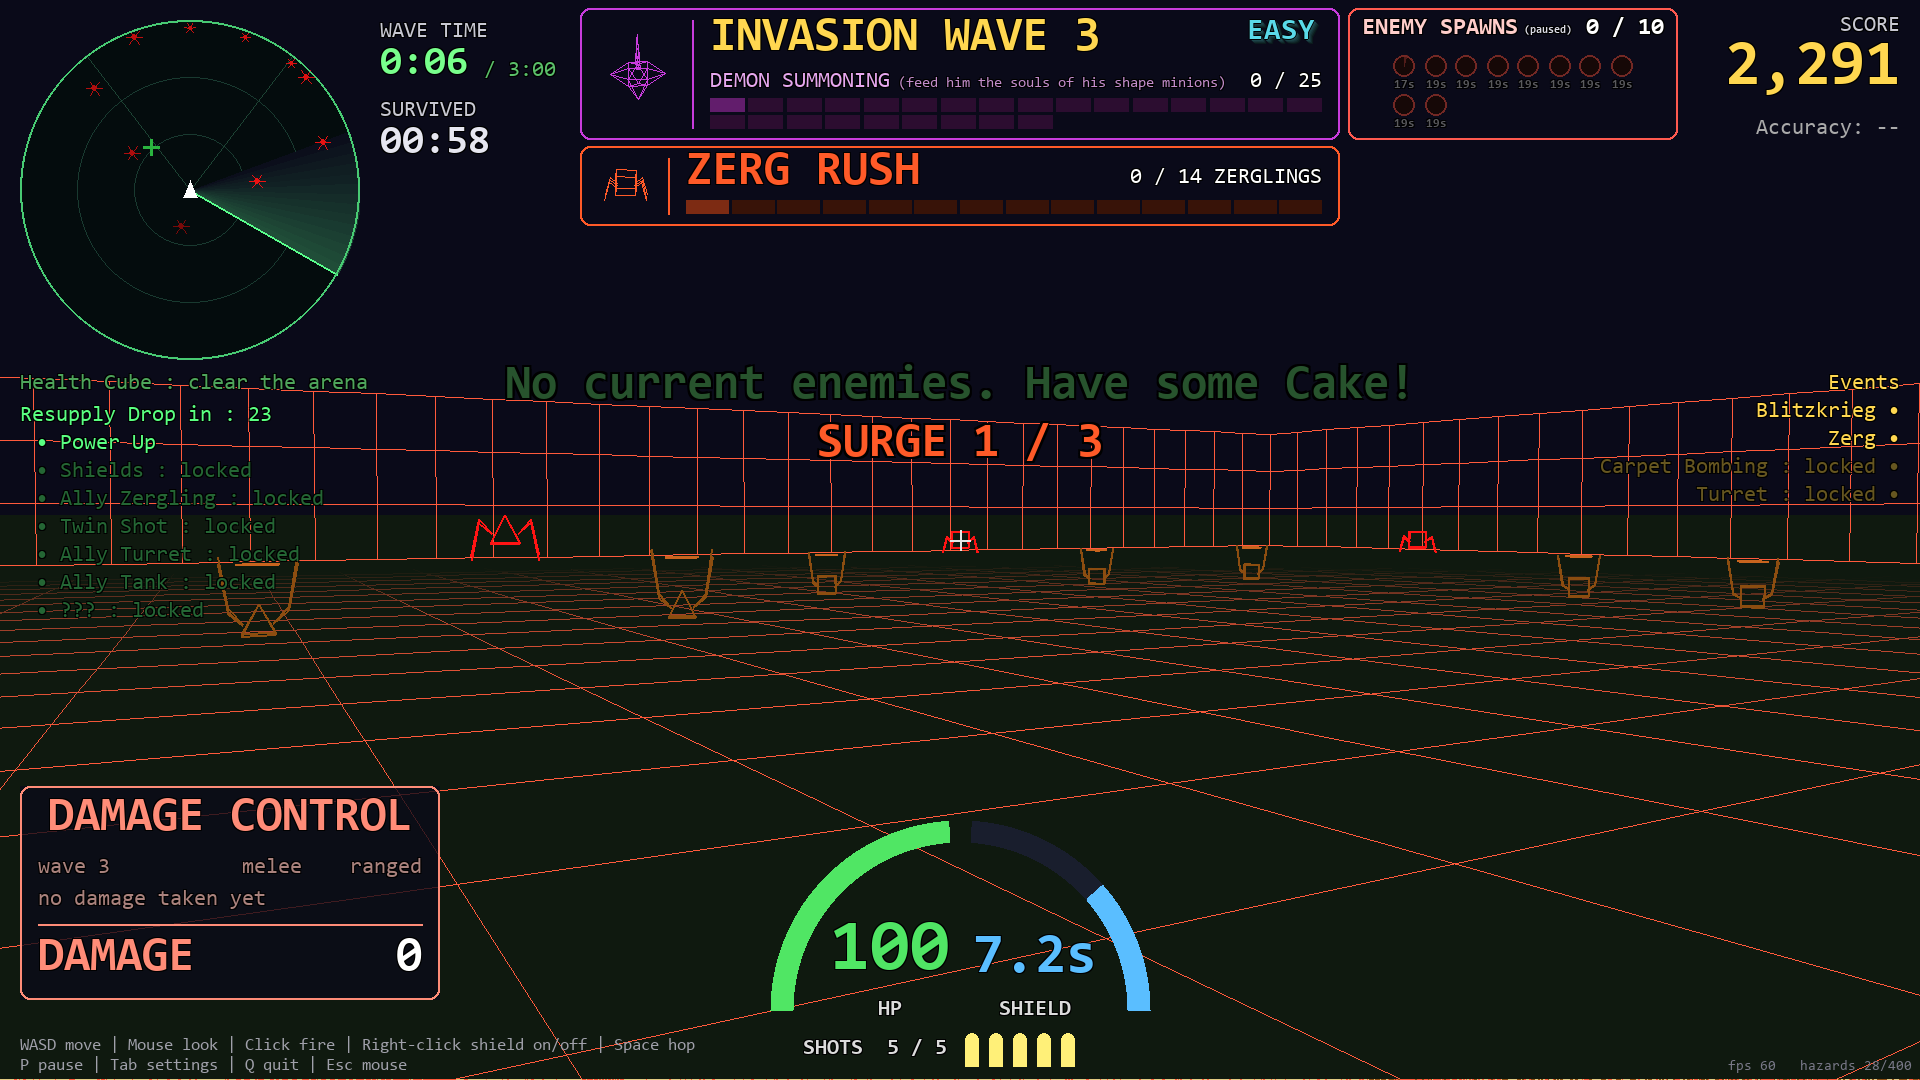
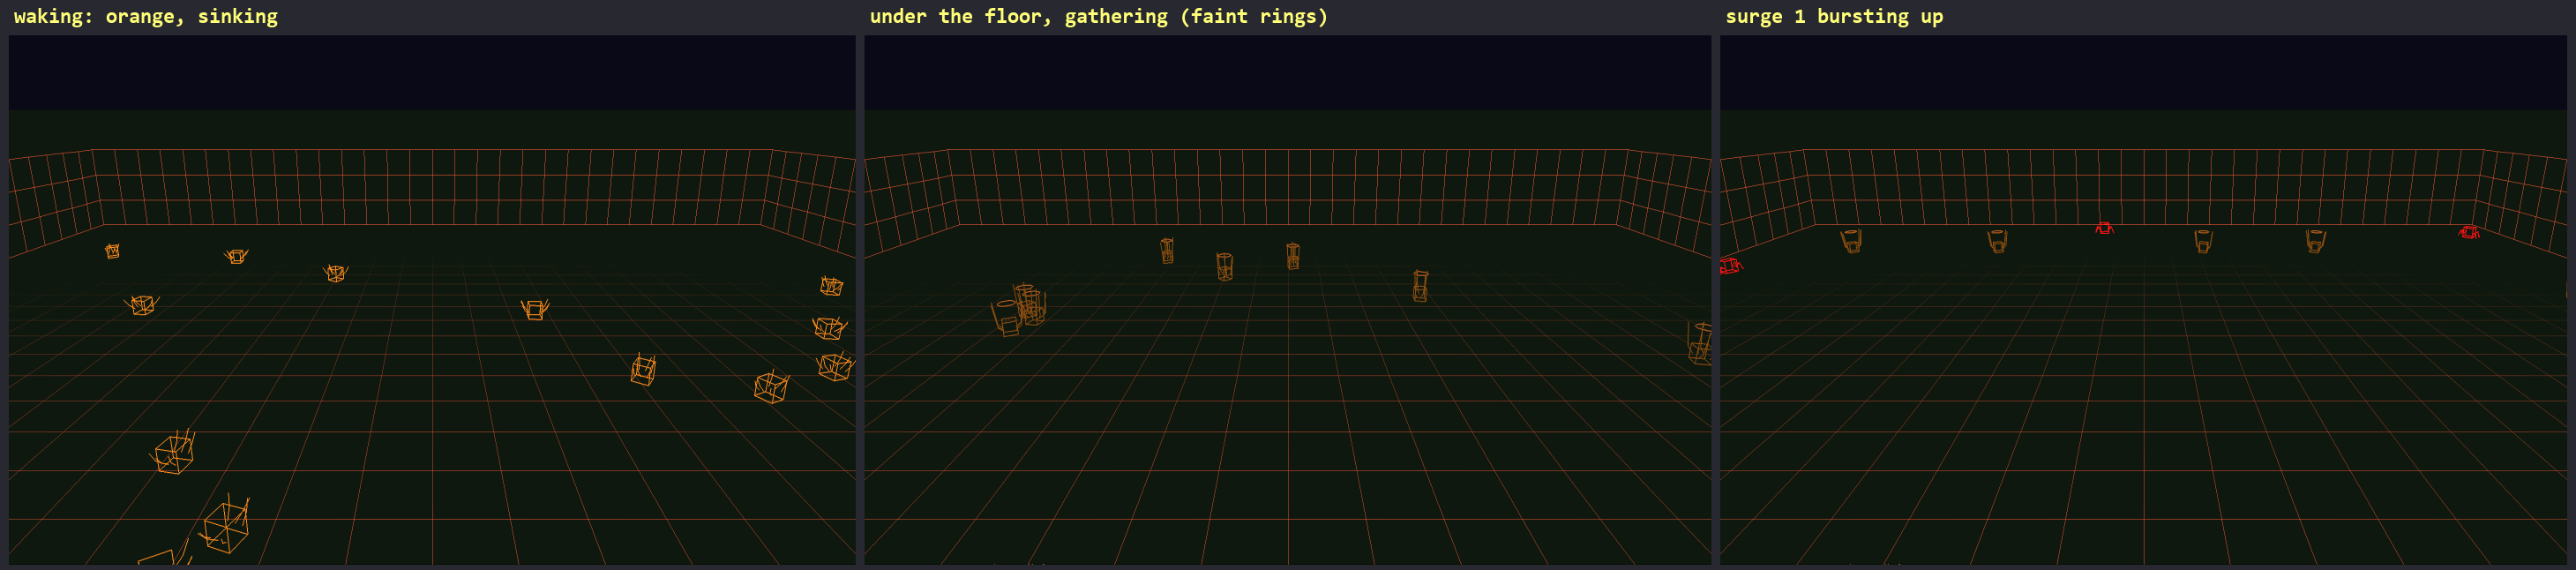
Every hazard on the ground grows legs -- at least 20 zerglings. They're sneaky: they glow orange and burrow under the floor, tunnel to the walls and wait there. You can see them dimly down there (a ring on the floor marks each one) but you can't hit them -- until their surge comes. The swarm surges in 3 waves: each wave bursts up out of the floor and rushes you in short bursts. Shoot half of the swarm and the rest give up and scatter. A zergling that reaches you bites once and is spent.
CARPET BOMBING
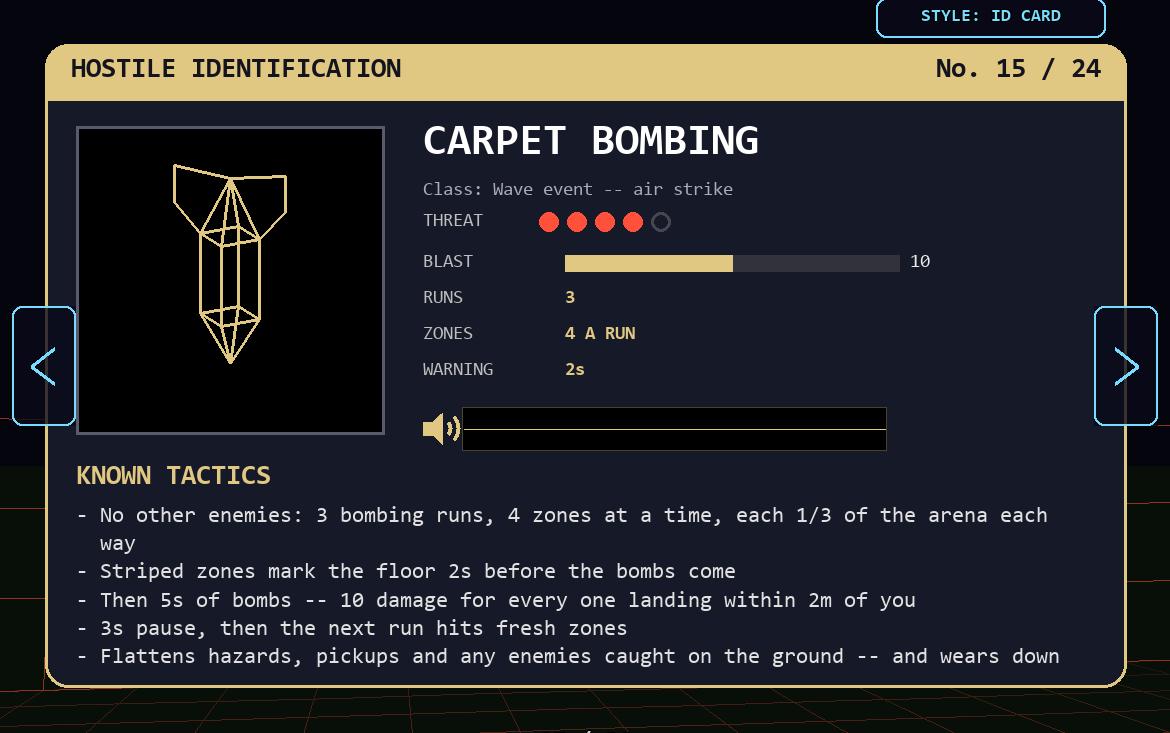
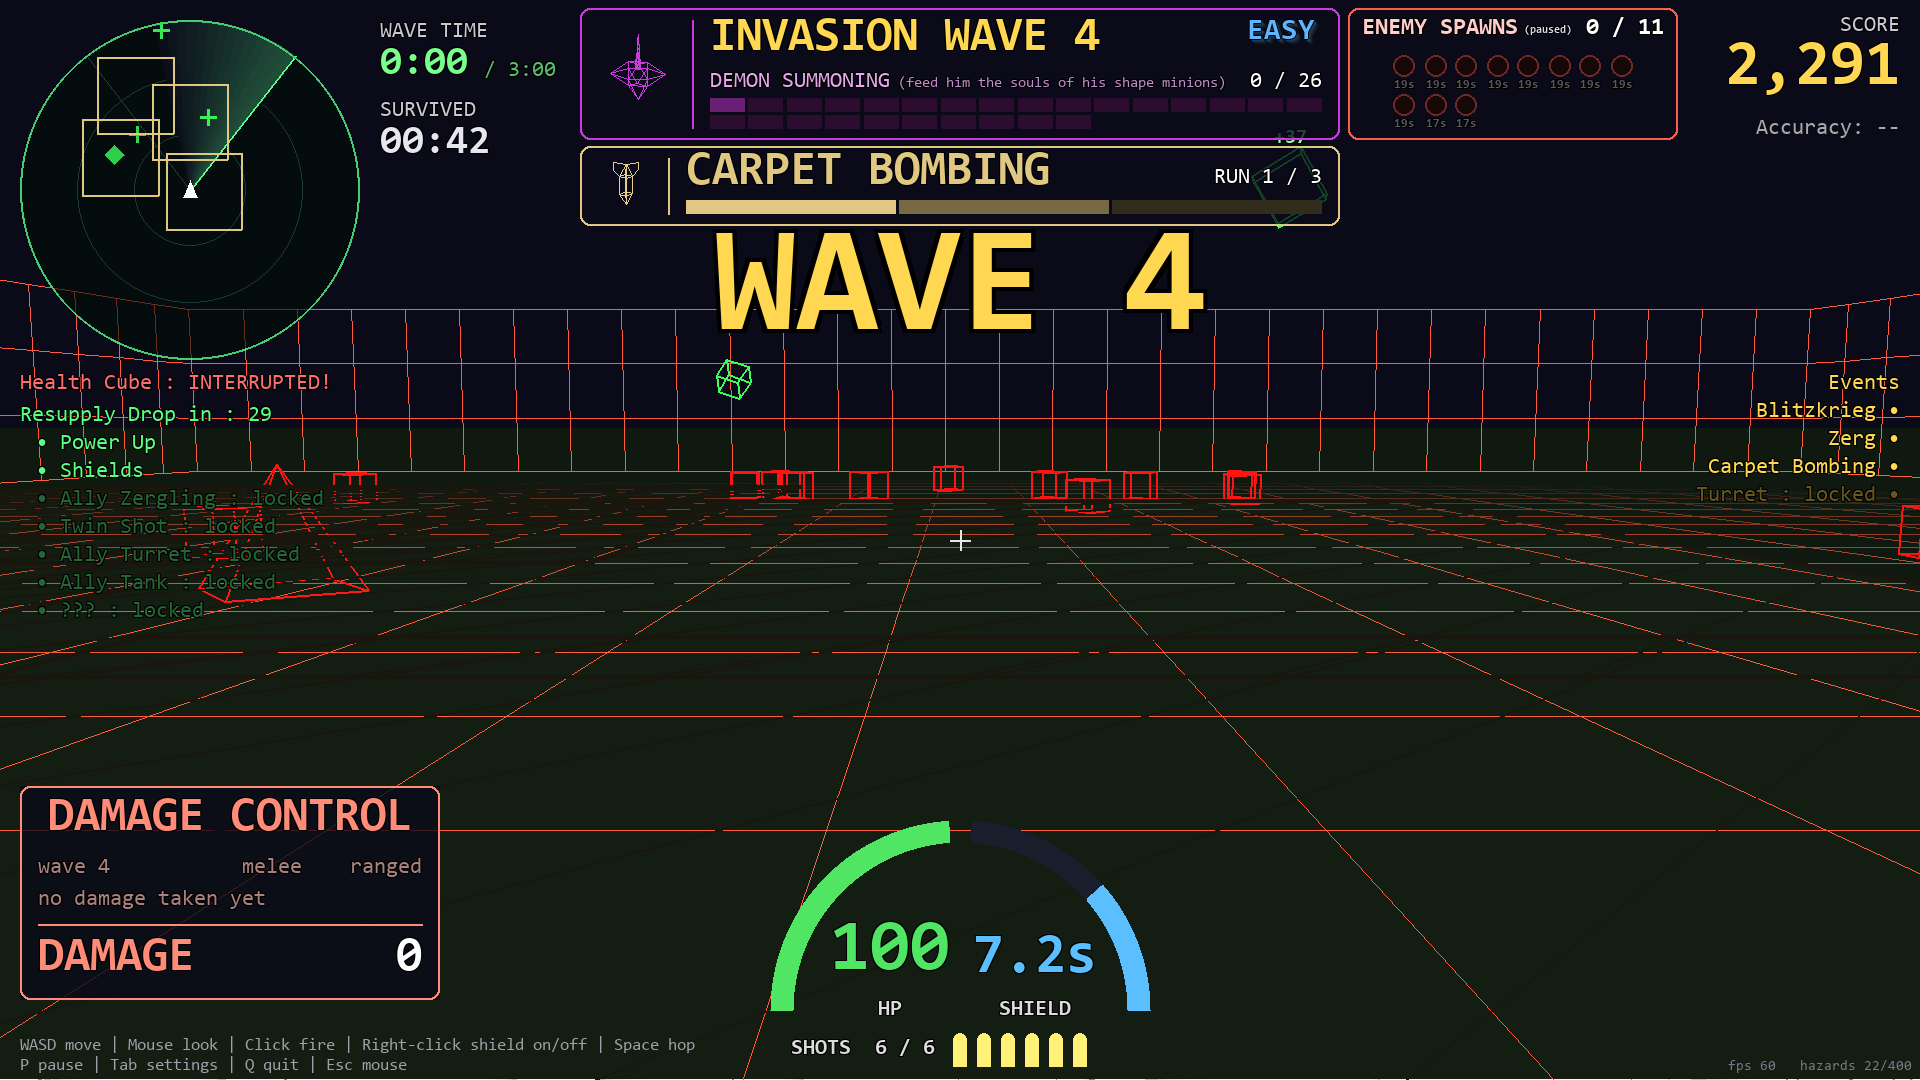
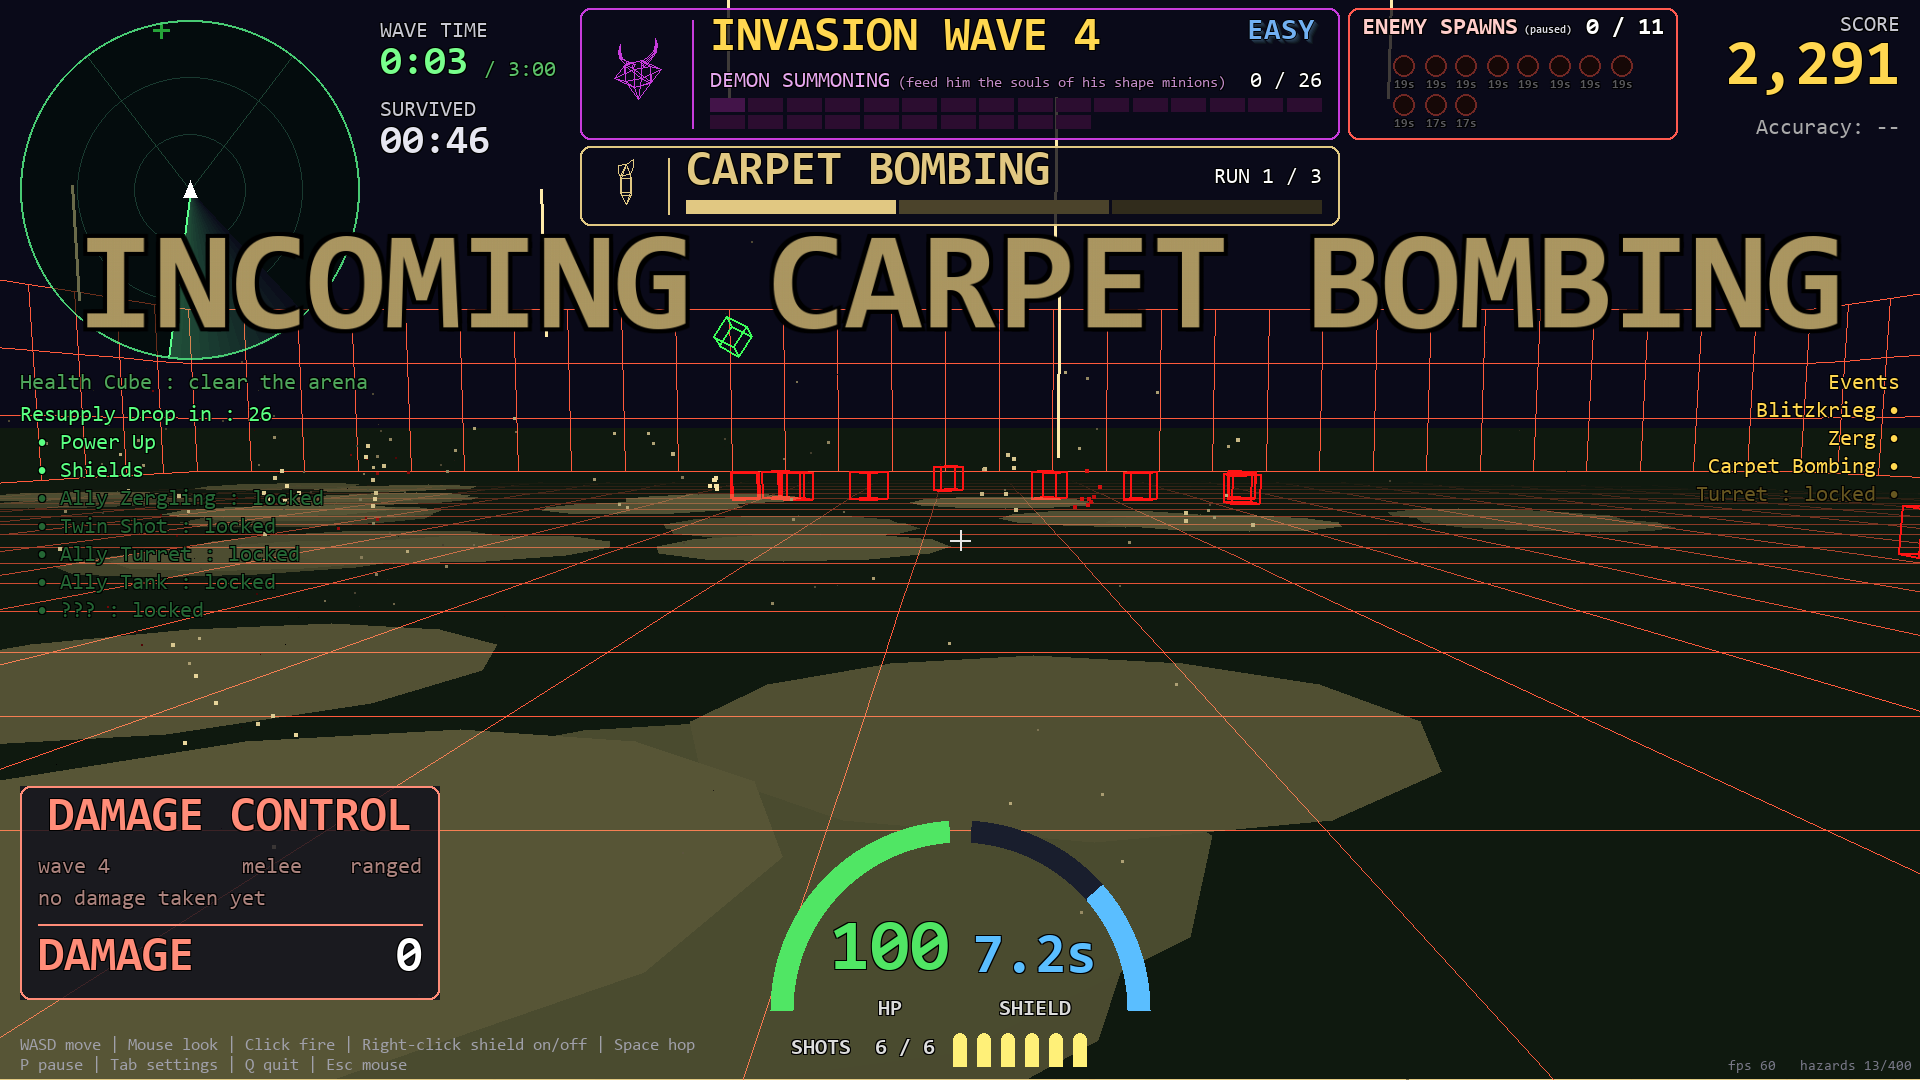
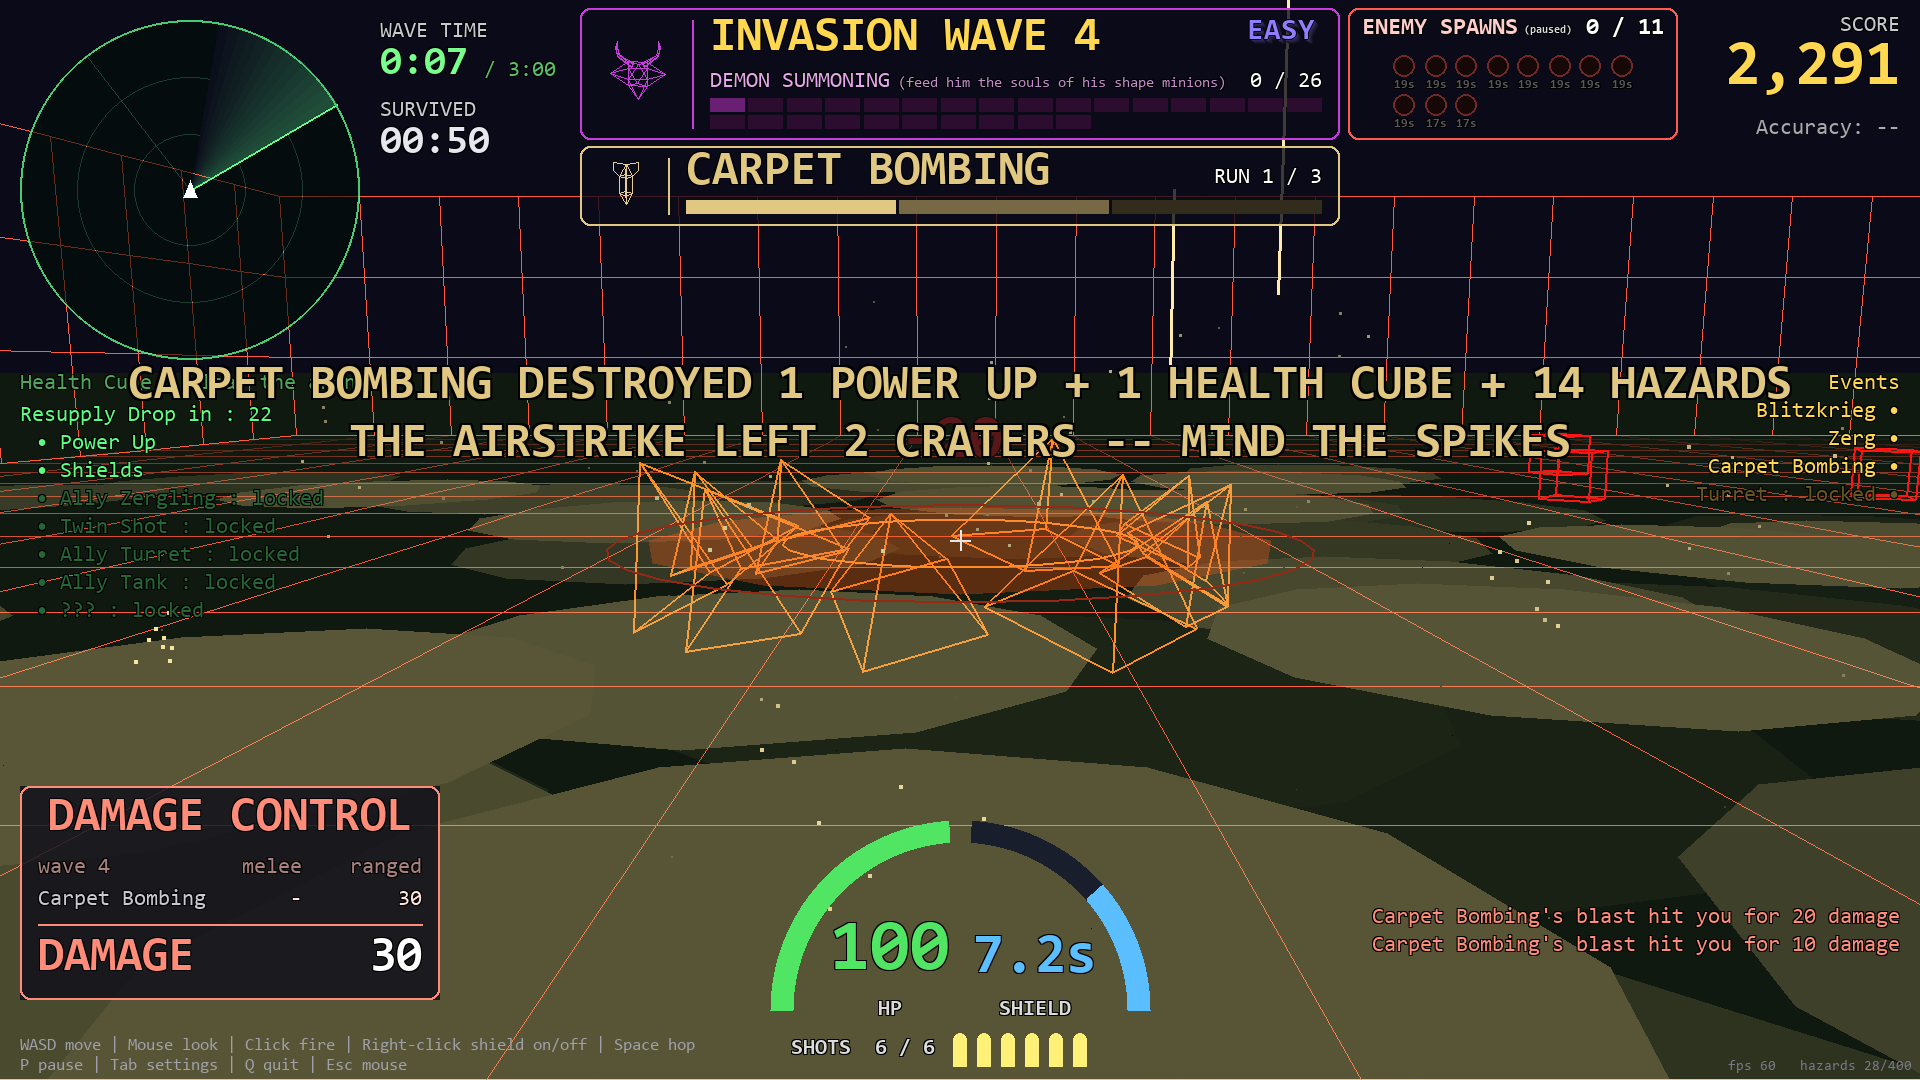
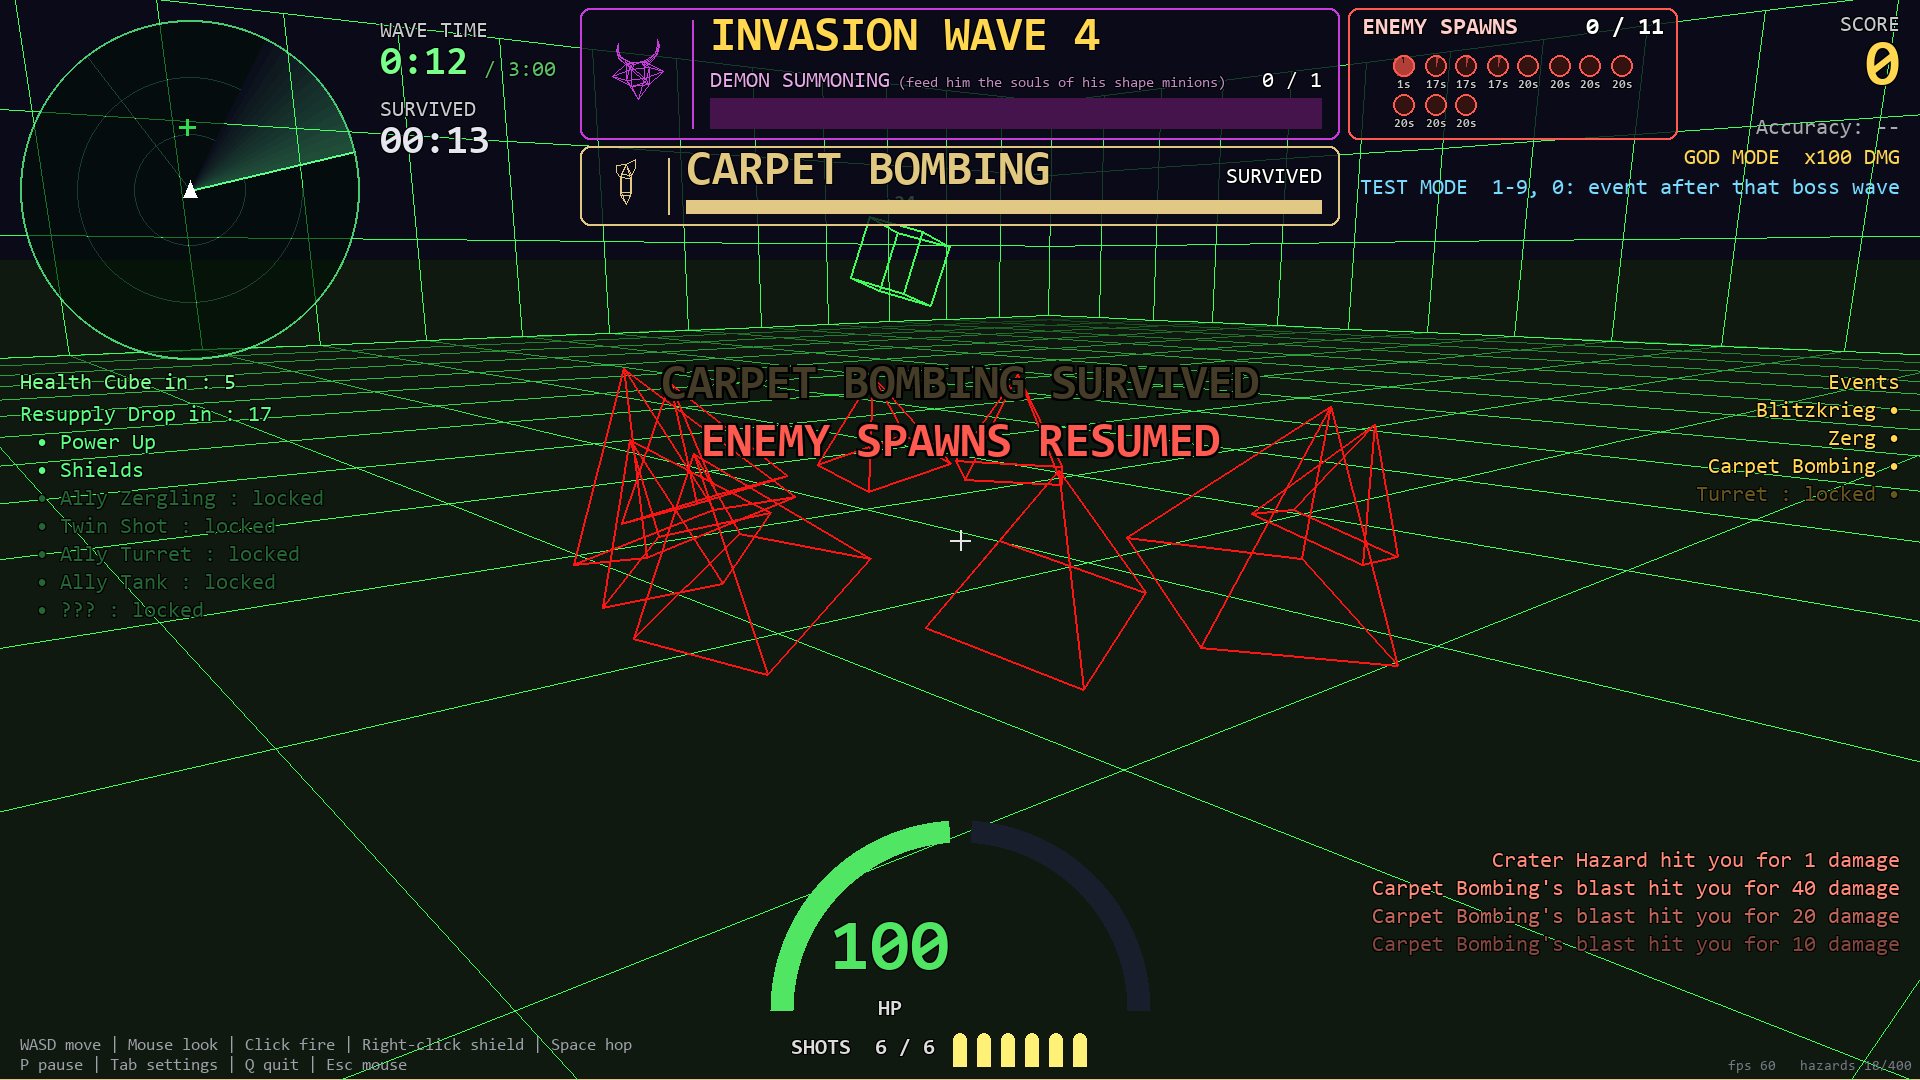
No other enemies -- just an air strike: 3 runs, each marking 4 zones on the floor for 2 seconds, then 5 seconds of bombs. The markings vanish the moment the bombs start falling -- memorise where they were! Bombs hurt you, wear down your allies, and flatten hazards and pickups. Each run ends leaving 2 bomb craters: rings of small pyramid hazards, glowing orange until the whole event is over.
TURRET
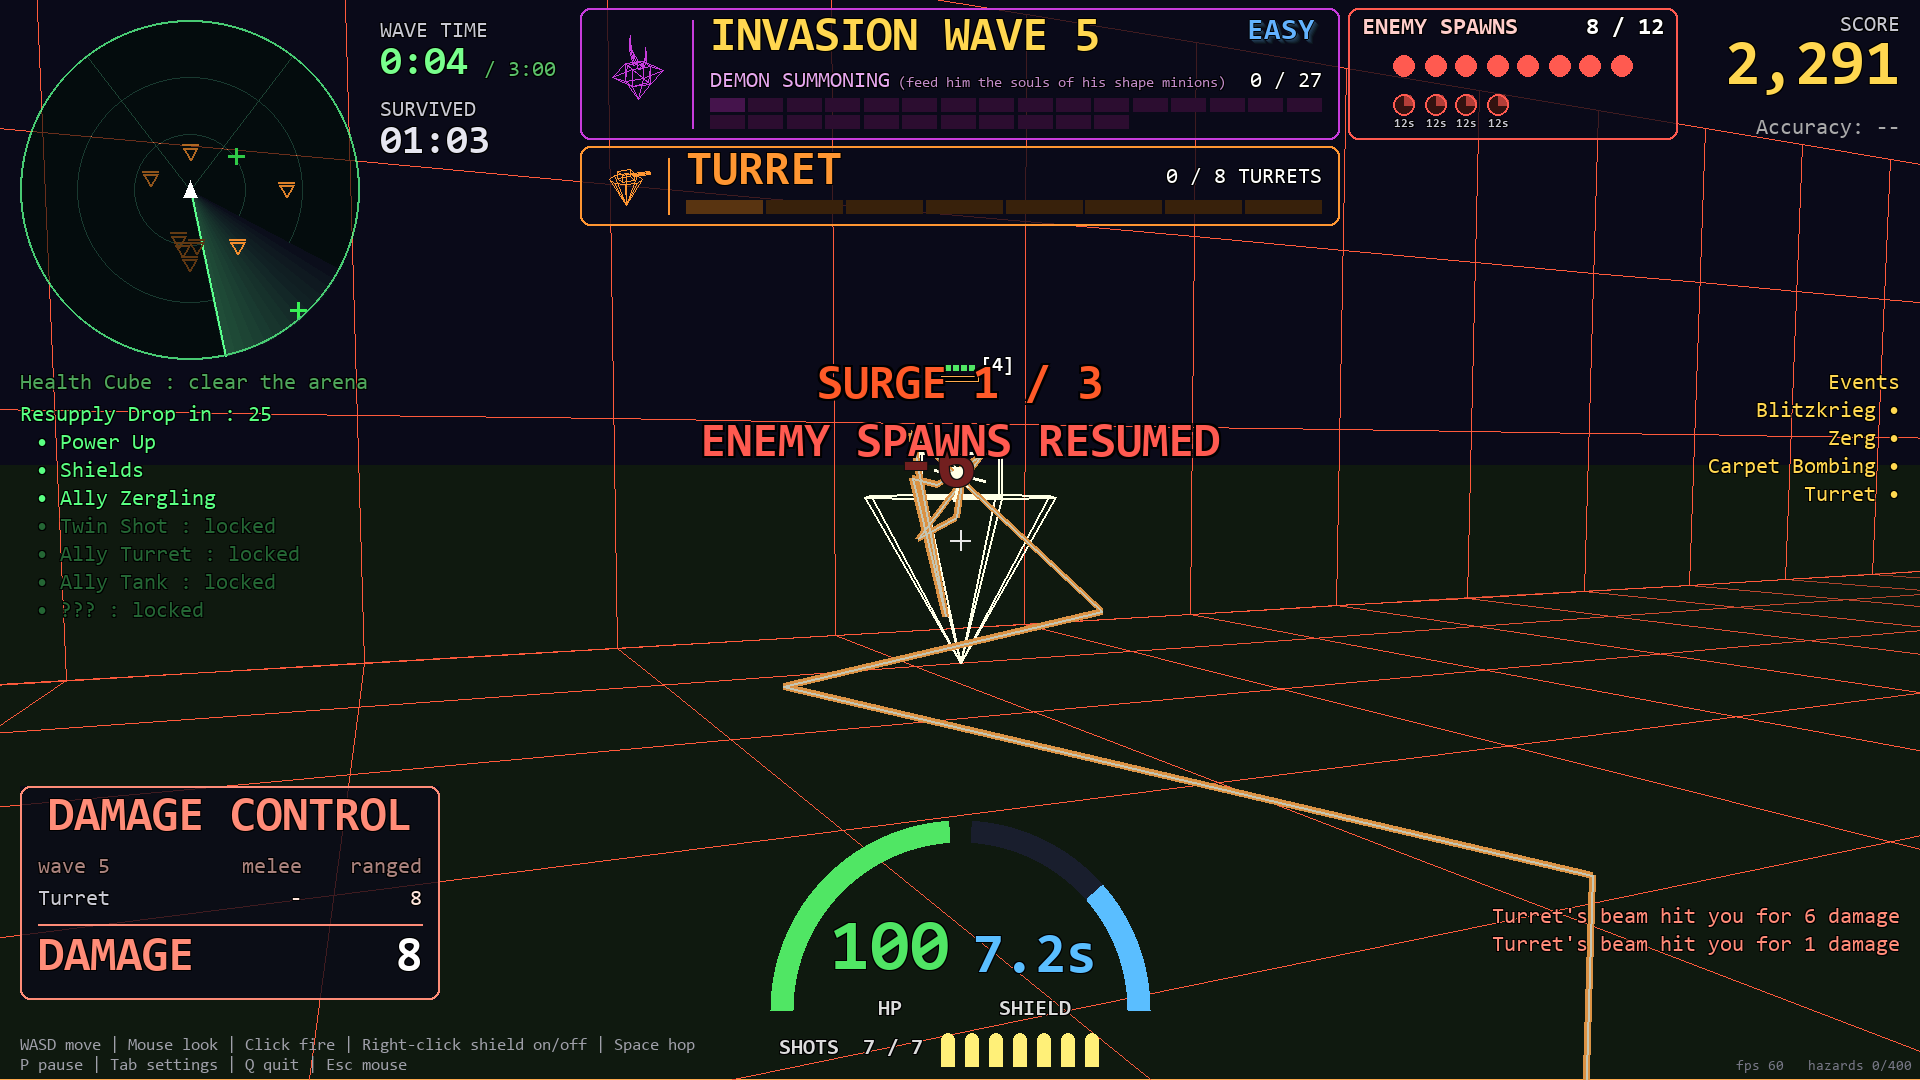
8 turrets planted round the field at once. From then on turrets join the random spawns.
Mini events
Once you've met an event, a smaller version can turn up at random in place of an enemy:
- Mini zerg -- 8 hazards wake up and rush you in one go (if the floor is short, extra hazards rain down first). Beating the whole swarm counts as one kill.
- Mini carpet bombing -- one run with a 3-2-1 countdown.
- Leave 4 or more care packages lying around and a mini zerg is forced on you: "YOUR STOCKPILE IS ATTRACTING ATTENTION" (7 or more: a 12-strong one).
After any carpet bombing there's a 60-second break before another can come.
8. HazardsThe floor gets more dangerous the longer you fight
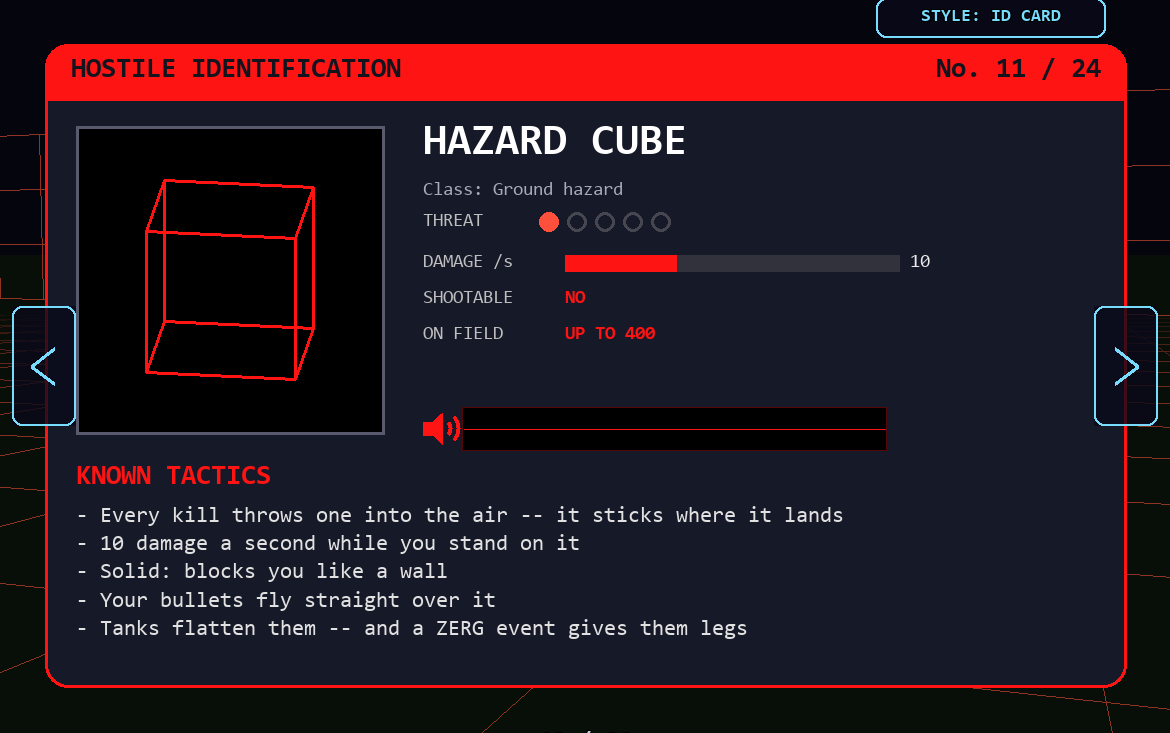
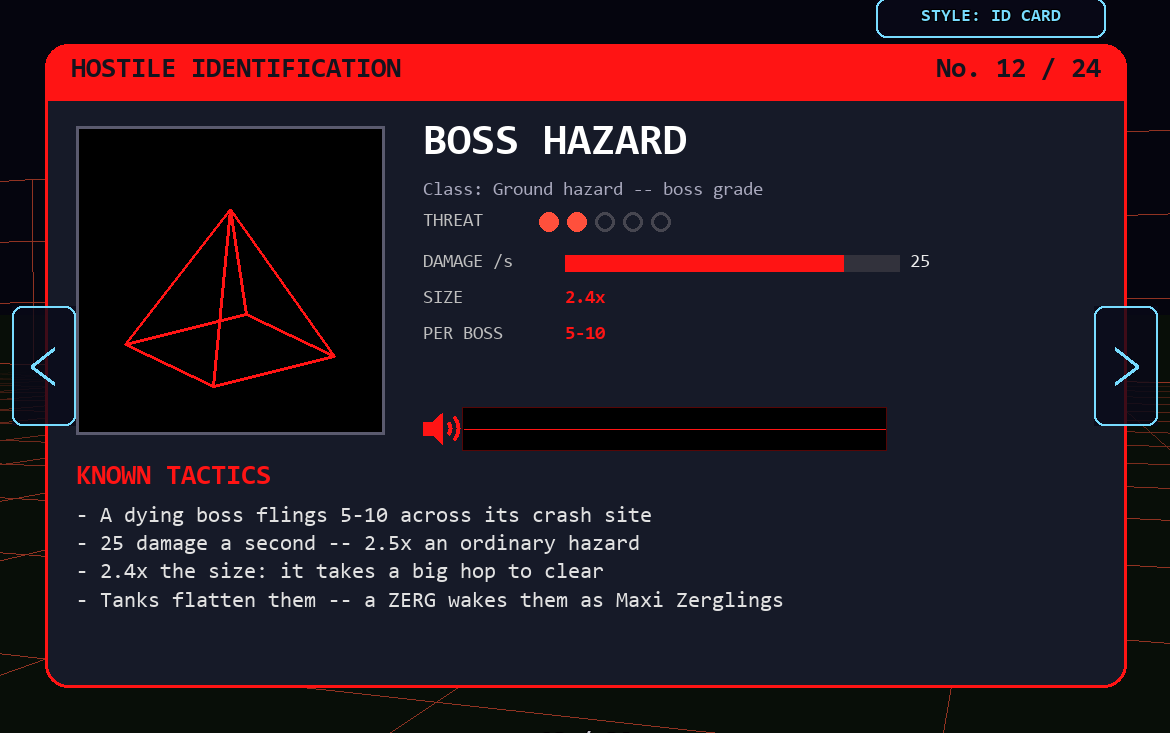
Every kill drops a red hazard cube that sticks in the floor. Standing on one hurts. They block you on foot -- Space hops you over.
| Hazard | From | Notes |
|---|---|---|
| Hazard cube | every enemy kill | small; becomes a mini zergling in a ZERG |
| Boss hazard | a dying demon | big pyramids, much nastier, a big hop to clear; becomes a maxi zergling |
| Crater hazard | carpet bombing craters | a ring of small pyramids with a gap to walk through; maxi zerglings too |
9. Health & care packagesGreen means good
Health cubes
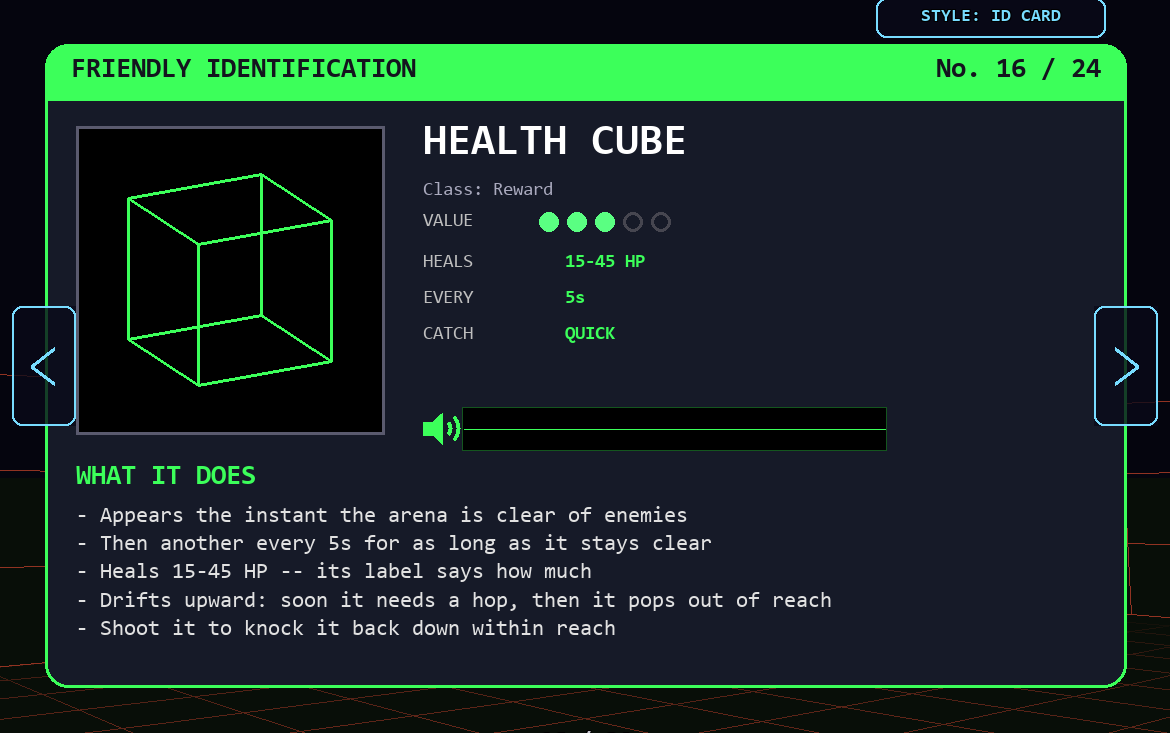
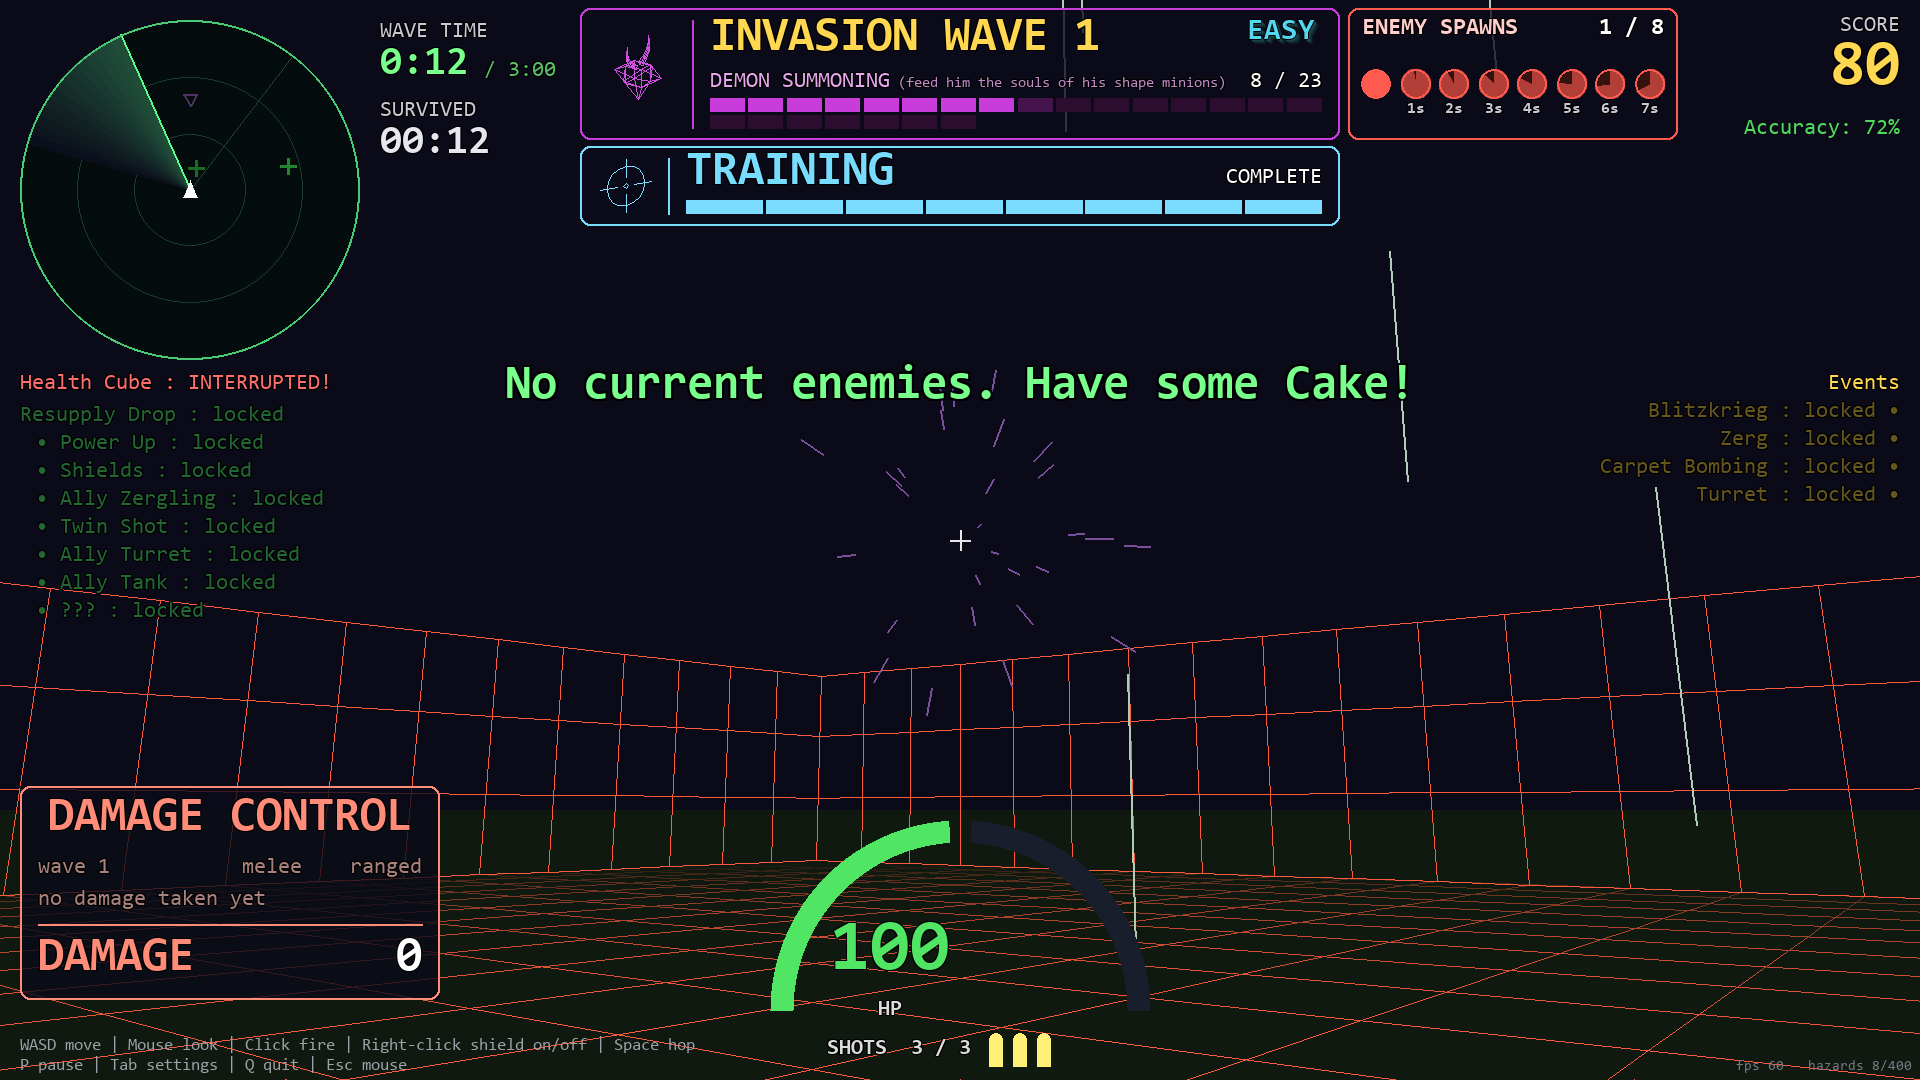
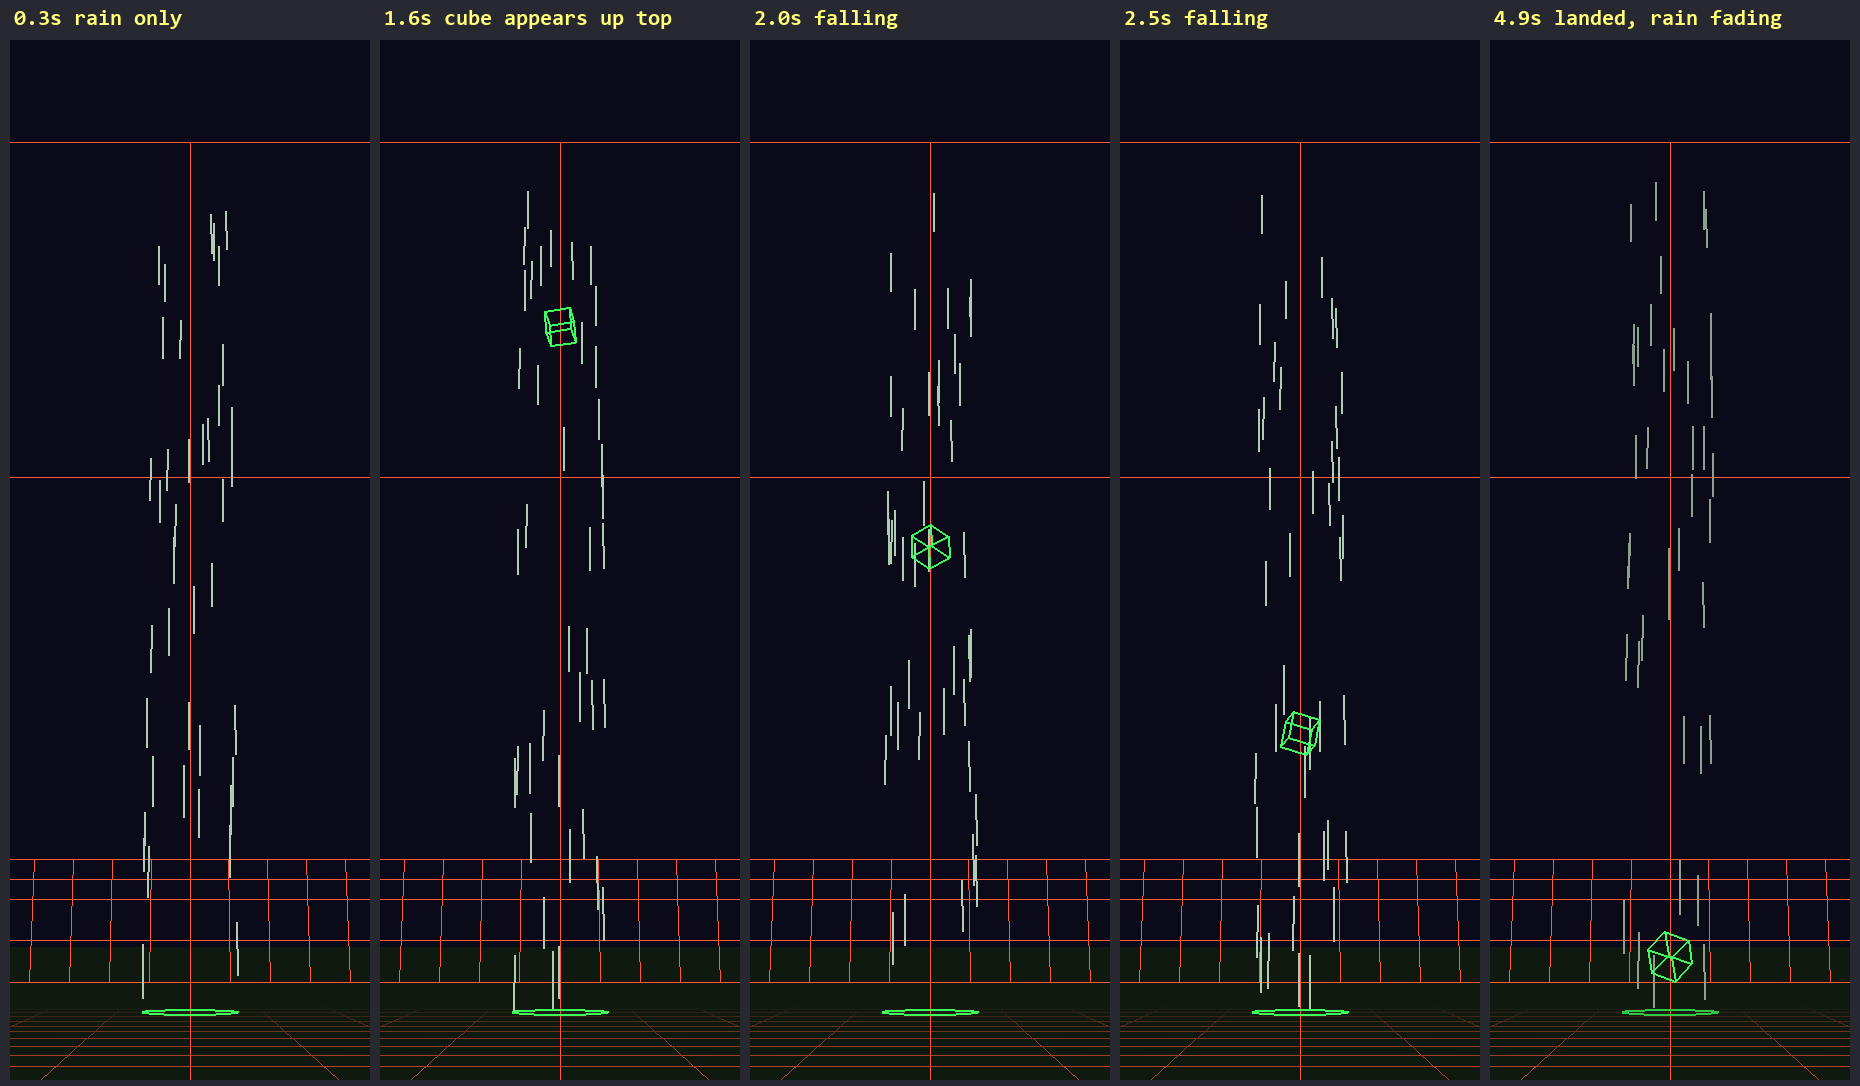
Whenever the arena is clear of enemies, a health cube drops ("No current enemies. Have some Cake!") -- then another every few seconds while it stays clear. A green rain column appears first, then the cube falls from high above through it. Its label shows how much it heals. It slowly drifts upward, so grab it before it floats out of reach (shoot it to knock it back down). You can't pick one up at full health.
Care packages
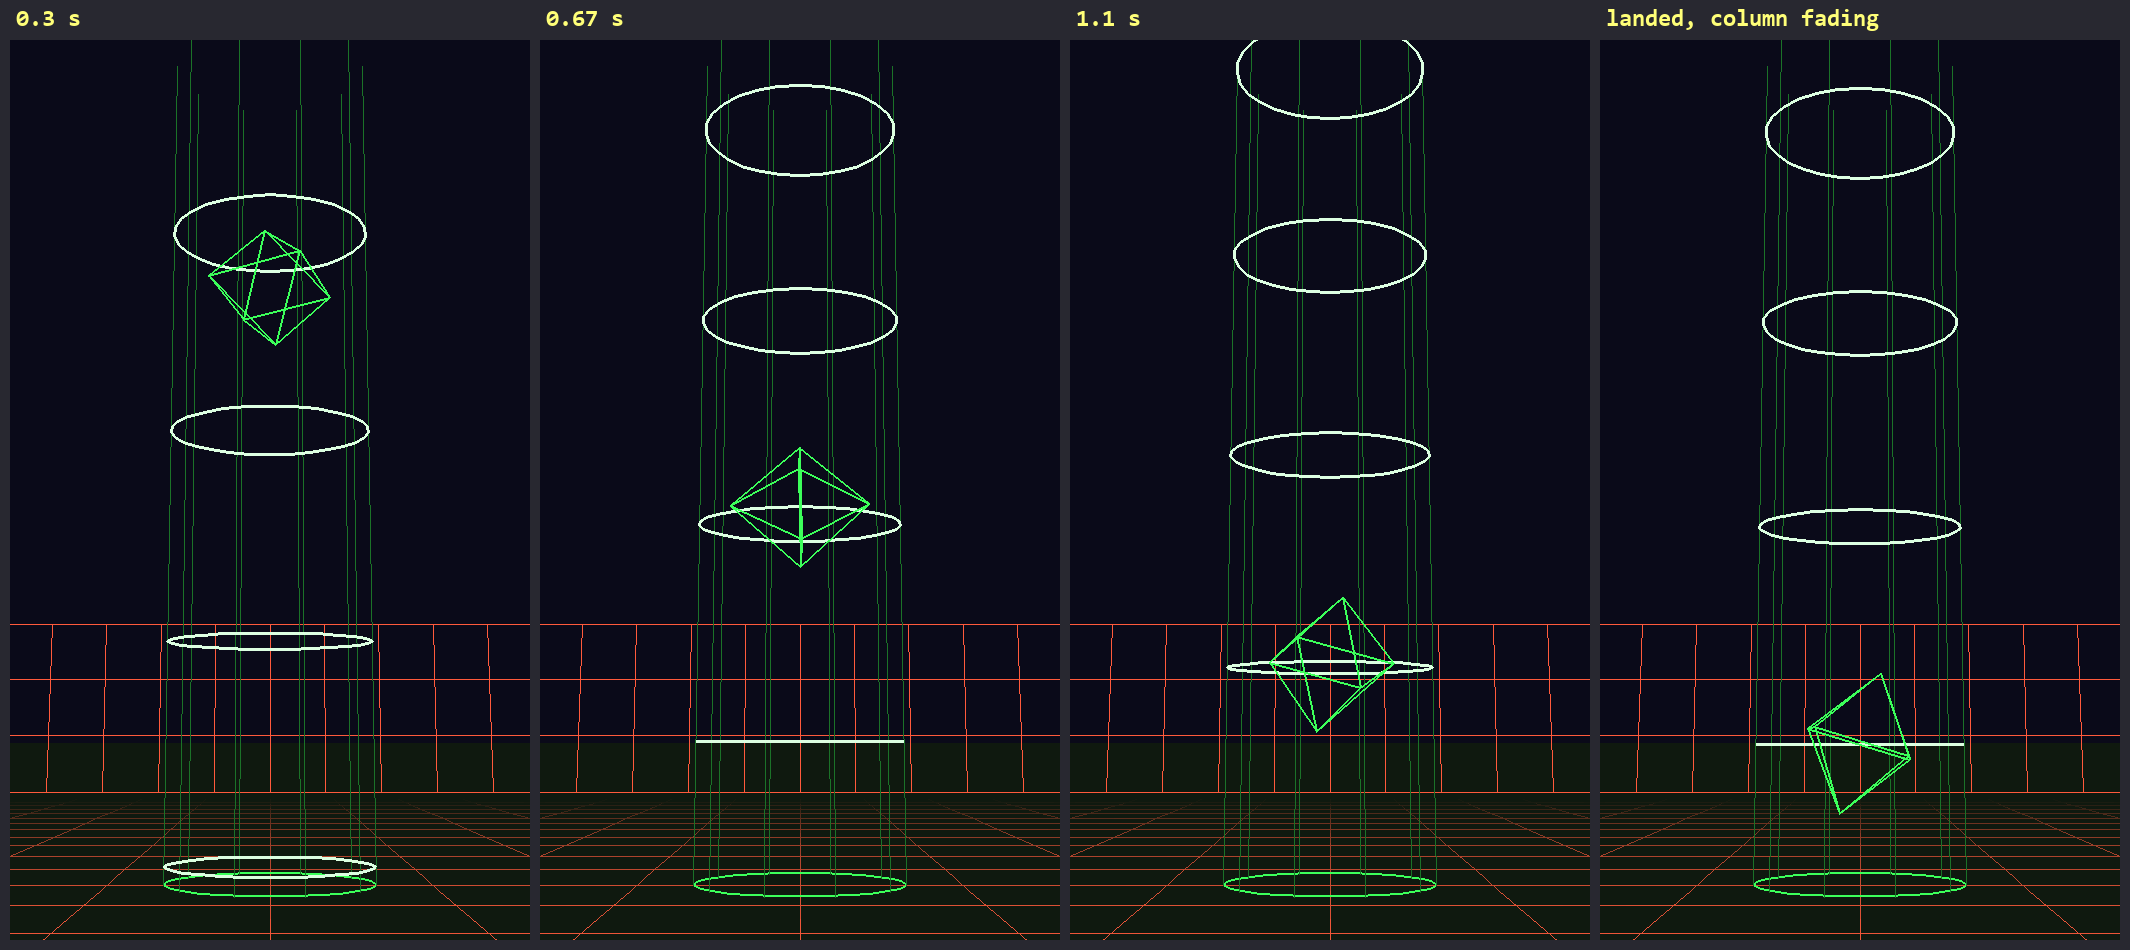
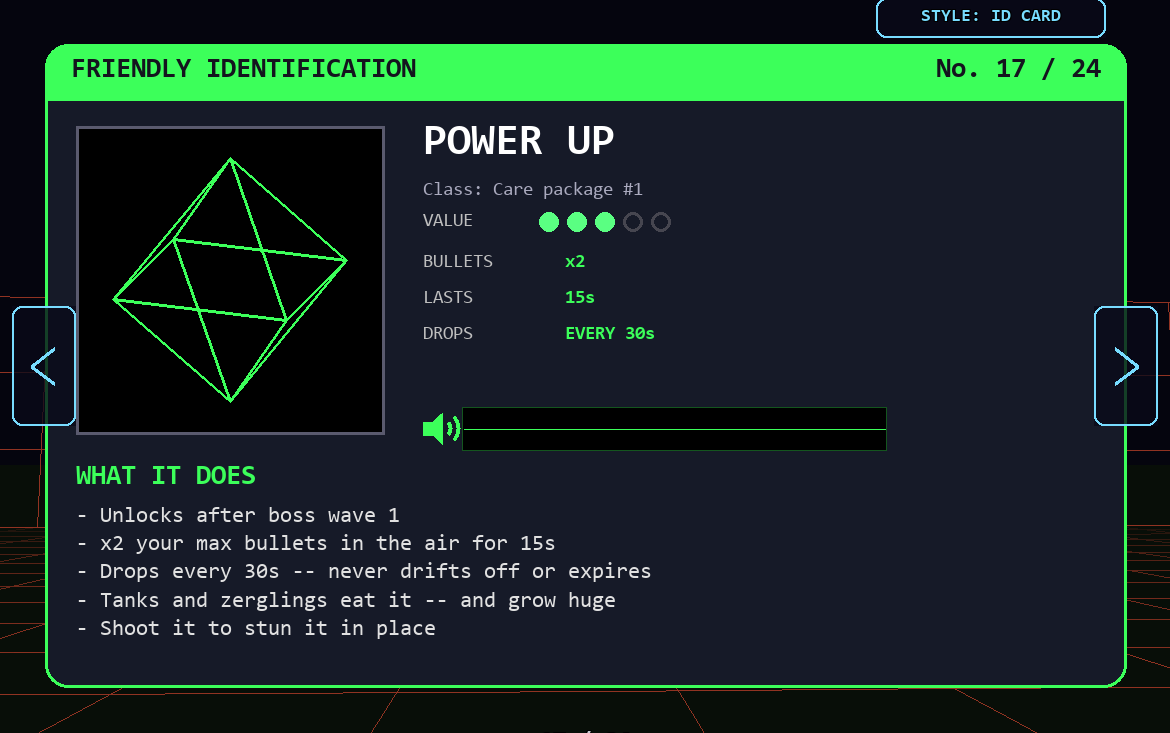
After your first demon wave, a resupply drop arrives every 30 seconds, down a beam of light. Drops (and health cubes) always land on clear floor, away from hazards and out of any bombing zone -- though a new hazard can still turn up next to one later. You unlock a new item every so often:
| Unlocks after | Item | What it does |
|---|---|---|
| demon wave 1 | Power Up | x2 bullets in the air for 15 s -- and on Hard, your full bullet range back |
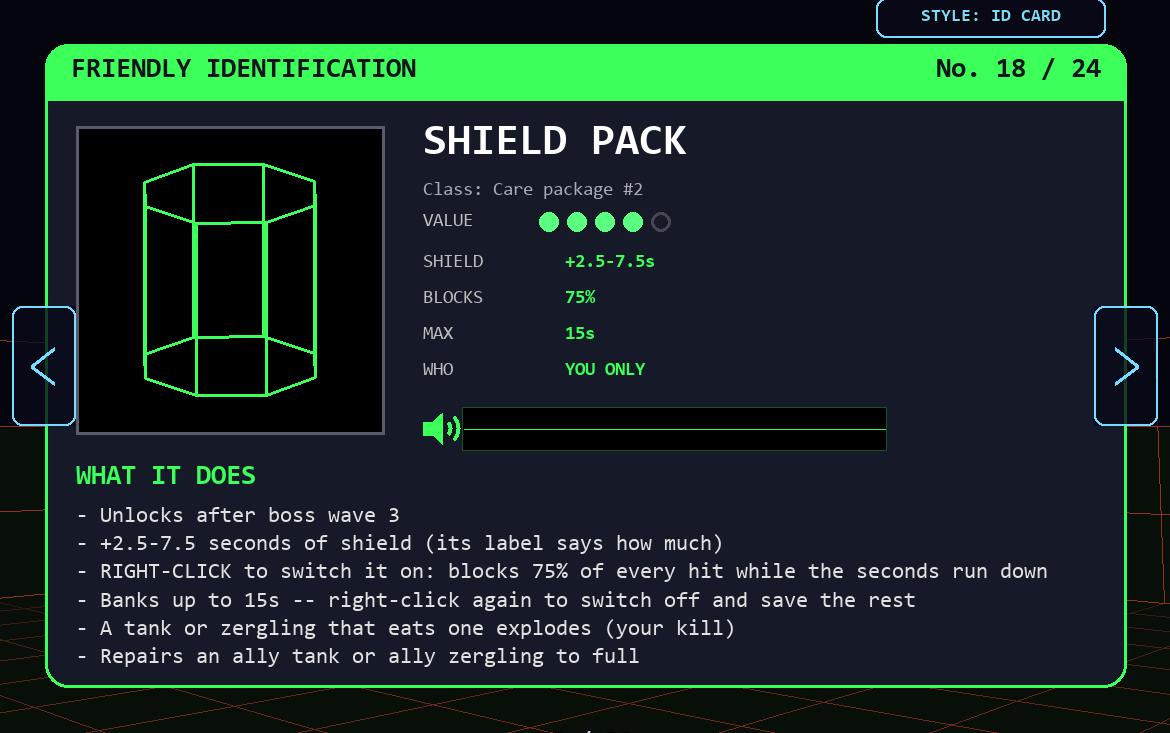
| demon wave 3 | Shields | 2.5-7.5 seconds of shield for your bank (see Your shield) |
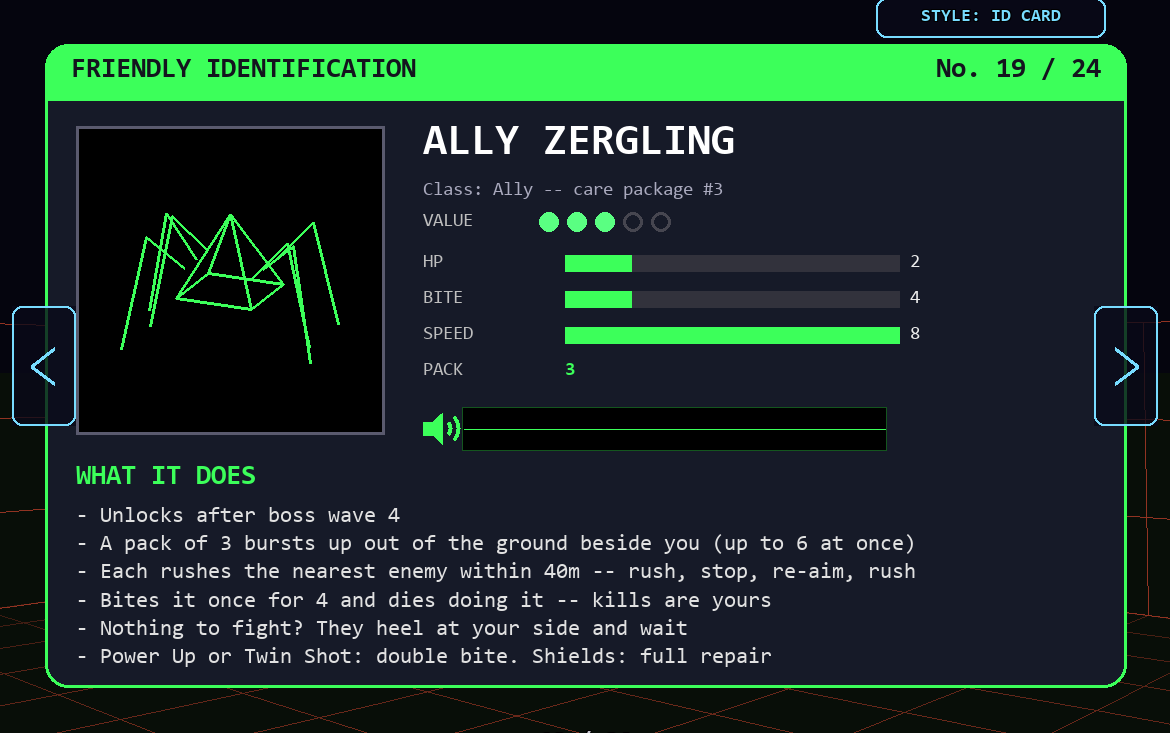
| demon wave 4 | Ally Zergling | a pack of 3 green zerglings that rush your enemies (on Hard, 2 -- and never more than 2 at once) |
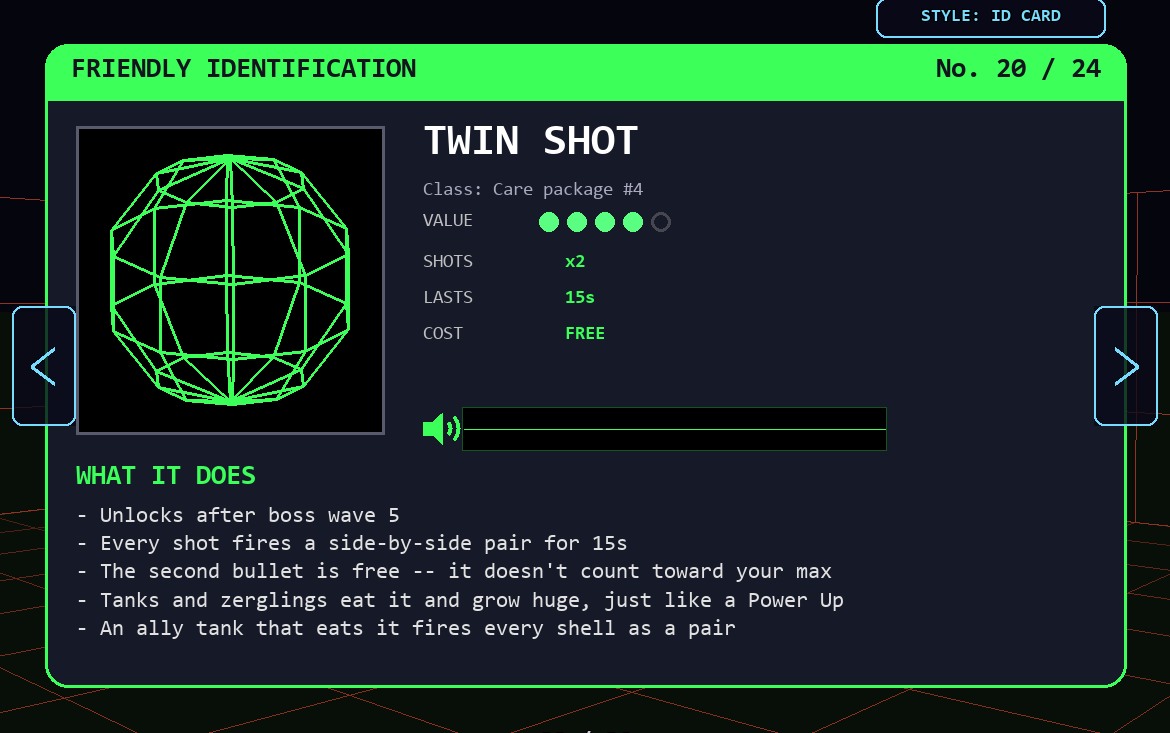
| demon wave 5 | Twin Shot | every shot fires a pair, for 15 s -- and on Hard, your full bullet range back |
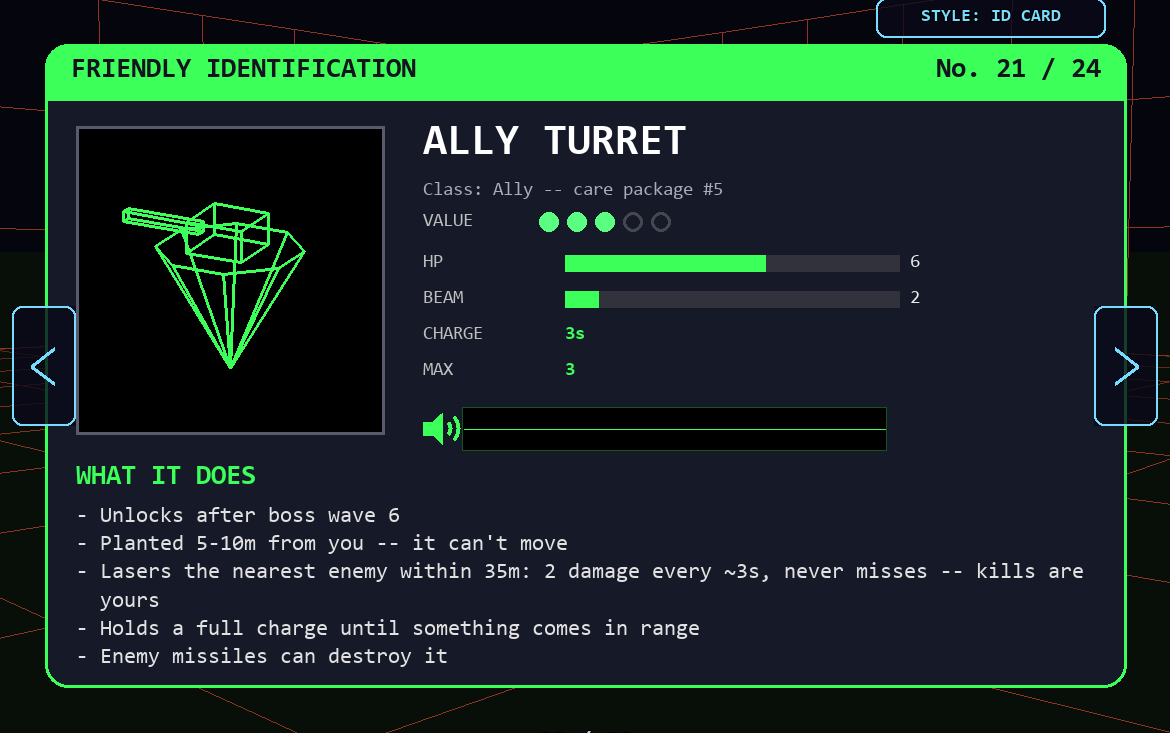
| demon wave 6 | Ally Turret | a green laser turret near you |
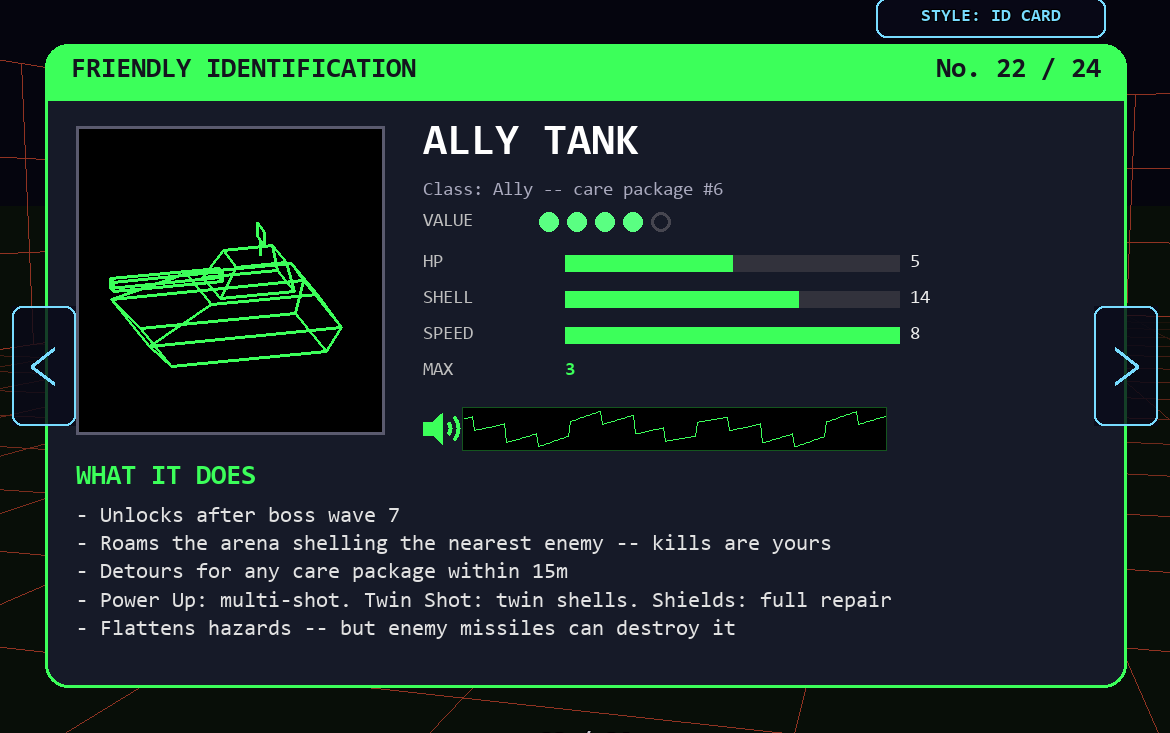
| demon wave 7 | Ally Tank | a green tank on your side |
| demon wave 9 | ??? | find out for yourself... |
10. Allies (Team Green)Green things are on your side
Allies come from care packages. They fight on their own, and their kills fill the summoning bar and earn "Team Green" points shown under your score. They can eat care packages too -- a Power Up gives an ally tank multi-shot, a Shields pack repairs it. Careful: carpet bombs hurt them.
Spoiler: a secret ending
Beat a whole demon wave without landing a single shot on a demon -- let your allies do it -- and Team Green takes over. Hints appear once you've unlocked the last care package.
11. Your shieldBanked seconds, switched on when you need it
Shields packs add seconds to your shield bank (up to 15). Right click switches the shield on: it blocks 75% of every hit while the seconds count down. Right click again to switch it off and keep what's left. The blue frame round the screen and "SHIELD ON" tell you it's up.
12. ScoringKill fast, kill accurately, stay healthy
Each kill scores 10 points (5 per zergling, 250 per demon). But at the end of a demon wave the WAVE REPORT works out what you actually bank for the wave:
- your kill points x your accuracy that wave (hits / shots -- shots into pickups don't count either way, and a twin pair counts as one shot);
- +10 for every second under 3:00;
- +5 for every % of health left;
- plus Team Green's points, untouched.
On HARD your kill points count x1.5.
13. Settings & difficultyTab opens them -- the game pauses
| Key | Setting |
|---|---|
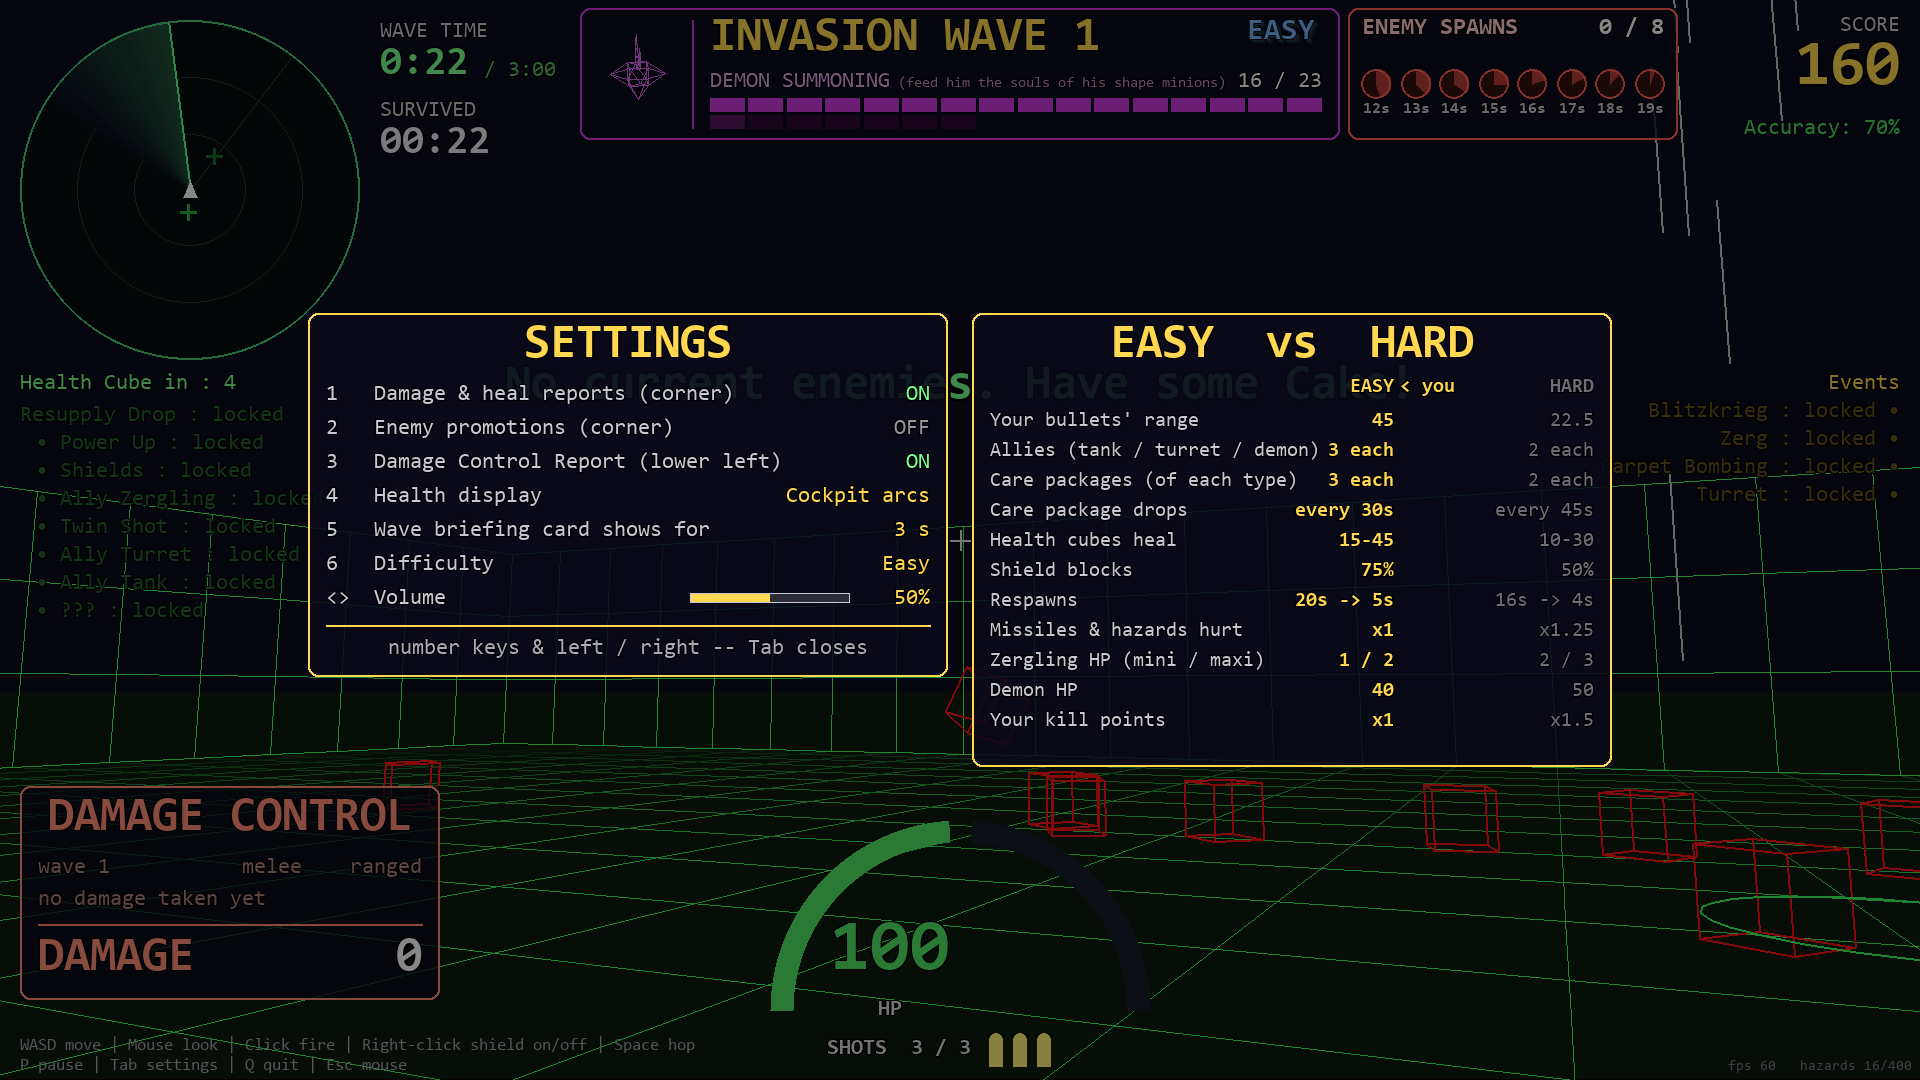
| 1 | Damage & heal reports in the corner -- on / off |
| 2 | Enemy promotion messages -- on / off |
| 3 | Damage Control box (lower left) -- on / off |
| 4 | Health display -- Big numbers / Cockpit arcs / Twin bars |
| 5 | How long the wave briefing card shows -- 10, 7, 5, 3 or 1 seconds |
| 6 | Difficulty -- Easy / Hard |
| ← → | Volume |
Easy vs Hard
EASY is the default. HARD changes these (the panel beside Settings always shows the live values):
| Easy | Hard | |
|---|---|---|
| Your bullets' range | 45 | 22.5 (45 with a Power Up or Twin Shot) |
| Allies (tank / turret / demon) | 3 each | 2 each |
| Ally zerglings | 6 | 2 |
| Care packages (of each type) | 3 each | 2 each |
| Care package drops | every 30s | every 45s |
| Health cubes heal | 15-45 | 10-30 |
| Shield blocks | 75% | 50% |
| Respawns | 20s → 5s | 16s → 4s |
| Missiles & hazards hurt | x1 | x1.25 |
| Zergling HP (mini / maxi) | 1 / 2 | 2 / 3 |
| Demon HP | 40 | 50 |
| Your kill points | x1 | x1.5 |


14. Tips
- Kill shapes before they land. Every bounce makes them faster and tougher.
- Don't kite forever. An enemy you keep at range charges a missile.
- Watch the zone-in streaks -- they show where the next enemy (or demon) appears.
- Clear the arena for cake. Health only drops while no enemies are about.
- Collect care packages. Leave them and tanks, zerglings and stockpile-hungry mini zergs will take them.
- Hop. Space clears hazards, tanks and lunging zerglings.
- Memorise the bomb zones in the 2-second warning.
- Accuracy multiplies your score -- spray-and-pray costs points.
- Shield bursts: switch it on for the dangerous seconds, then off again.
15. Field guideEvery card from the title screen's showcase -- click one to enlarge